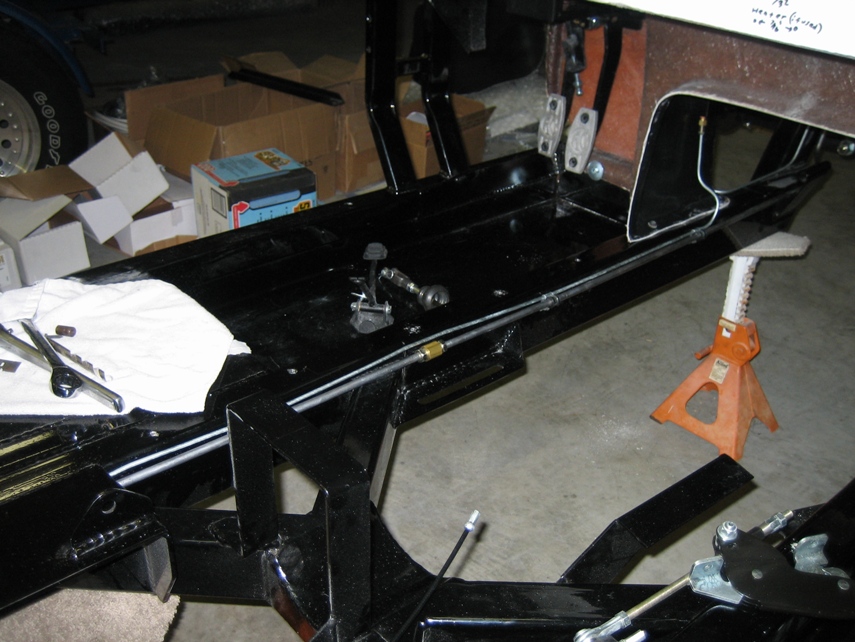
Brake & Fuel lines.
B&B does not include these with the 5.0 donor kit.
I found that www.inlinetube.com is a great place to order these and they have ALL the fittings and most of the clamps needed to get the job done in steel or stainless. I make various trips to the numerous parts houses around my area and found that there is much to be desired when dealing with their stock. I plumbed the fuel in 3/8” steel and the brakes in 3/16” steel. I spoke with the guys at B&B and they informed me that I didn’t need a proportioning valve for the rear. I bought one anyway in that I was ordering and it is a LOT easier to install it and not need it from the get go than to need it and try to work around what was put in originally.
Click on any of the pictures to enlarge. (Approx 2meg a piece!)


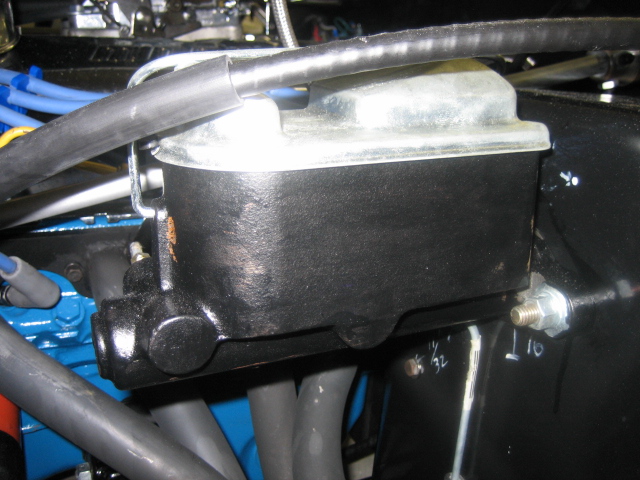
Update: When installing the engine, I ran into a problem with the location that I chose to install the proportioning valve. It interfered with the header so I had to flip it over and add some spacers to allow for adjustment. Below are pictures after the modification. Also, just a hint, paint the master cylinder before you installation. I didn’t and it quickly began to rust. I painted it with the high heat brake paint that I bought for the calipers and it turned out pretty good. The paint was brush on so it was pretty easy to do while mounted.

I routed both lines (brake and fuel) on the inner side of the frame and used 3/8 rubber insulated straps from HomeDepot and the 3/16 brake line straps from inlinetube.com.
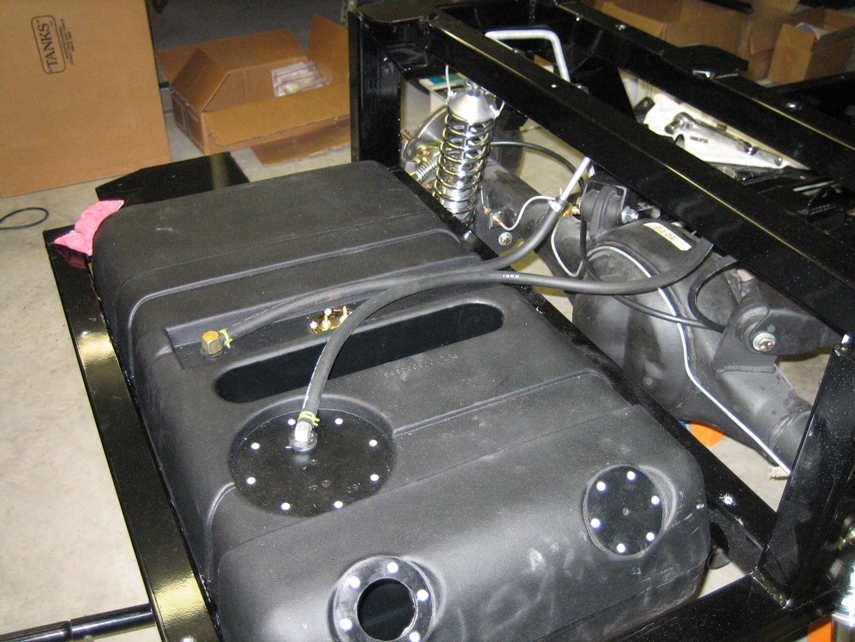

The fuel tank is set in place to measure the fuel line routing and also mounting of the vent.
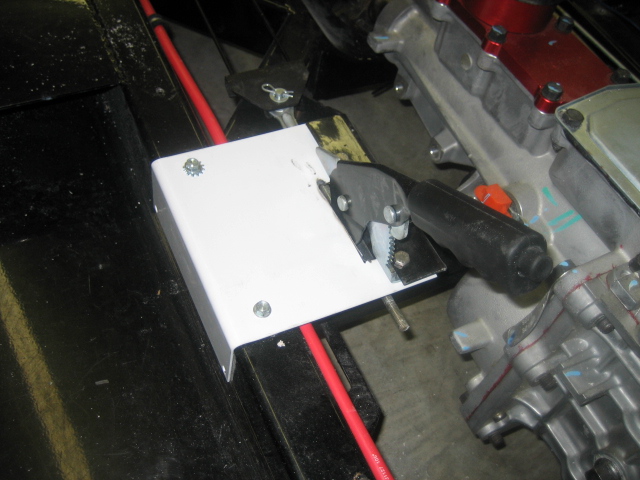
Warning!

This
mount is not strong enough! AND there is nothing at all in the manual or CD
dealing with the park brake mounting. I may have to make a full page on beefing
this up.
What I
decided to do is add a plate to sandwich the brake handle and the existing
mount and extend it to the frame. I did not want to weld on the frame so I used
one of the tunnel mounting screw holes and added another. This turned out very
well and seems to be very rigid. I had to cut out the plate allowing for the
brake mechanism, this I did with a drill and an angle grinder. The plate was a
back plate from a Hoffman 8 X 10 utility box. I bent it to wrap around the
frame.


![]()