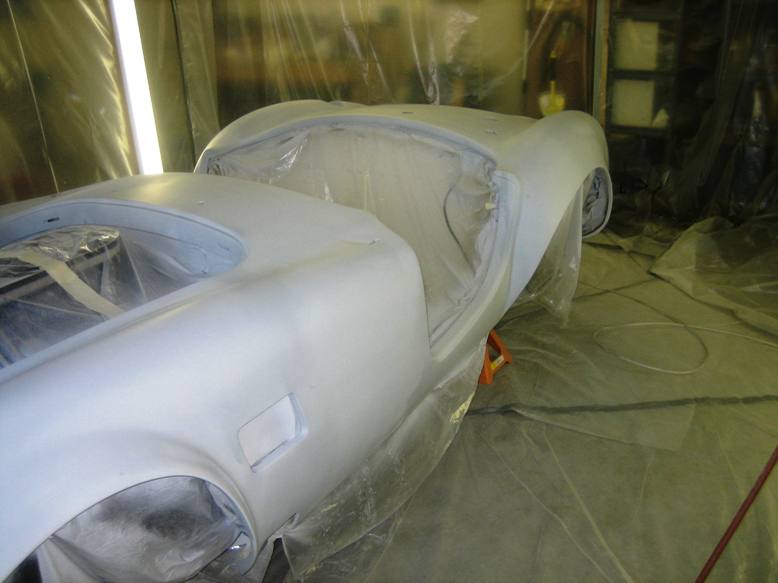
In Primer!
Body is as straight as I know how to get it!
I figured that if it isn’t straight after (2) years of fiddling
with it, it’s not gonna get there!
I have applied mud and sanded off and applied mud and sanded off
and there are places that I feel will not pass the test when it is all shinny
but I have to call it good at some point. I have probably put 500 (exaggeration
of course) hours into getting it as straight as I know how. I sprayed it down
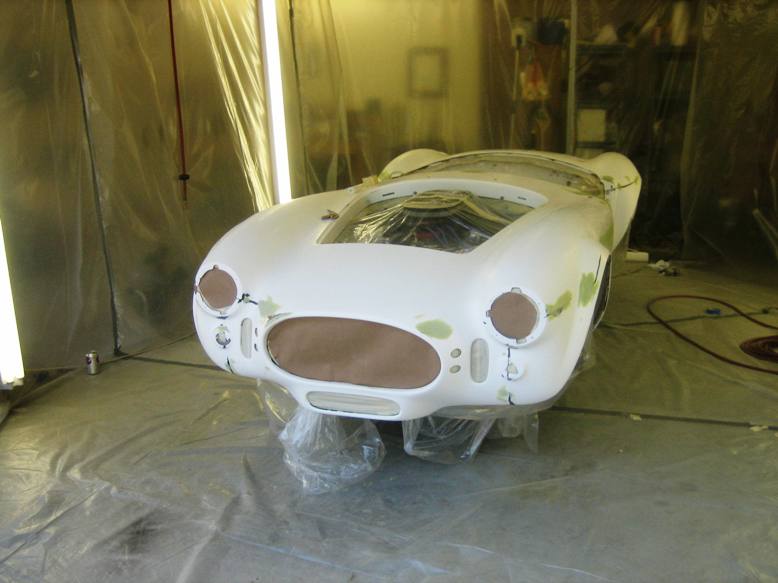
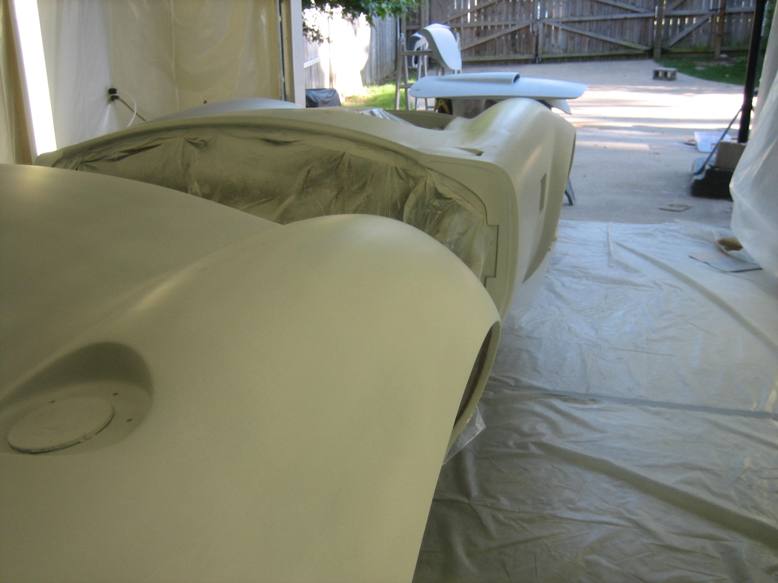
with primer to fill in the tiny pin holes and let me find the bad spots. It is
really hard to see and feel all of the places with different shading and colors
and with different textures from the fiberglass to the filler.
Of course, I had to completely disassemble everything to begin
the paint process so the doors, trunk and hood needed to fit correctly before I
began this process. I used PPG Omni High build primer surfacer. (MP282)
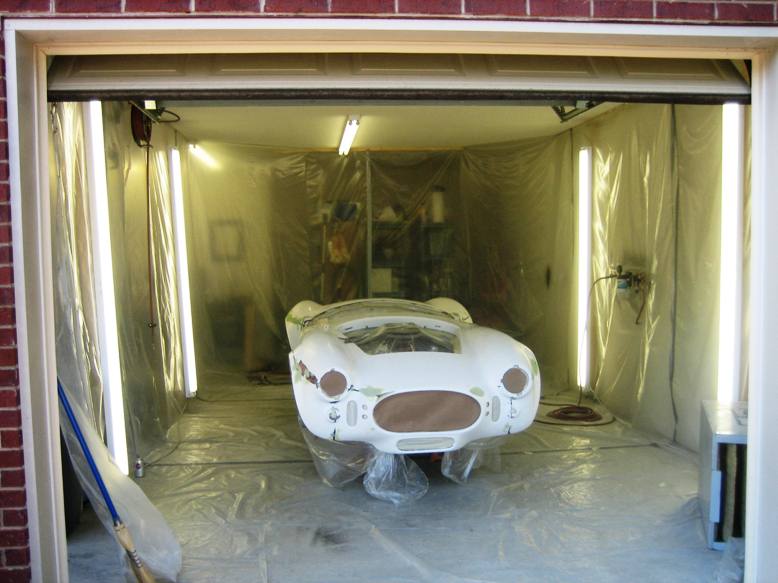

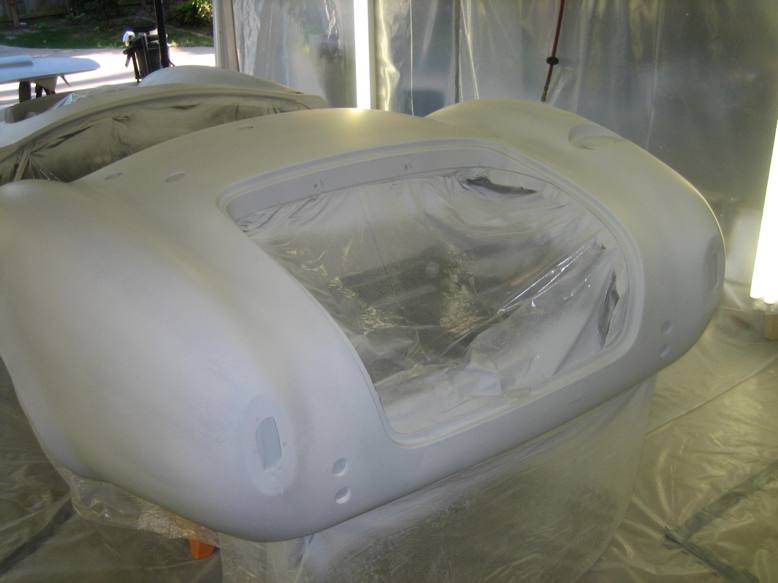
I still had my home-made paint booth from painting my son’s
car. (Which is one of the delays I ran into in the past two years.) What I did
to construct it is to make T braces (like hanging sheetrock on ceilings with,)
out of 2X4s and place them about 6’ apart to use as a wall to attach the
plastic and the lights to. I wired the 8’ fluorescent with romex and put a plug
on the end to plug it in the wall. The only part not covered was the ceiling
and the overhead door. This is not so much to keep the dirt out as to keep the
spray from getting on everything!

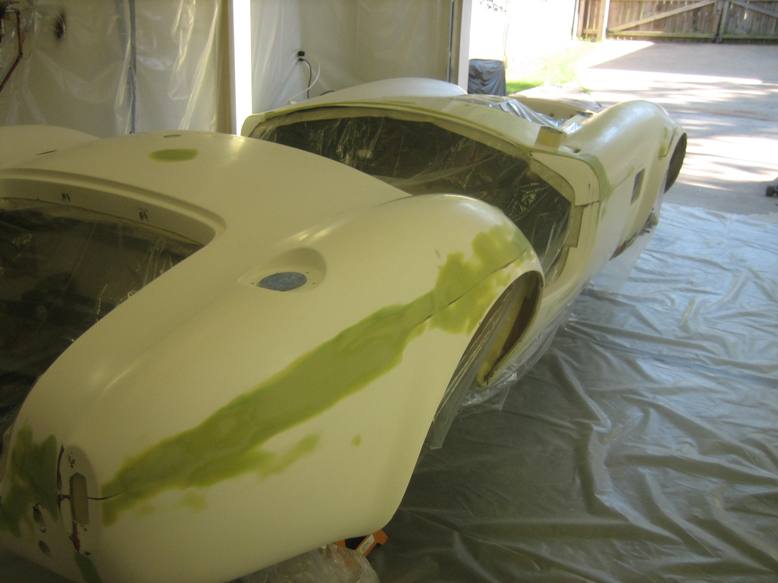

I place the doors, hood, and trunk on whatever I could to
allow me to get to as much as possible without moving them. I sprayed two heavy
coats. This will cover some of the smallest imperfections and scratch marks
missed when sanding with 100 and before 400 grit.
Now the
fun begins, wet sanding with 400 – 600 grit. I used spot puddy (red stuff) to
fill in the little pin holes on the seams and elsewhere that pop out when the
primer is on. This can be done before starting the wet sanding and does pretty
good for filling the very small imperfections. This allows you also to see the
low spots (dark) that need filling. Hopefully there is not too many at this
point.
The paint that I am going to test spray is call Bloodstone
red and is a Honda motorcycle color. I say test because it’s got to be right!
The smallest amount I could get mixed was 4 oz and it cost $40 dollars! Like
fine perfume!
I’m using PPGs Deltron product because it’s great paint and
it is fairly easy to apply. (I need it to be easy.) It dries fast enough to
keep a lot of the bugs and falling debris out of the finish. (Dries before it
hits.) Also it can be compounded and polished, which you WILL want to do!
![]()