Latches and Such.
Did I get everything?
As of 1-02-2007 (updated)
Happy New Year!
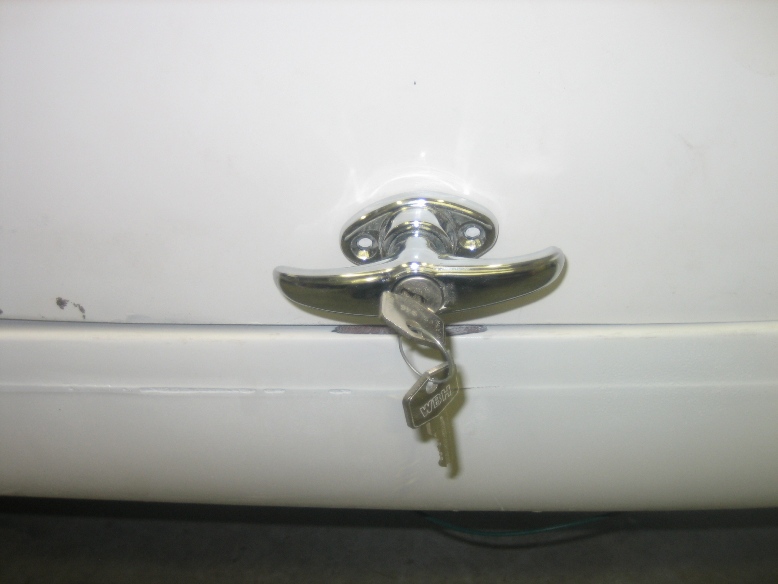
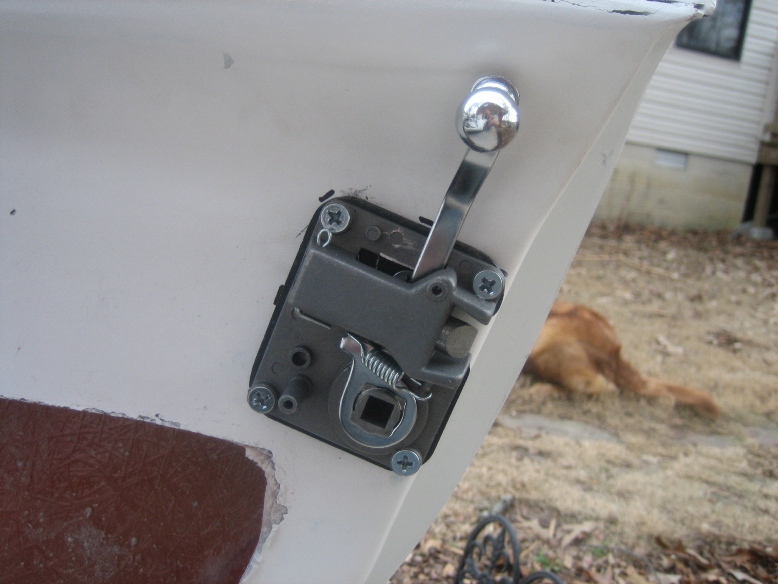
This
part is taxing my engineering abilities. This is one area where I did actually
go to the “manual” to see how it was described. I looked at the trunk latch and
the trunk lid and started scratching my head. I resorted to the backup plan of
opening the manual to see if they had anything on it. Yes, and even a picture.
I would never had guessed to cut a hole in the bottom of the mounting area and
mount the latch inside. But it worked out pretty well and was easy to do. In
the manual they pictured a gasket for the outside latch for which I did not
receive. I will have to make it.
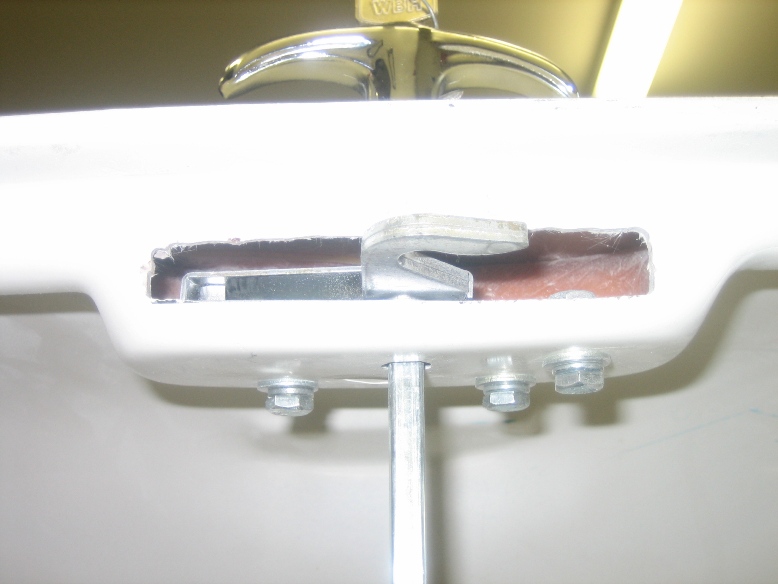
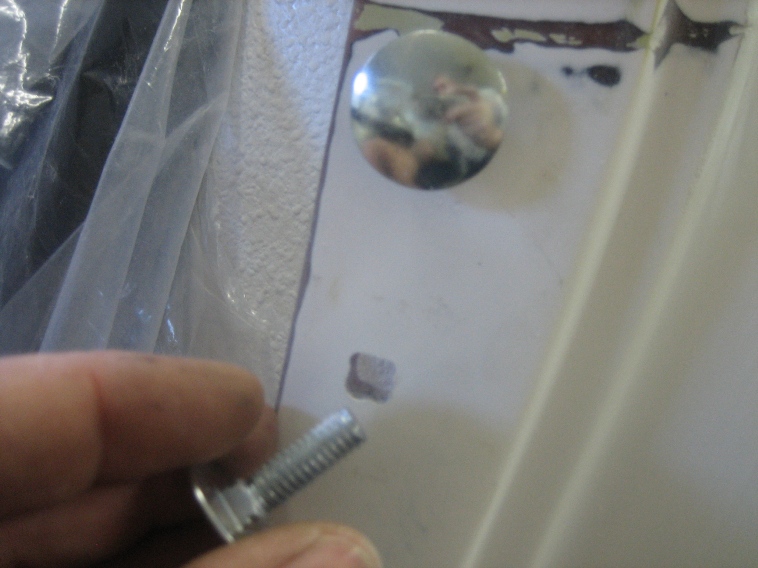
I’m
not so sure about how the catch for the latch mounted. I would have liked to
keep the lip on the trunk but was unable to as to this is also the way it was
pictured in the “manual”. This seems to present a problem for the trunk gasket
that will be installed after bodywork and paint, but that is for another day.
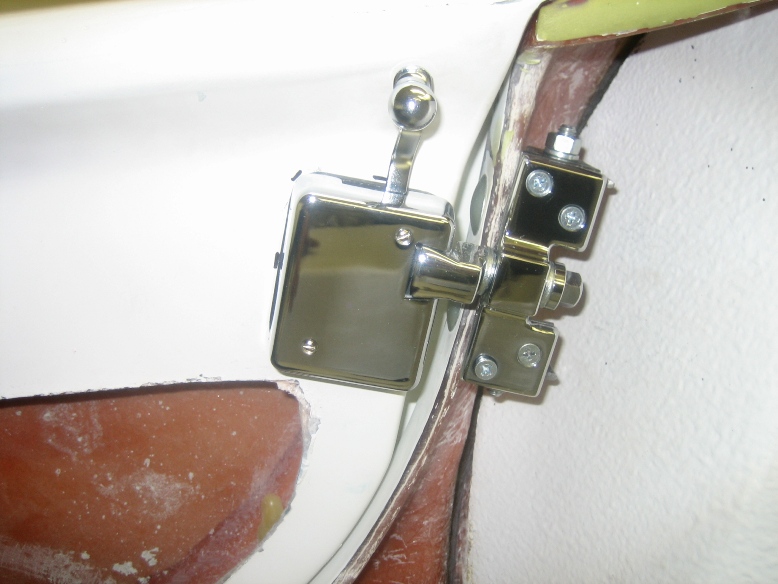
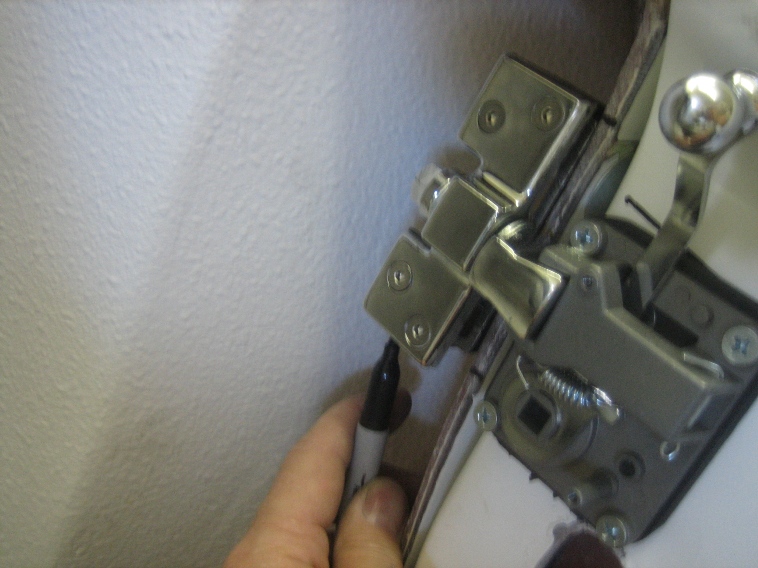
Next
came the door latches. This was not too bad on the door side but is requiring
(present tense) some engineering on the body side. The backing plate mounts
pretty straight forward and I used the interior for the door to line up the
location on the door. There is a metal plate glassed into the door under where
it mounts so I drilled and tapped it to allow a cleaner install. The mechanism
screws to the back plate and then the chrome cover has two REALLY SMALL screws
to attach it to the assembly.

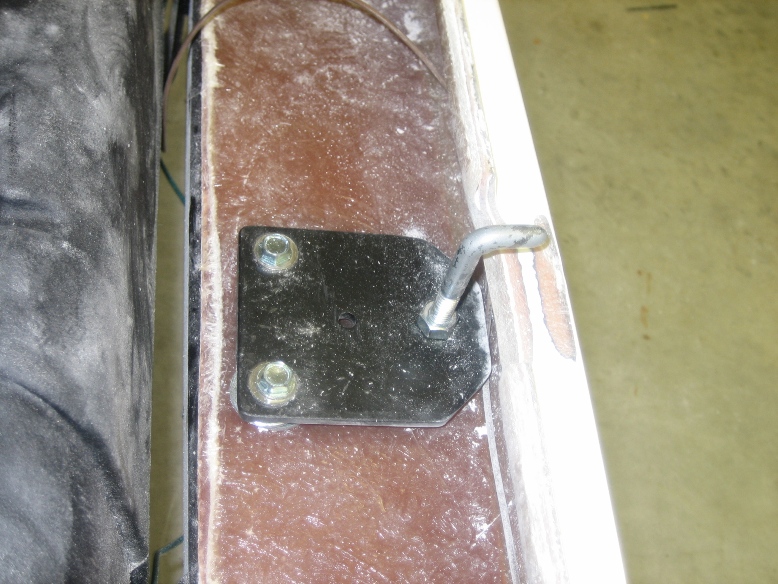
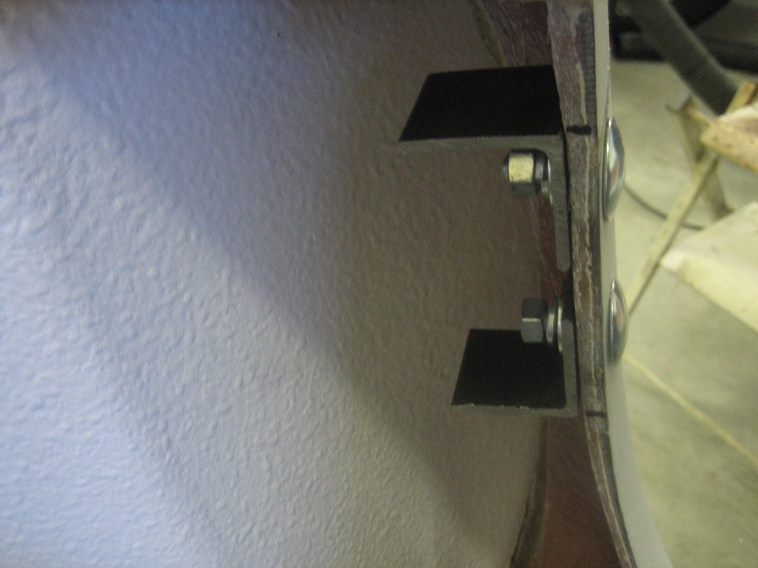
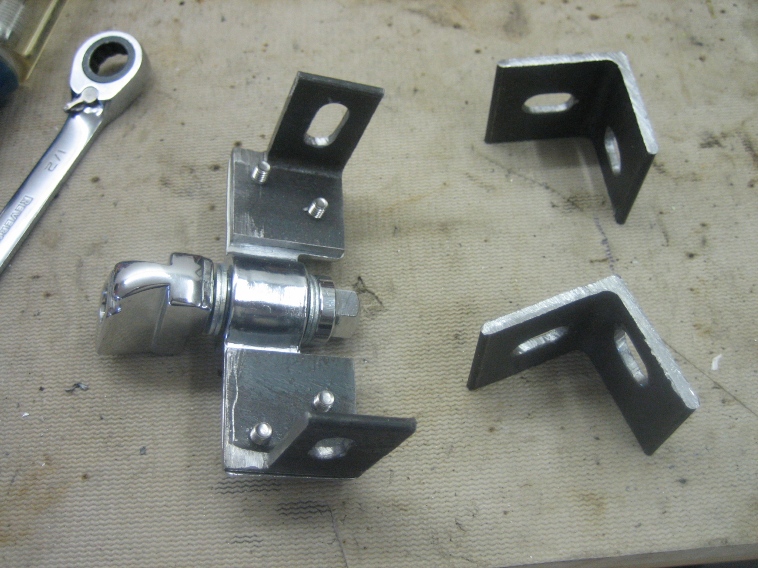
Now
is where the engineering/fabrication began. I tore through all the boxes and
packages looking for something that would resemble a bracket to mount the
striker portion to the body and all I found were two caped bolts that looked
like the ones in the “manual”. Since the striker is 90 deg from the mounting
point on the body and in my pea brain, needs to be adjustable for the door to
close correctly, I began sawing, cutting, drilling, filing, etc… until I had
something that would work. The two brackets a side will allow both up and down
and in and out adjustment.
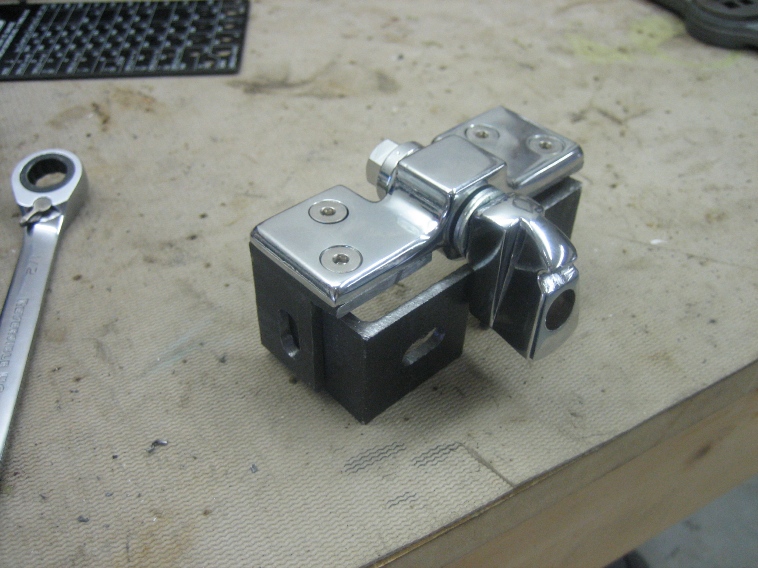
I
started off by inserting the striker into the mounted latch and then cut a
couple of pieces of angle iron for the 90 deg mount. I used it to mark the
location of the caped bolts and drilled the holes. I used a dremel tool to
square off the holes to fit the shoulder of the bolt.

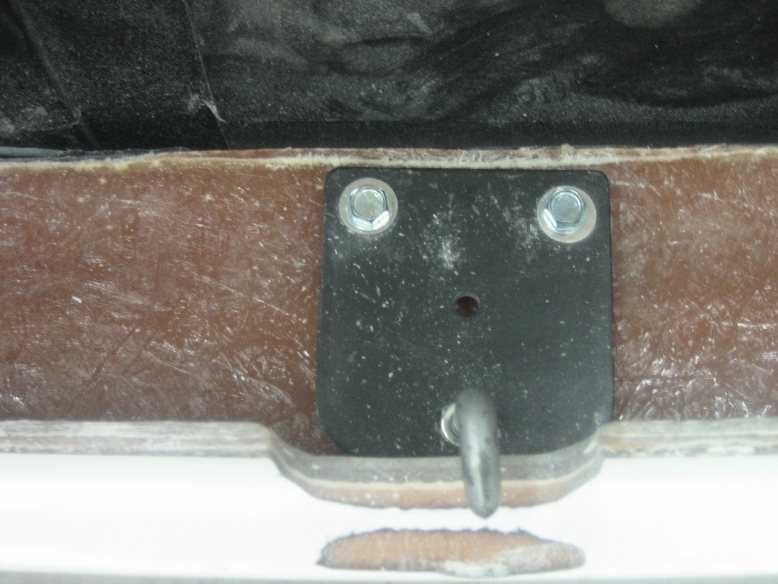
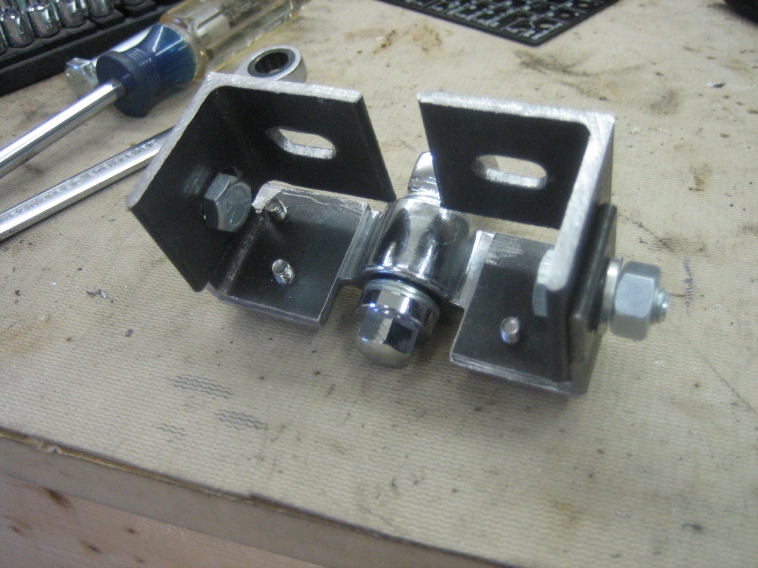
I
had to cut another two pieces of angle iron and then bolt them together. I
slotted the holes in the pieces to allow adjustment. I tapped the piece that
connected to the striker to allow easier mounting. This will also allow me to
remove it separate from the rest of the assembly.

Also
during this stretch of time, I cut out the needed area for the side pipes. I
suggest not doing this until all of the engine and side pipes have been
installed, with the body off. I say this because the marks were not where the
cuts needed to be on the passenger side. I could have torqued the engine and
transmission over to allow it to fit but it sure seemed to put a strain in the
mounts and then the tail of the transmission was not in line with the
differential. I decided that being off a ½ in on the cutout was better and
would not (in all probability) be noticed without running back and forth
between the sides to compare with a ruler!


Now,
how much clearance is needed to keep from scorching the paint?
![]()