Interior
Was not my favorite, but was rewarding!
The carpet that came with the kit is not going to be used. First
off, it is not backed so it will unravel. Second, the carpet for the tunnel and
the back does not match the carpet sent for the floor. One is dark gray, the
other has a dark green tint. This may or may not be the intent, but it does not
appeal to me at all. So down to the upholstery supply house and see what carpet
they had. I wanted a darker gray, but they had some that looked pretty good. I
bought 5 yards and 2 yards of a cheaper carpet that matched what came with the
kit for the trunk area. I will need to redo this also because of my fuel fill
tube relocation and also the lack of use of the upper part of the trunk by the
pieces supplied by the kit.
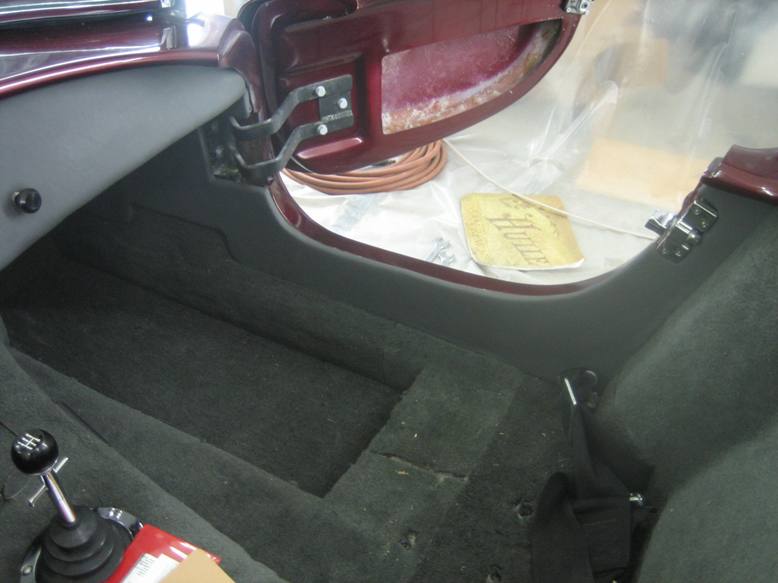
I began by using the supplied (by B&B kit) insulation. I used
the same general purpose adhesive for attaching this as I did for the dash. I
then began on the tunnel portion of the interior. (Just because I haven’t done
this before and it seemed like the logical place to start.) I would place the
carpet over the area and cut it to fit. Then when it was right, I sprayed it
with adhesive and stuck it down.
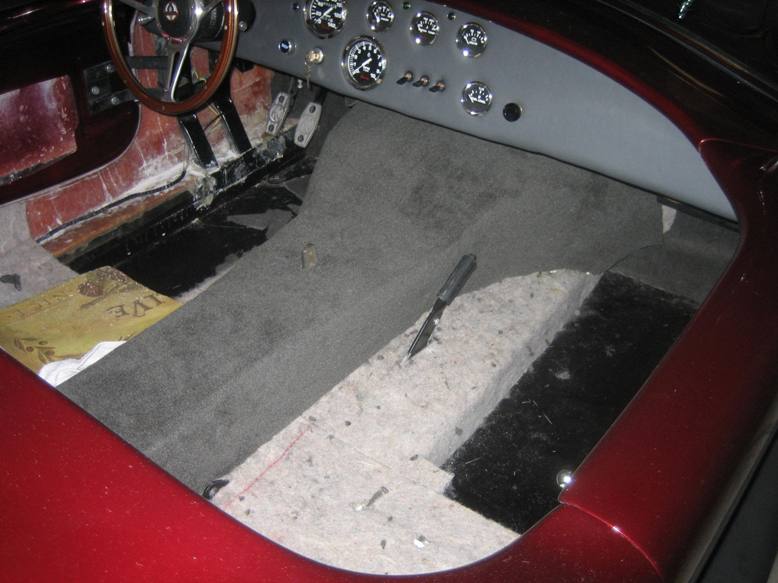

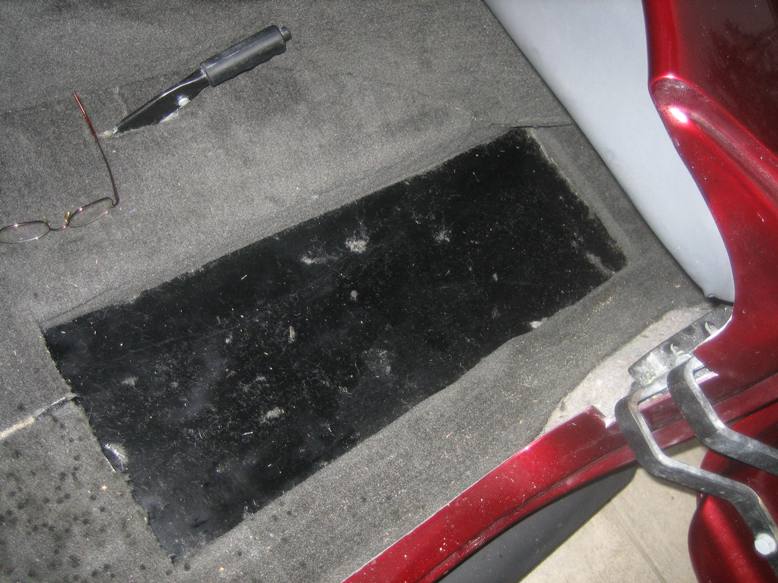
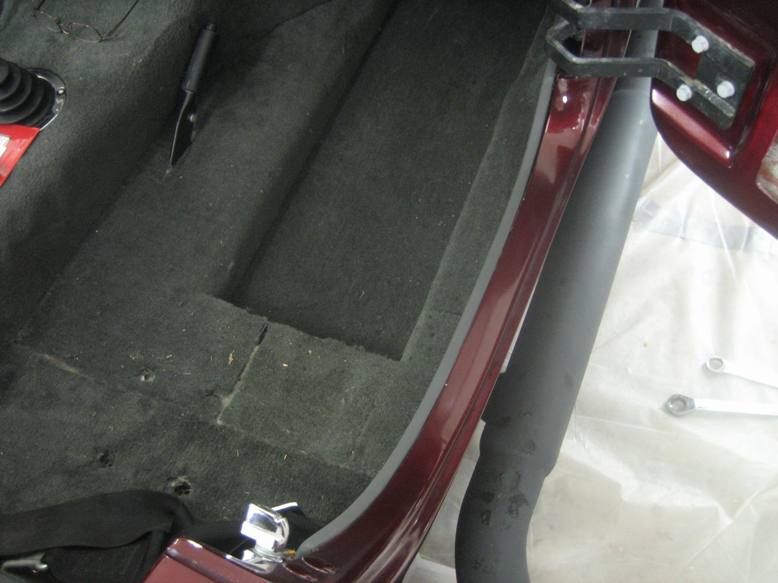
Now you may have noticed that I left the bottom uncovered. I read
on Club Cobra of someone making removable panels in case it rained or otherwise
got wet. I thought this would be a good idea after washing the car a couple of
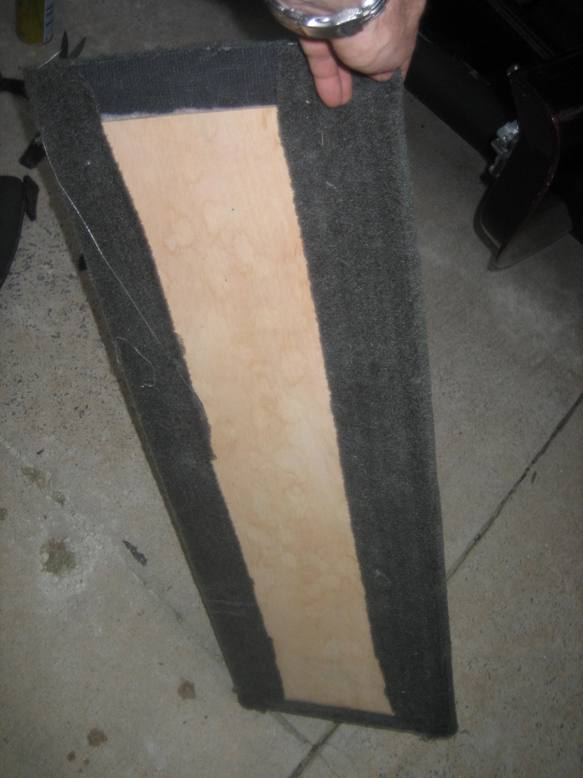
times and sponging out the water that collected in this area. I did this by
cutting a piece of ¼” plywood to fit and covering it with the insulation and
carpet. I left the carpet loose at the rear and a little long to fill in under
the seat area and still be able to get the piece in. When it is put in, you
can’t even tell it is not installed like the rest of the carpet. Ata boy to
whoever thought this one up!
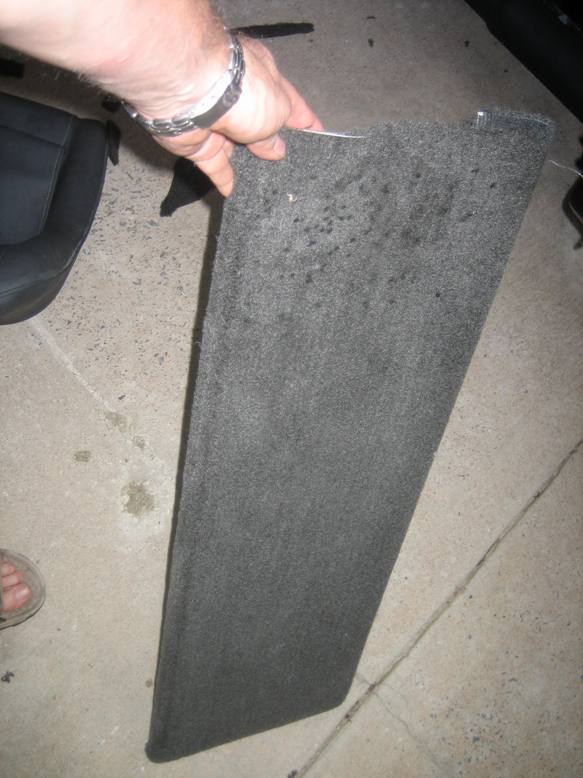
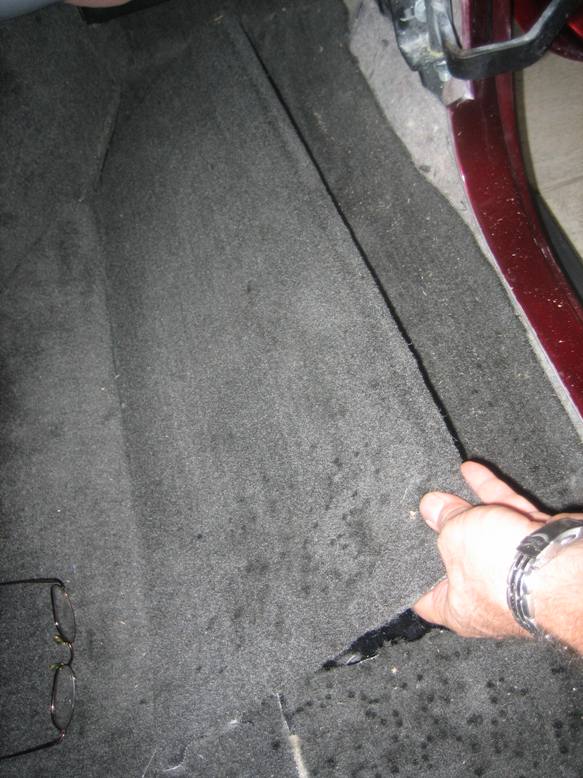

(The dark spots are sweat! July in Arkansas!)
I then turned my attention to the side panels. What was supplied
by the kit are not going to be used, but they did give me a pattern to work off
of. One reason is that they did not cover the side past the door strike area.
Also, where the frame came down in the area of the door hinge mounts, it bowed
out and didn’t fit at all. I extended the side and cut an area for the frame
humps on mine. This also allowed me to make provisions for securing the panel
and making it fit the opening more exactly.


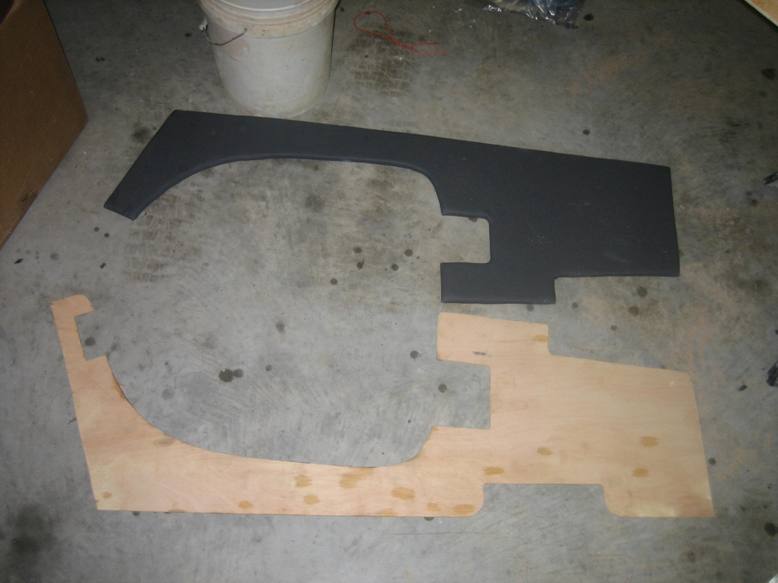

I bought some ¼” padding and matching vinyl from the same
upholstery supply as the carpet and glued it just like the dash except I could
staple the back to the plywood. This was extremely easy and made it look much
better. I also cut 1 ½” sections of 1 ½” angle aluminum and riveted them to the
back to allow for securing the panels to the sides.
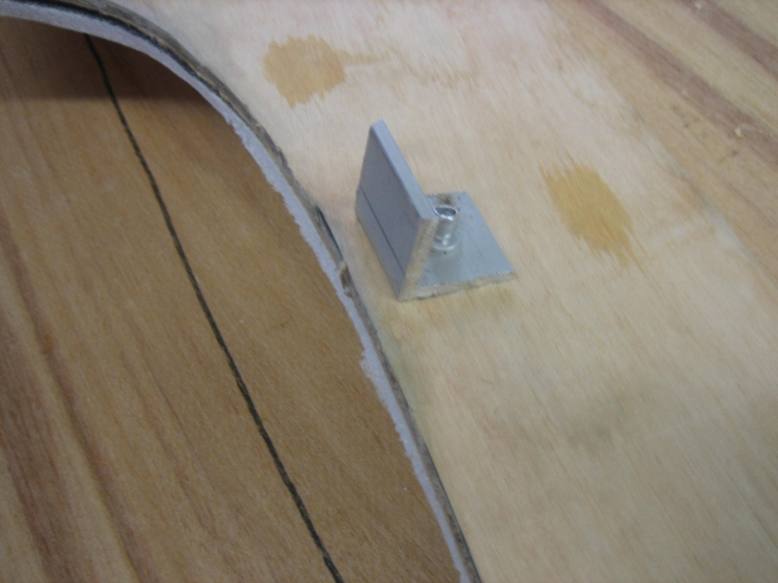

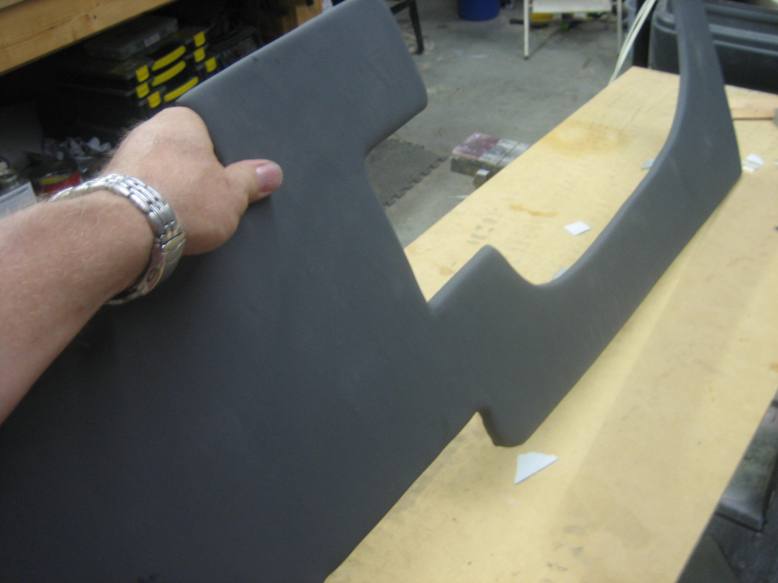
The panels turned out pretty good. They fit flush against the
side and have a very clean look to them.
I placed the panels from the kit in the trunk and cut an area
to allow the hinge to pass through the back panel. This panel blocks off a pretty
large area behind the passenger area that I plan on using. It looks to me like
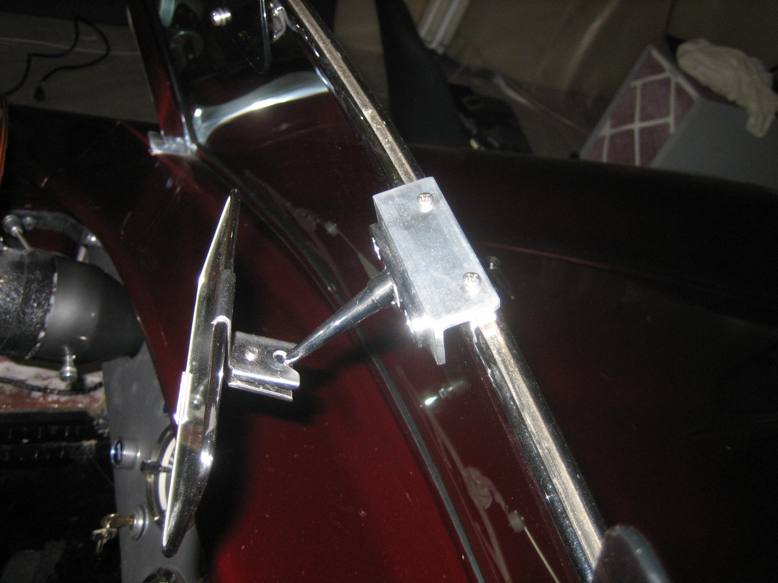
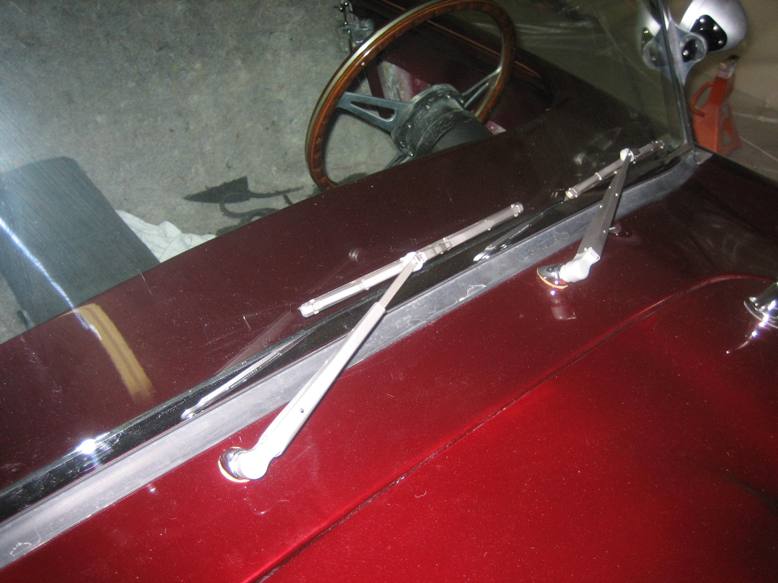
I need every inch I can get! I took this time to fabricate a mount for the rear
view mirror that attaches to the top of the windshield. I had it mounted to the
dash in the correct location before painting and I had a real hard time seeing
anything in it! So I relocated it to the top of the windshield. Not period
correct, but much more functional! Also it was time for the wipers!
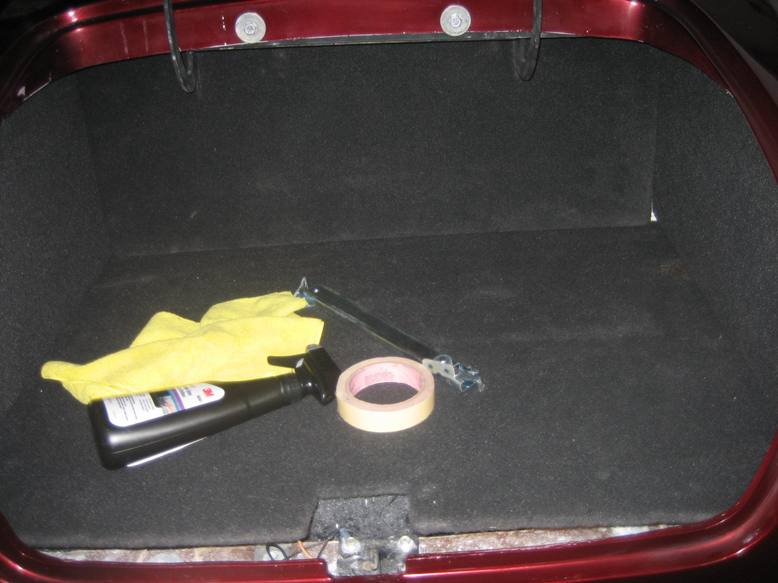
And one more accessory, the hood prop.


![]()