Trunk Rework
The
trunk kit was a good starting point, but not good enough to finish out with!
The trunk panels looked good until they were installed. The
back panel blocked the space needed for the trunk hinges and also blocked the
room above the differential. The area within the fenders were also unusable
with the kit pieces. I wanted to use as much of the trunk area as possible as
it is very small in the first place. Also there was a large gap in the rear
that needed covering. The main panel also sat on the top of the fuel tank and
was not supported on the sides. These are the items that I wanted to remedy
with a complete rework of the trunk. I used the kit panels as patterns and
added areas needed to fill the gaps.
Sorry for the quality of these pictures. I was limited on the
lighting and I didn’t check the pictures before coming in for the night!
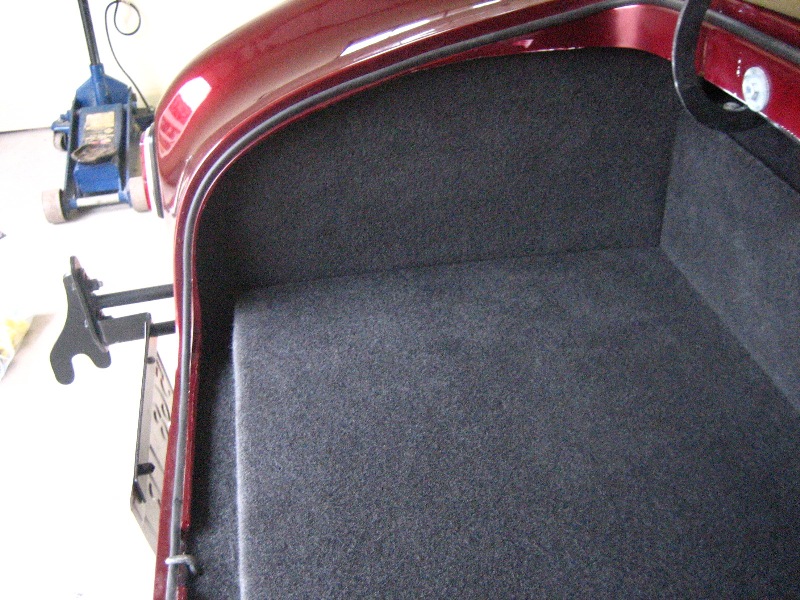
I began by making a frame for the bottom panel to rest upon
and support the edges. I used a 1x4 with a bracket in the corners to put
together the frame. This also raised the panel so that the fuel line for the
vent would not be crushed. I made a step-down piece on the rear and coved it
with the carpet to finish the gap that was present with the kit supplied
pieces.


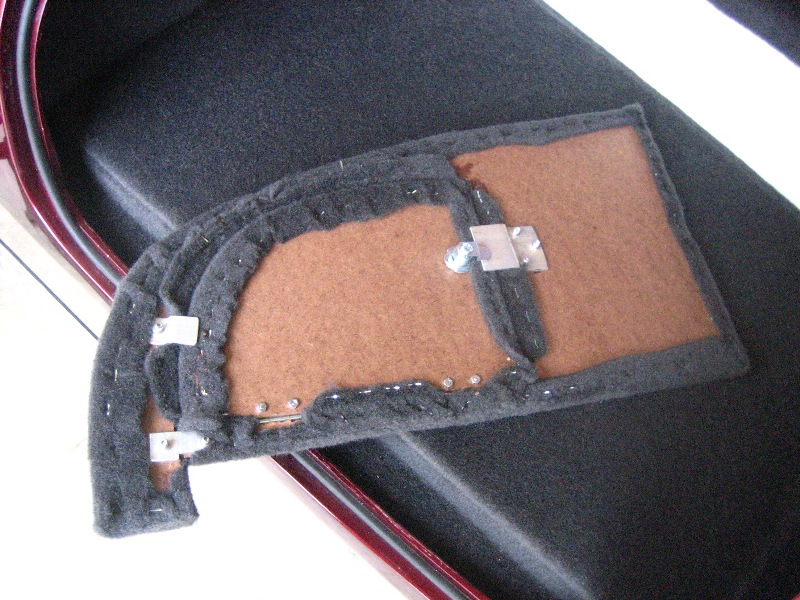
I then covered the upper area with carpet and began working
on the access door for the passenger side fender area. I wanted a door to cover
the storage area. I tried to find a simple latch but ended up buying a lockable
latch like the ones used on drawers. The material I used was 3/32” hardboard.
This is the same or similar to what the kit used and seems to be pretty easy to
work with. I made the door flush so I needed to add stops to keep the door from
passing through. I also added “tails” to the side panels to cover the stepped
drop at the rear.

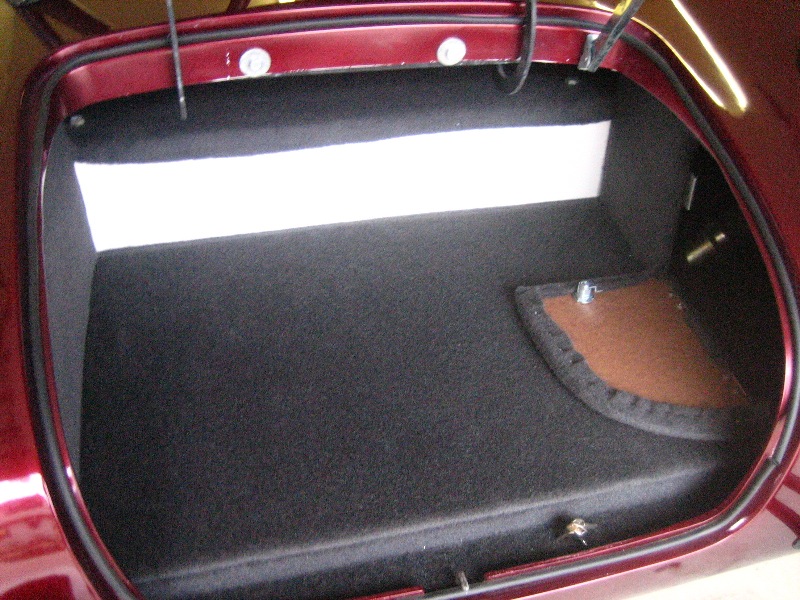
I placed ¼” padding over the tank to keep it from rattling. I
then installed the bottom panel. The back of this panel lined up with the
stepped up piece in the rear. The side panels then could be installed. They are
tight enough that they will stay after installing the back panel.


I am very pleased with the finished product and it gives me
more room to store stuff!
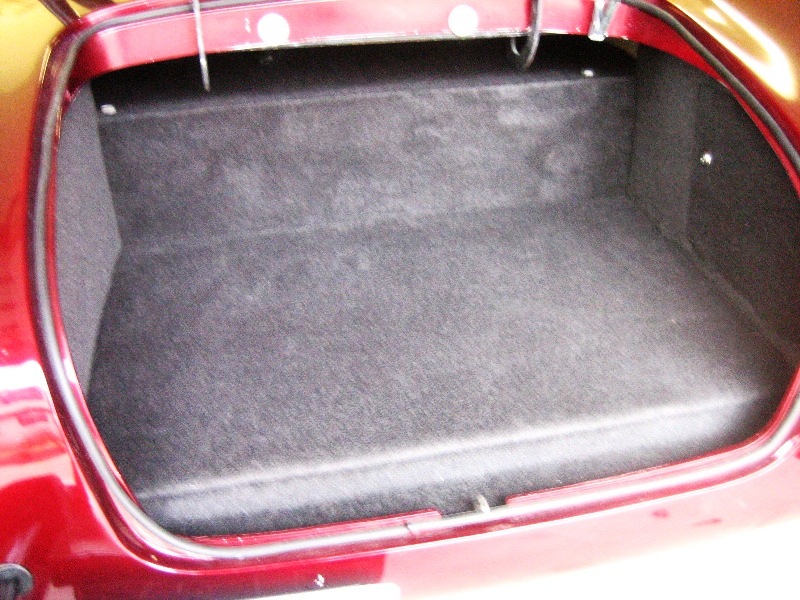

Now if I can just find a weatherproof car cover that doesn’t
take up half of the trunk!
![]()