Lets Get Going Again!
I have motivated myself to finish the body work.
After many delays, I have put myself on a schedule to paint
by the end of March!
Like I have mentioned before, this is not my best skill, but
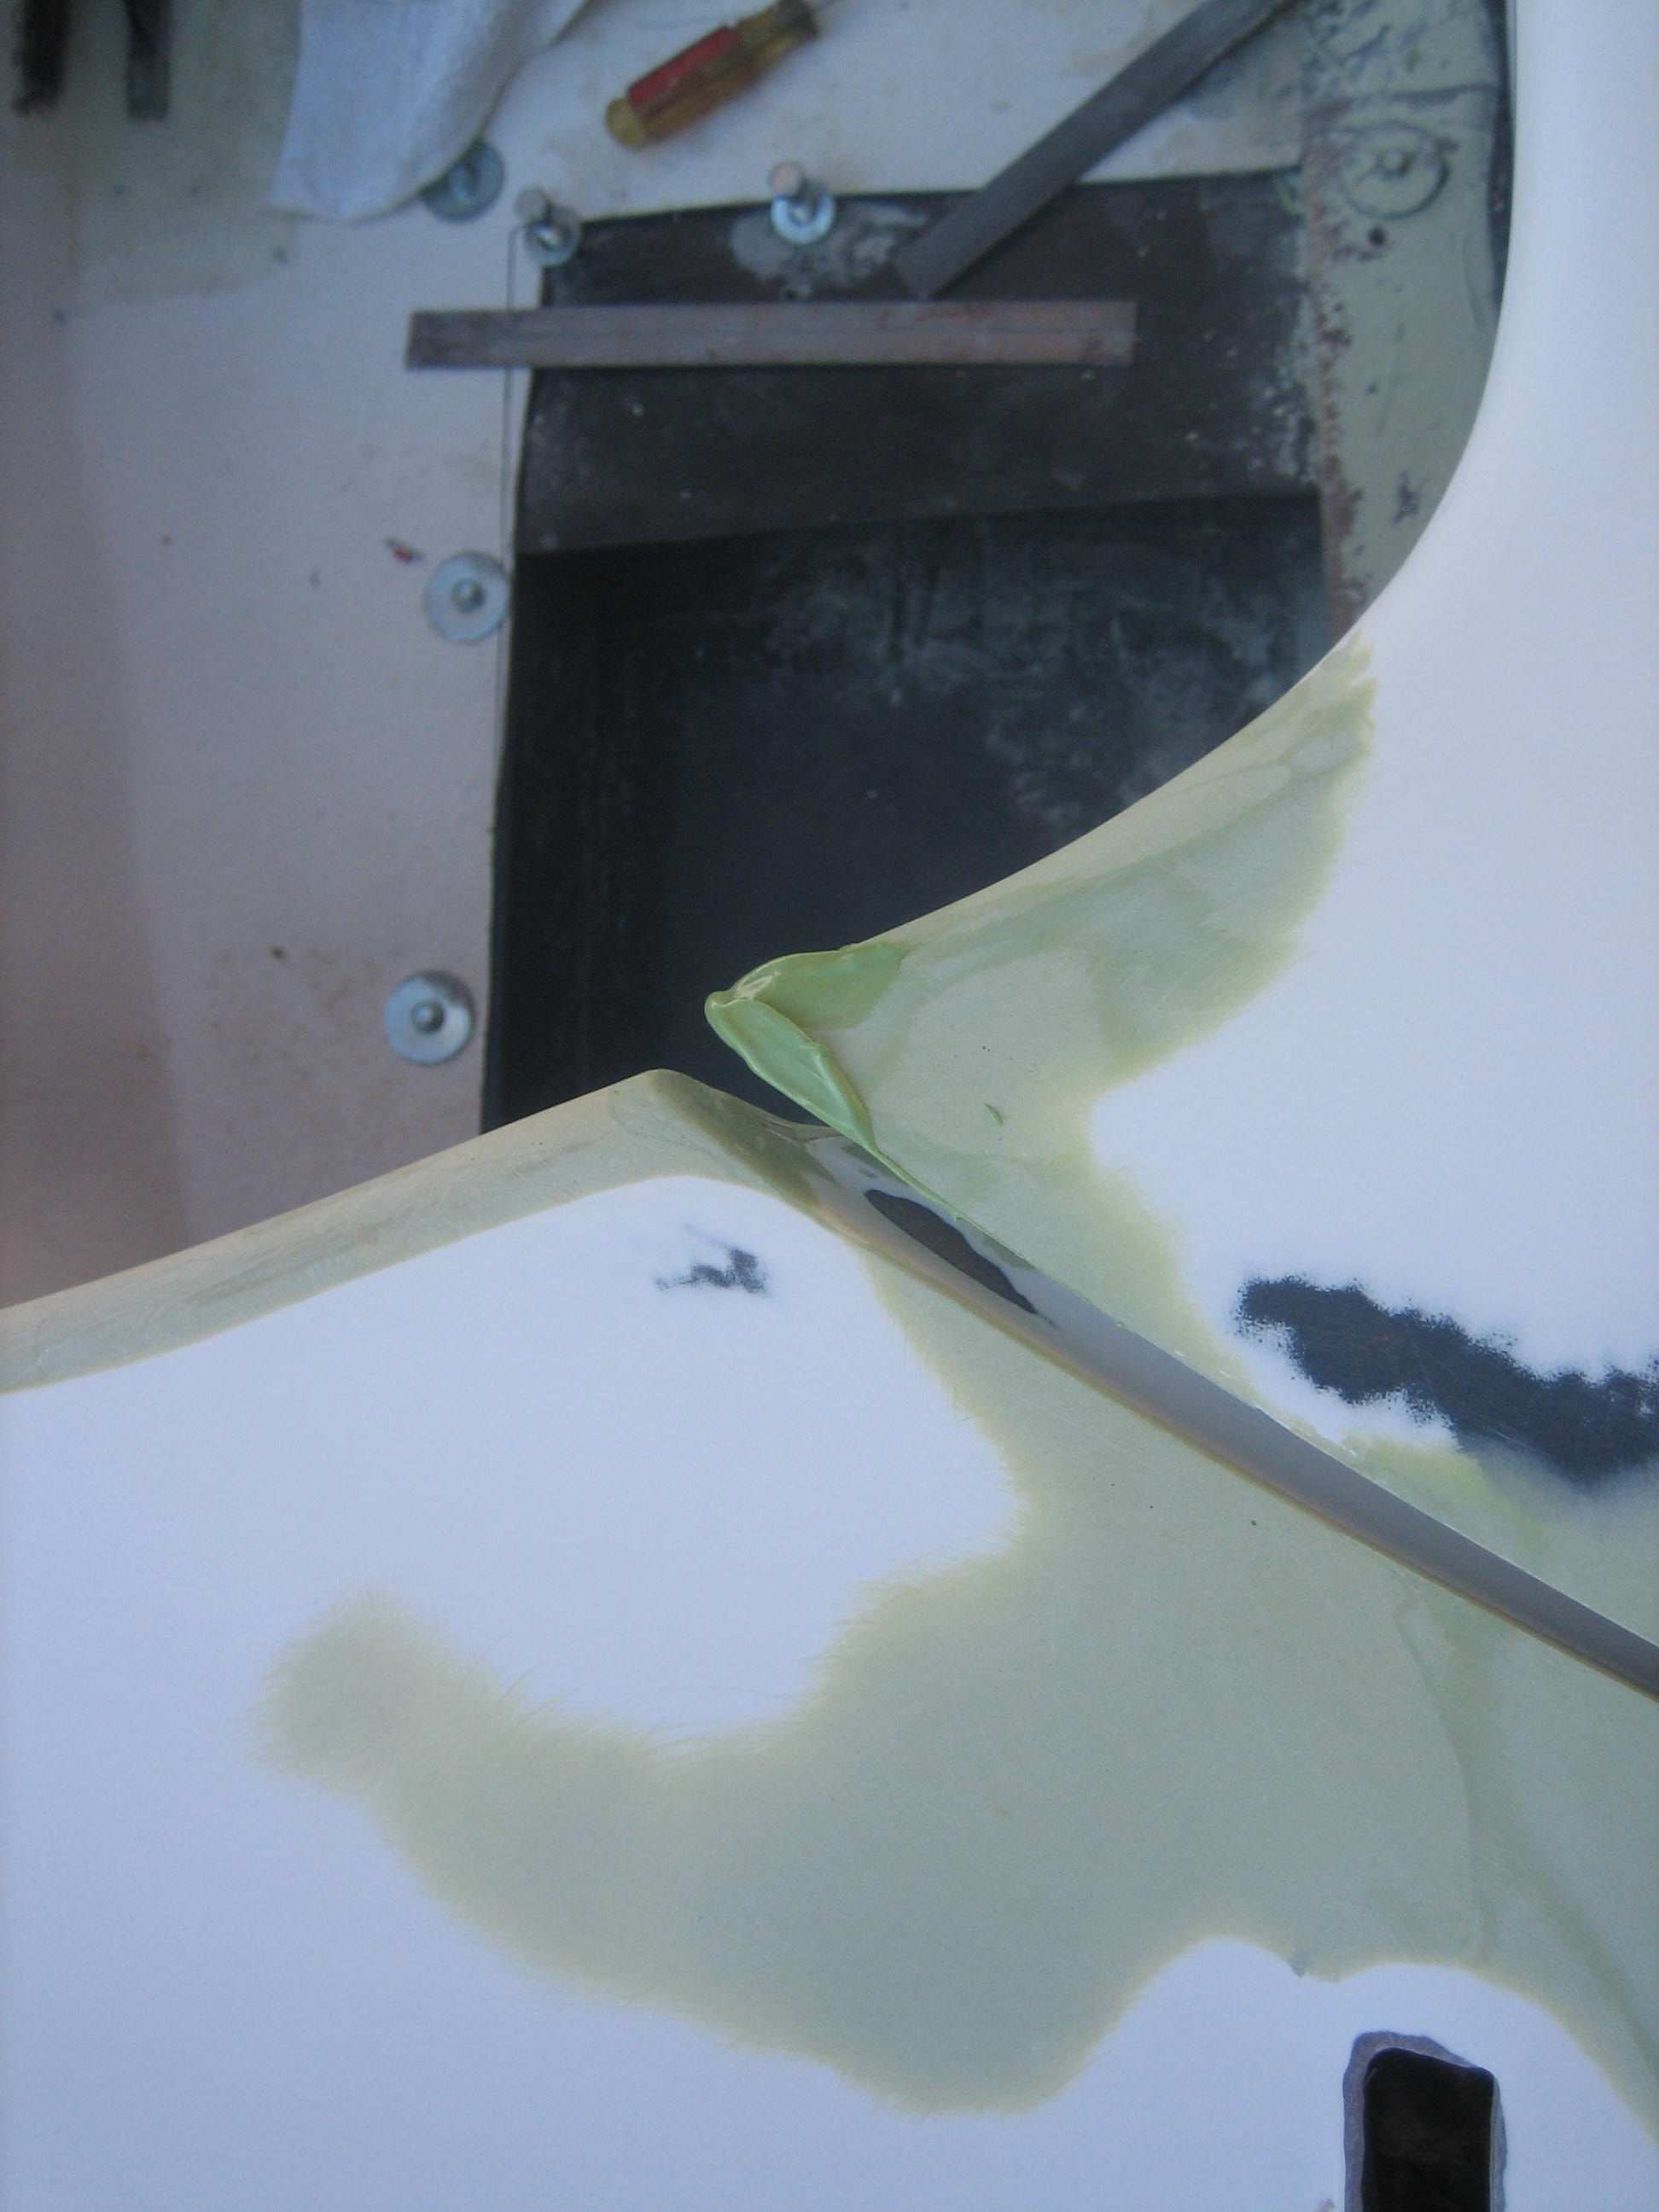
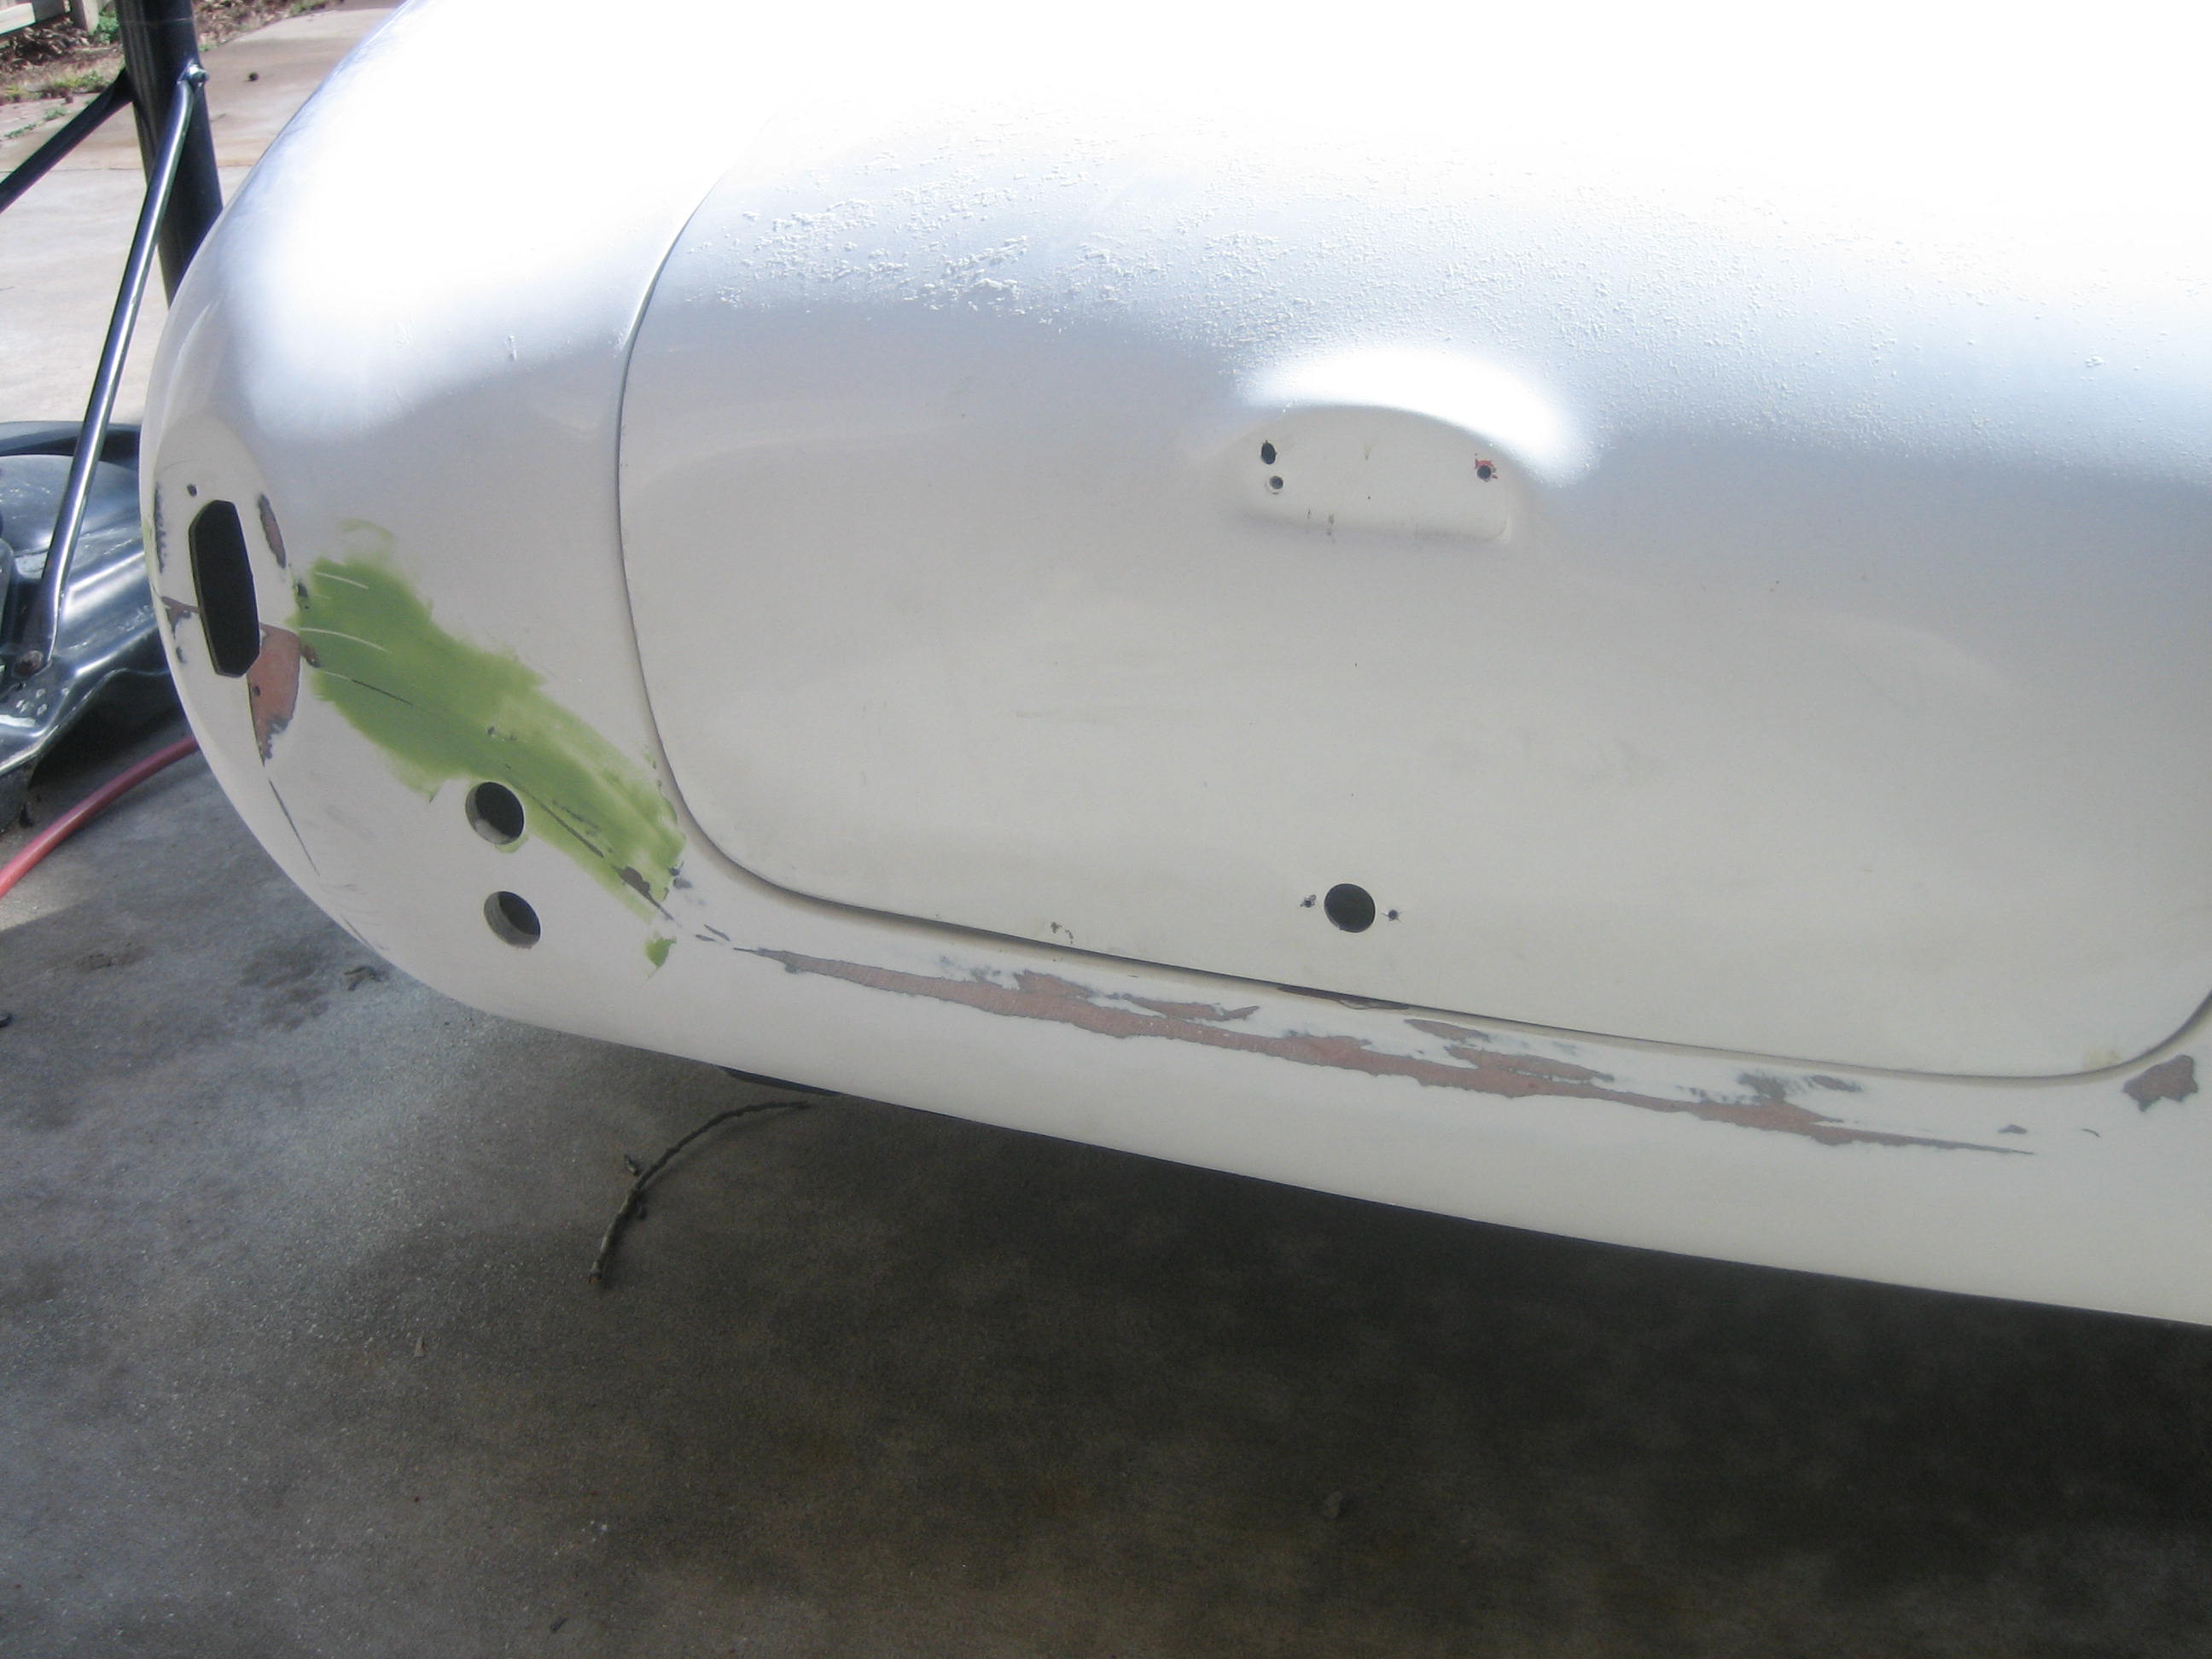
I am trudging onward. I am using Rage Gold filler and taking my time trying to
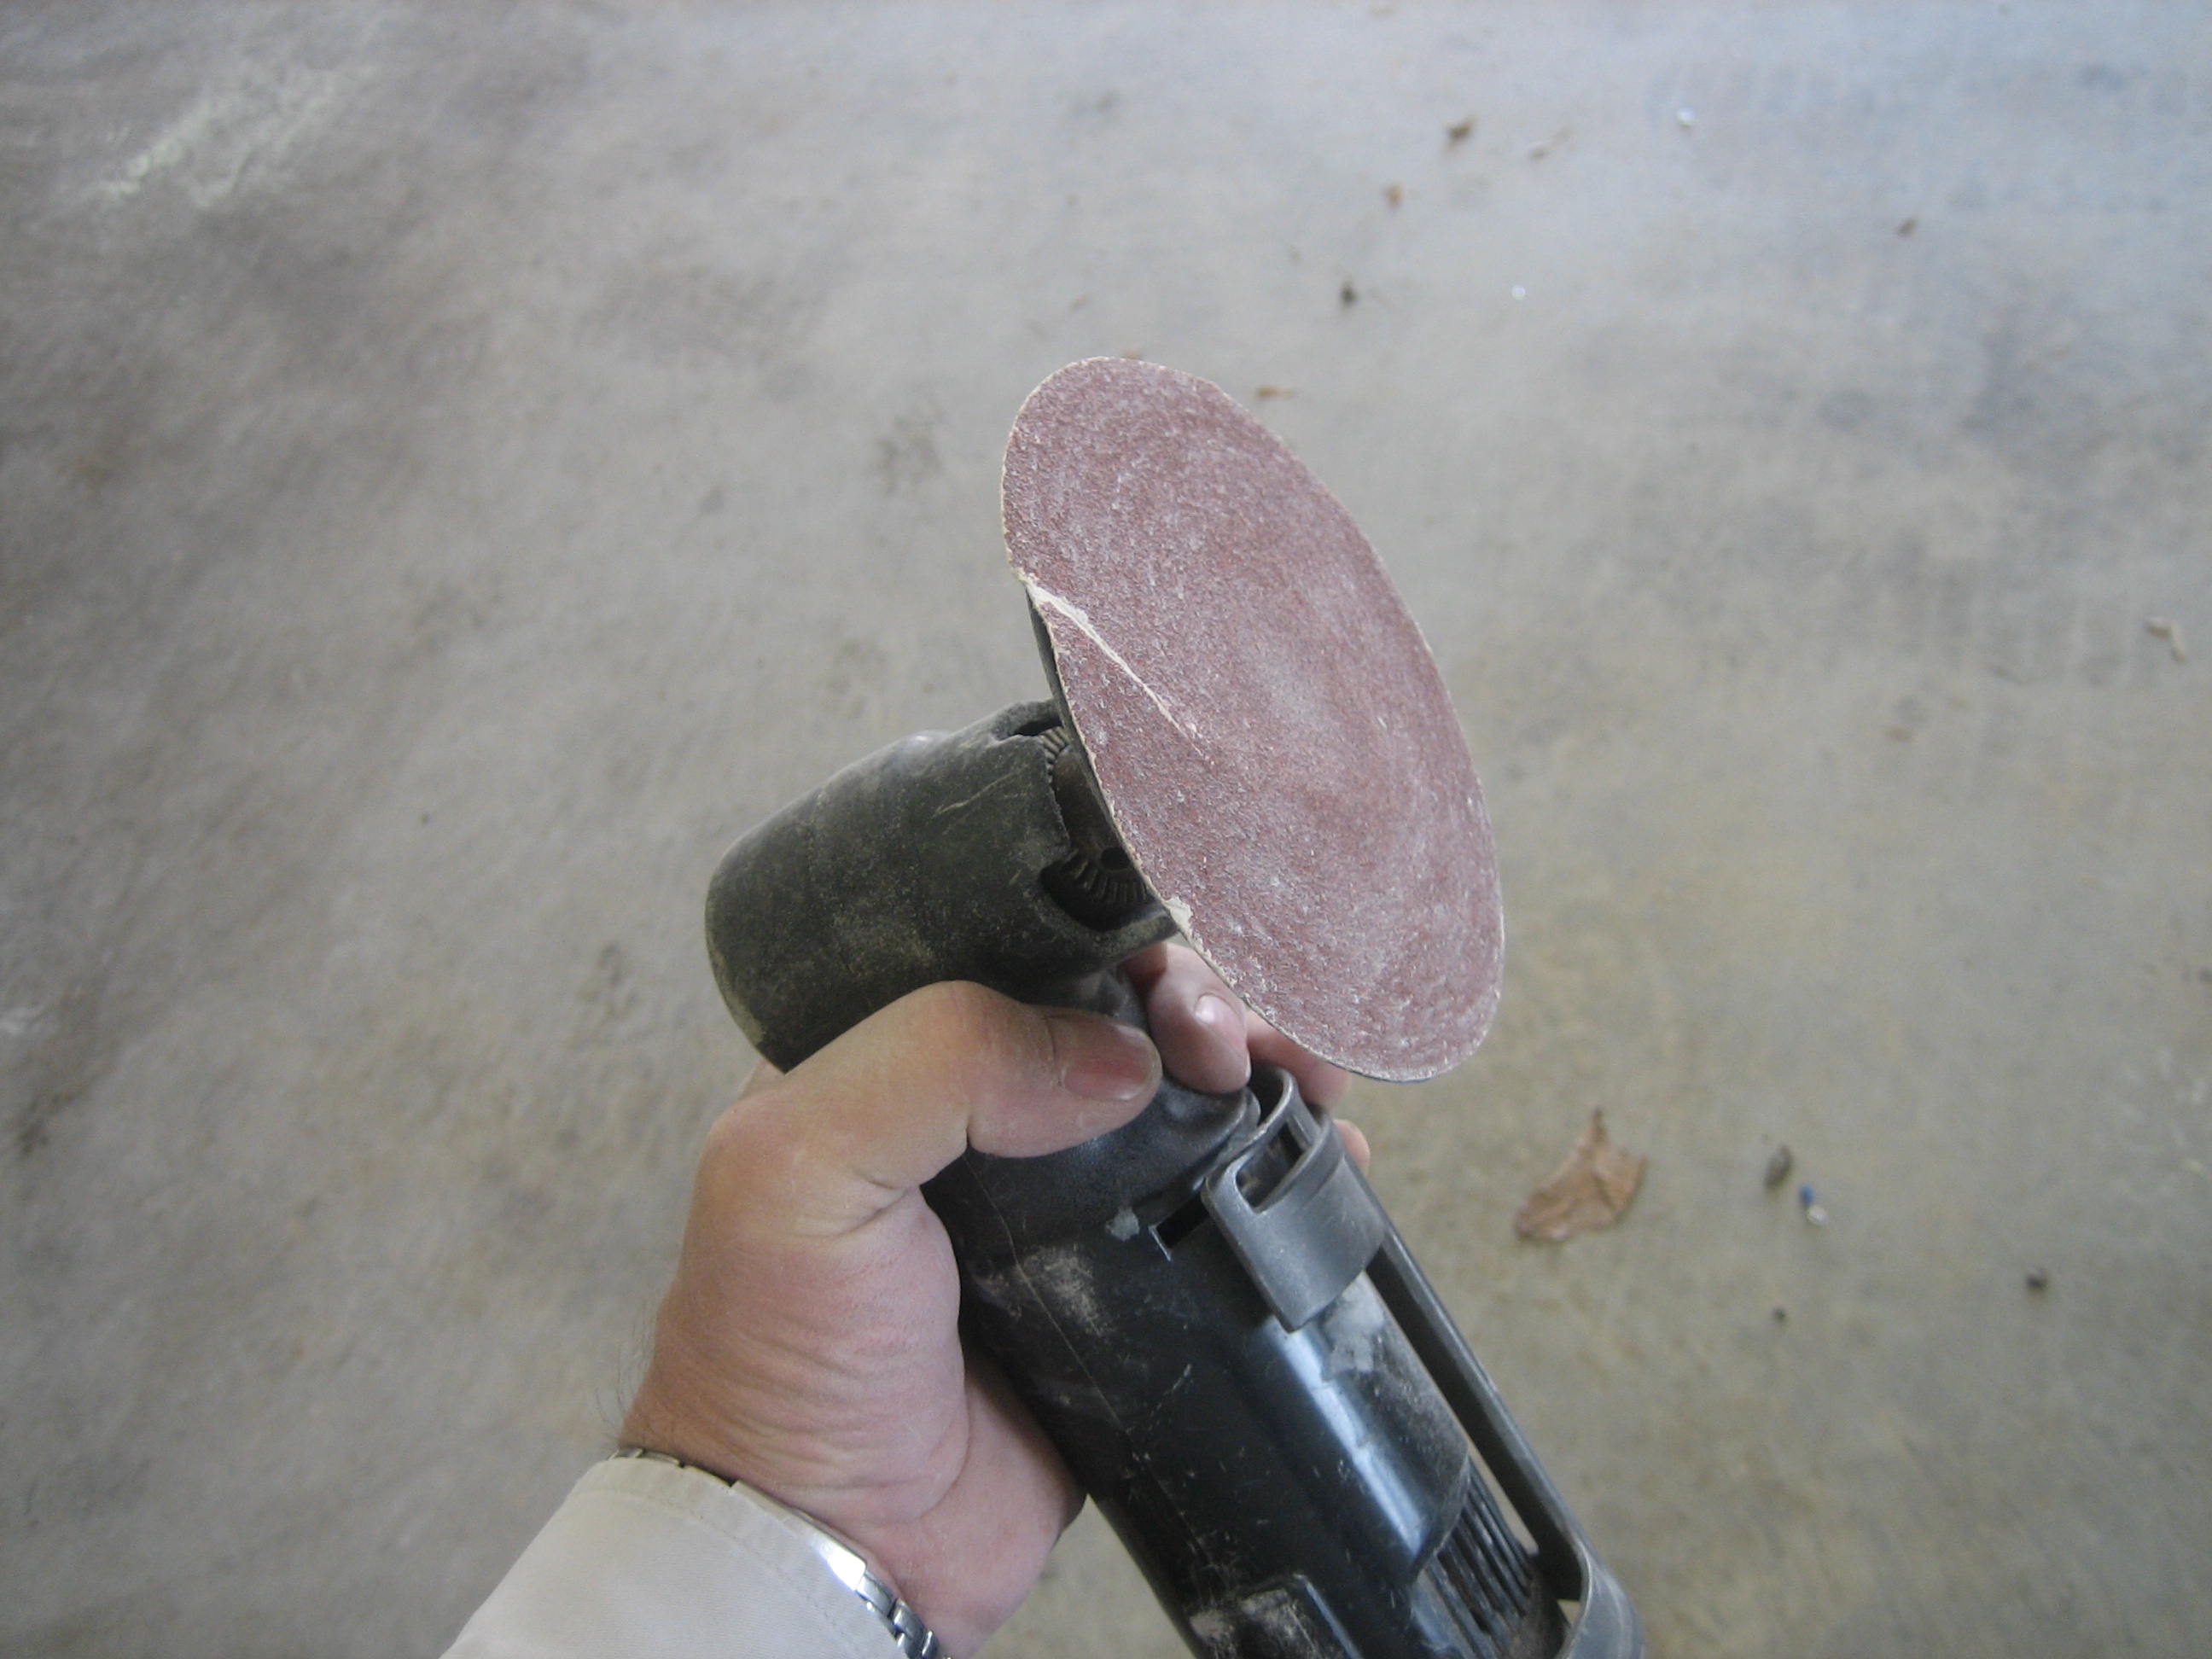
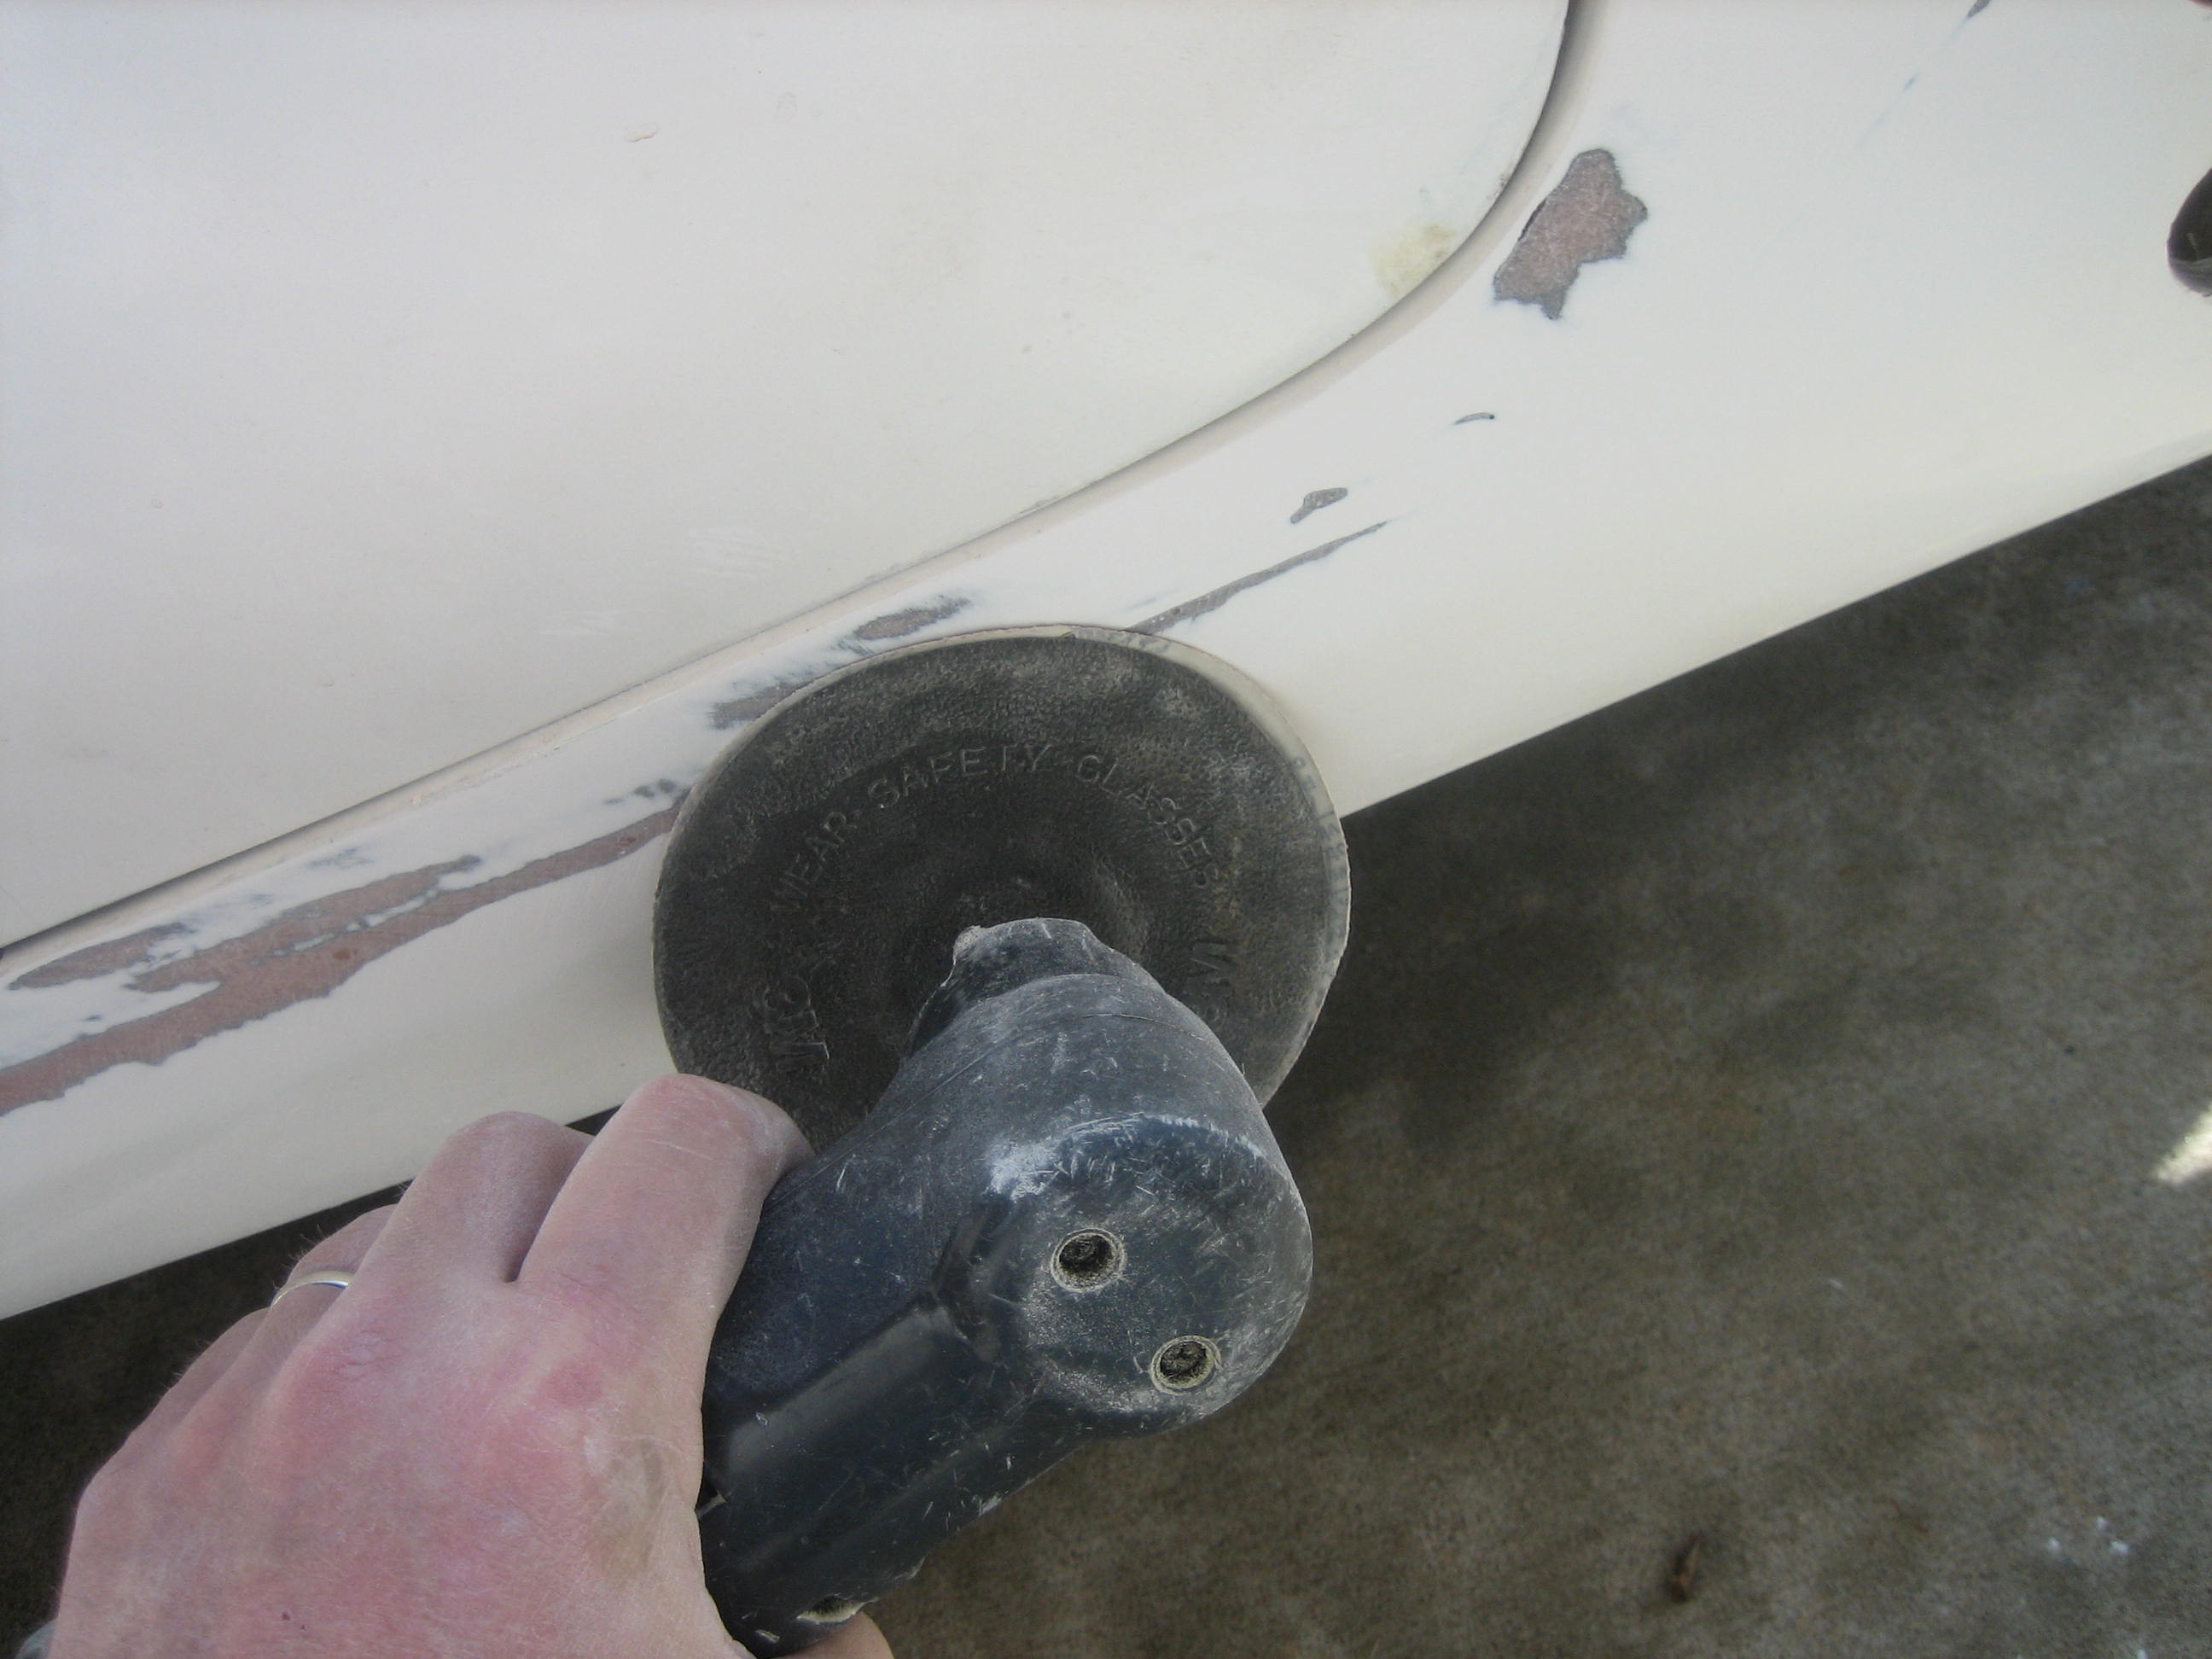
get it right. The seams are ground down with an angle drill and a rubber
backing pad with 60 grit paper. This knocks the ridge off so I can fill it in
and smooth it out. It was Hard to remove all of the parts that allow me to
drive it so maybe this will kick me in gear to finish the paint. I began by
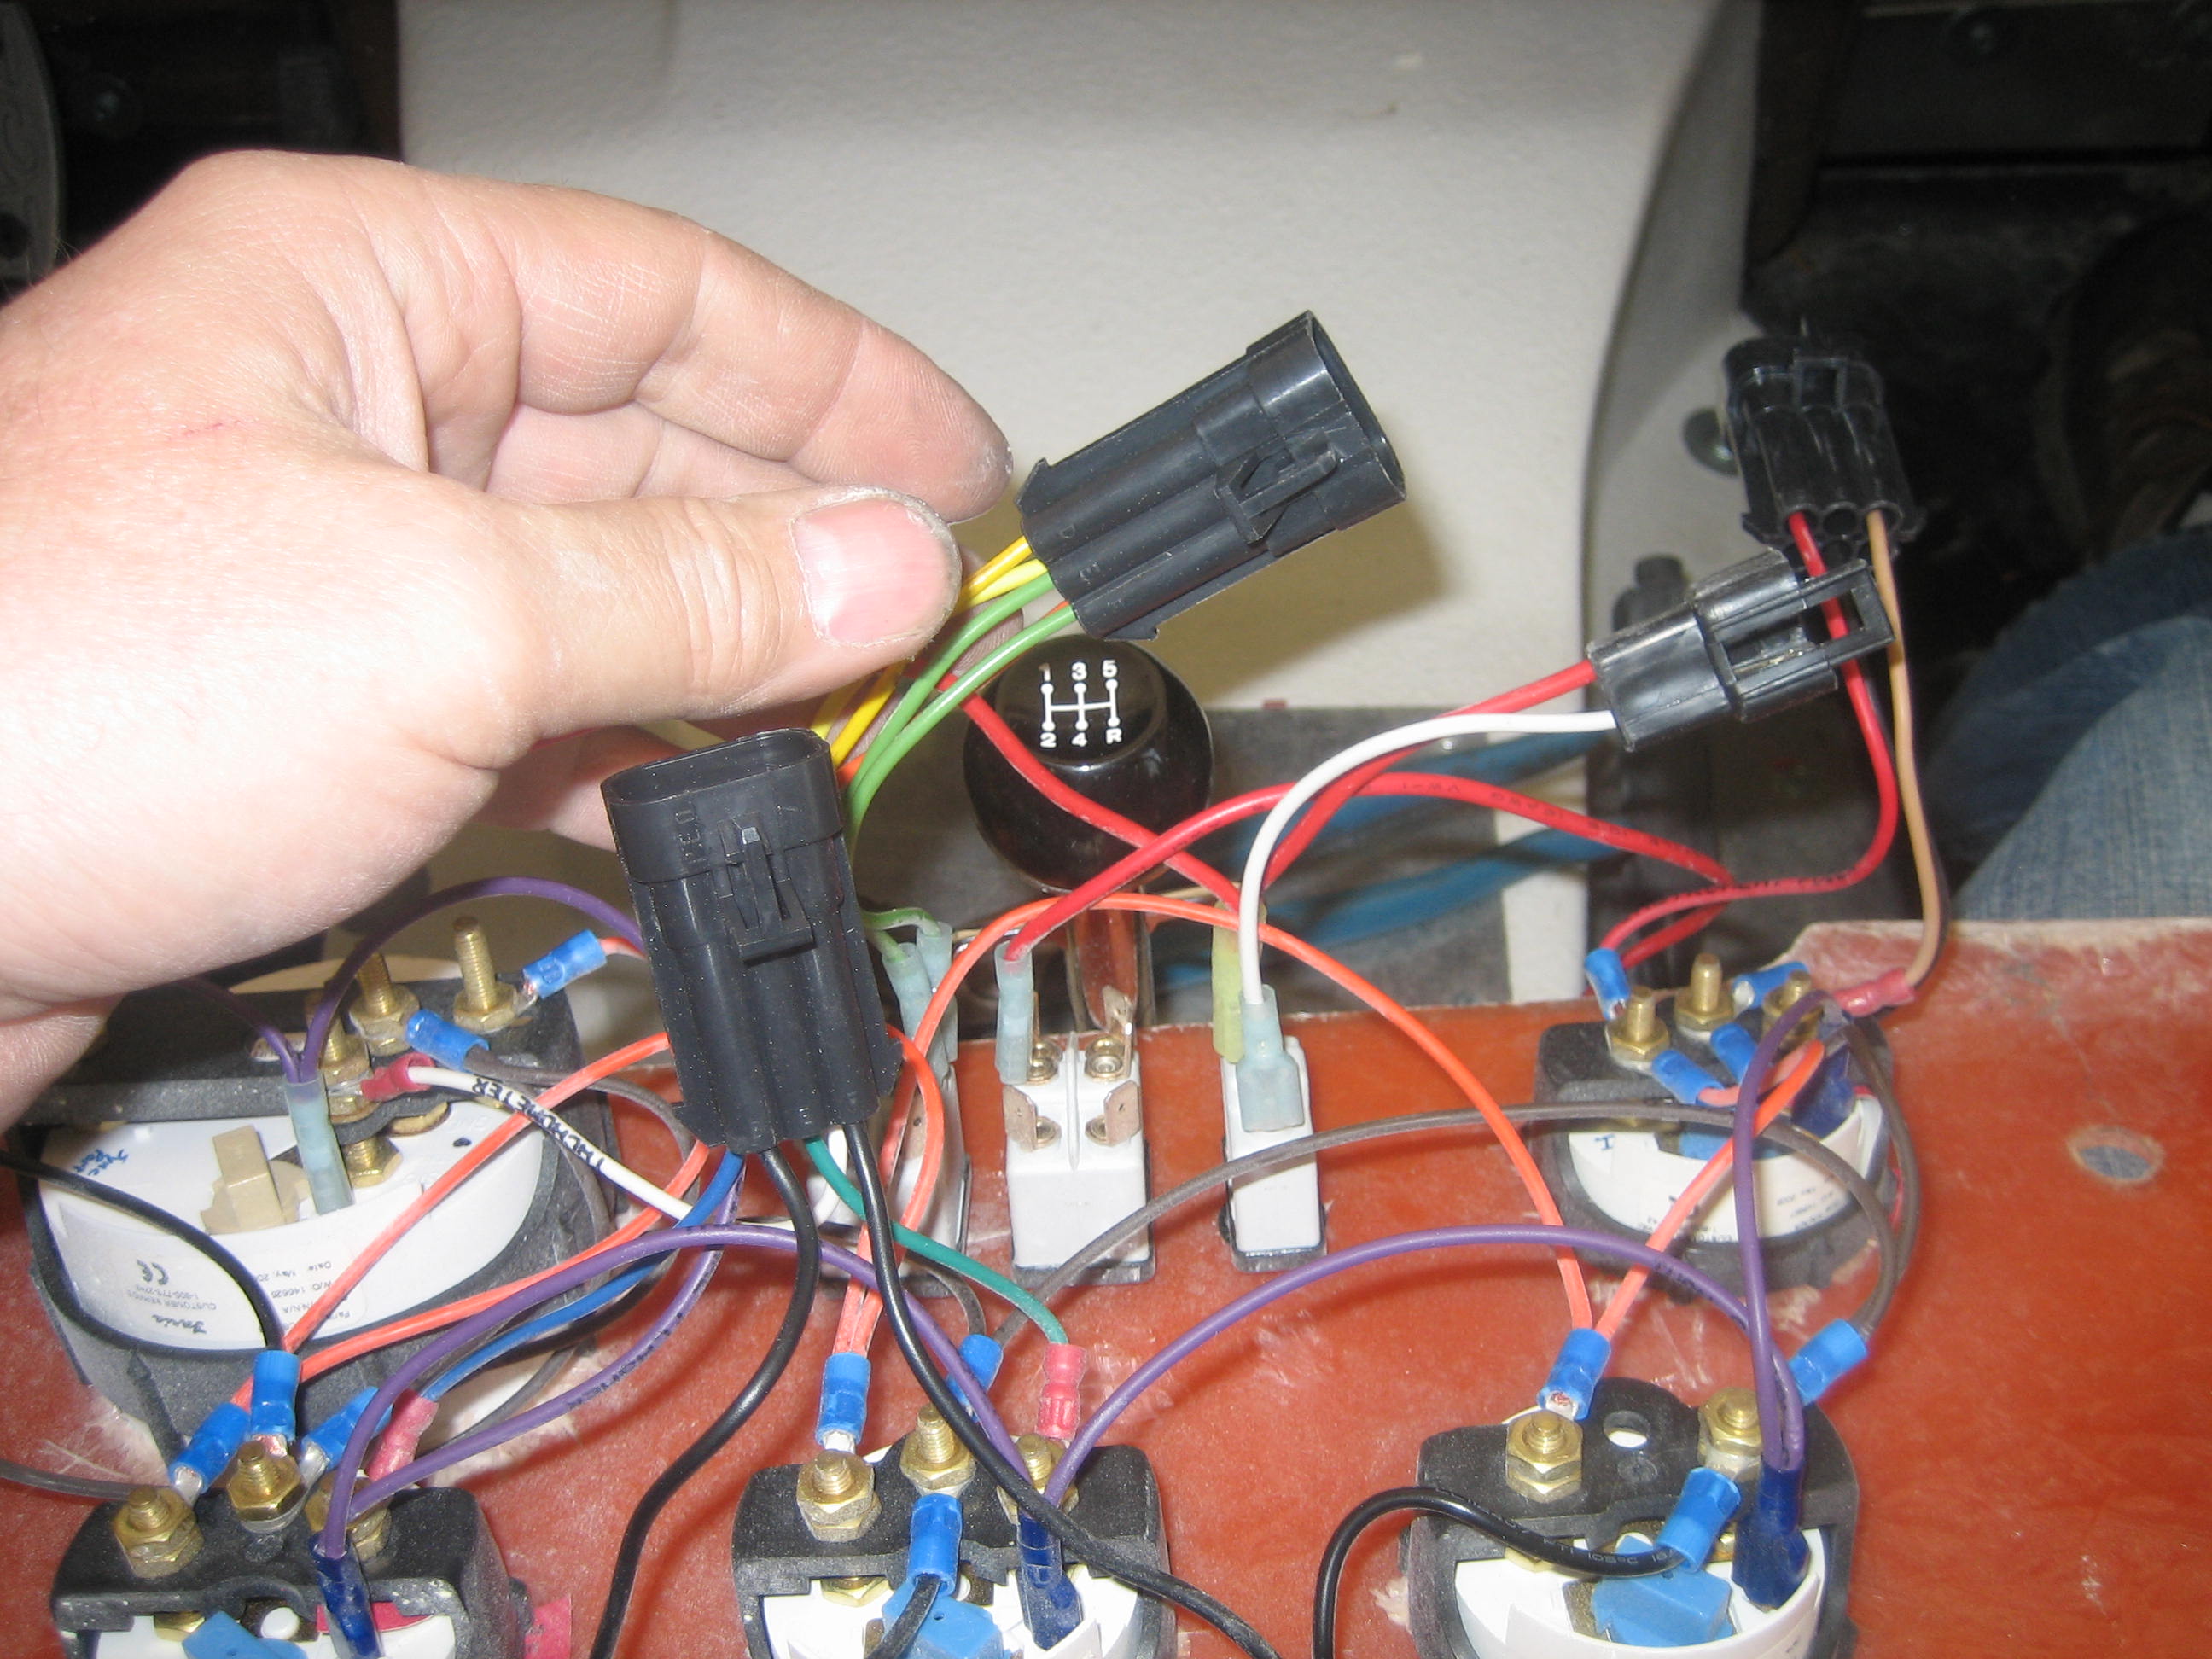
removing the lights, windshield, and all other items. I removed the steering
wheel and dash. This was a good time to install connectors on the dash wiring which
will make it easy to re-install the dash after paint and upholstery.
I began by ordering the connectors from Waytek and installing
them in the wiring leading to the dash.

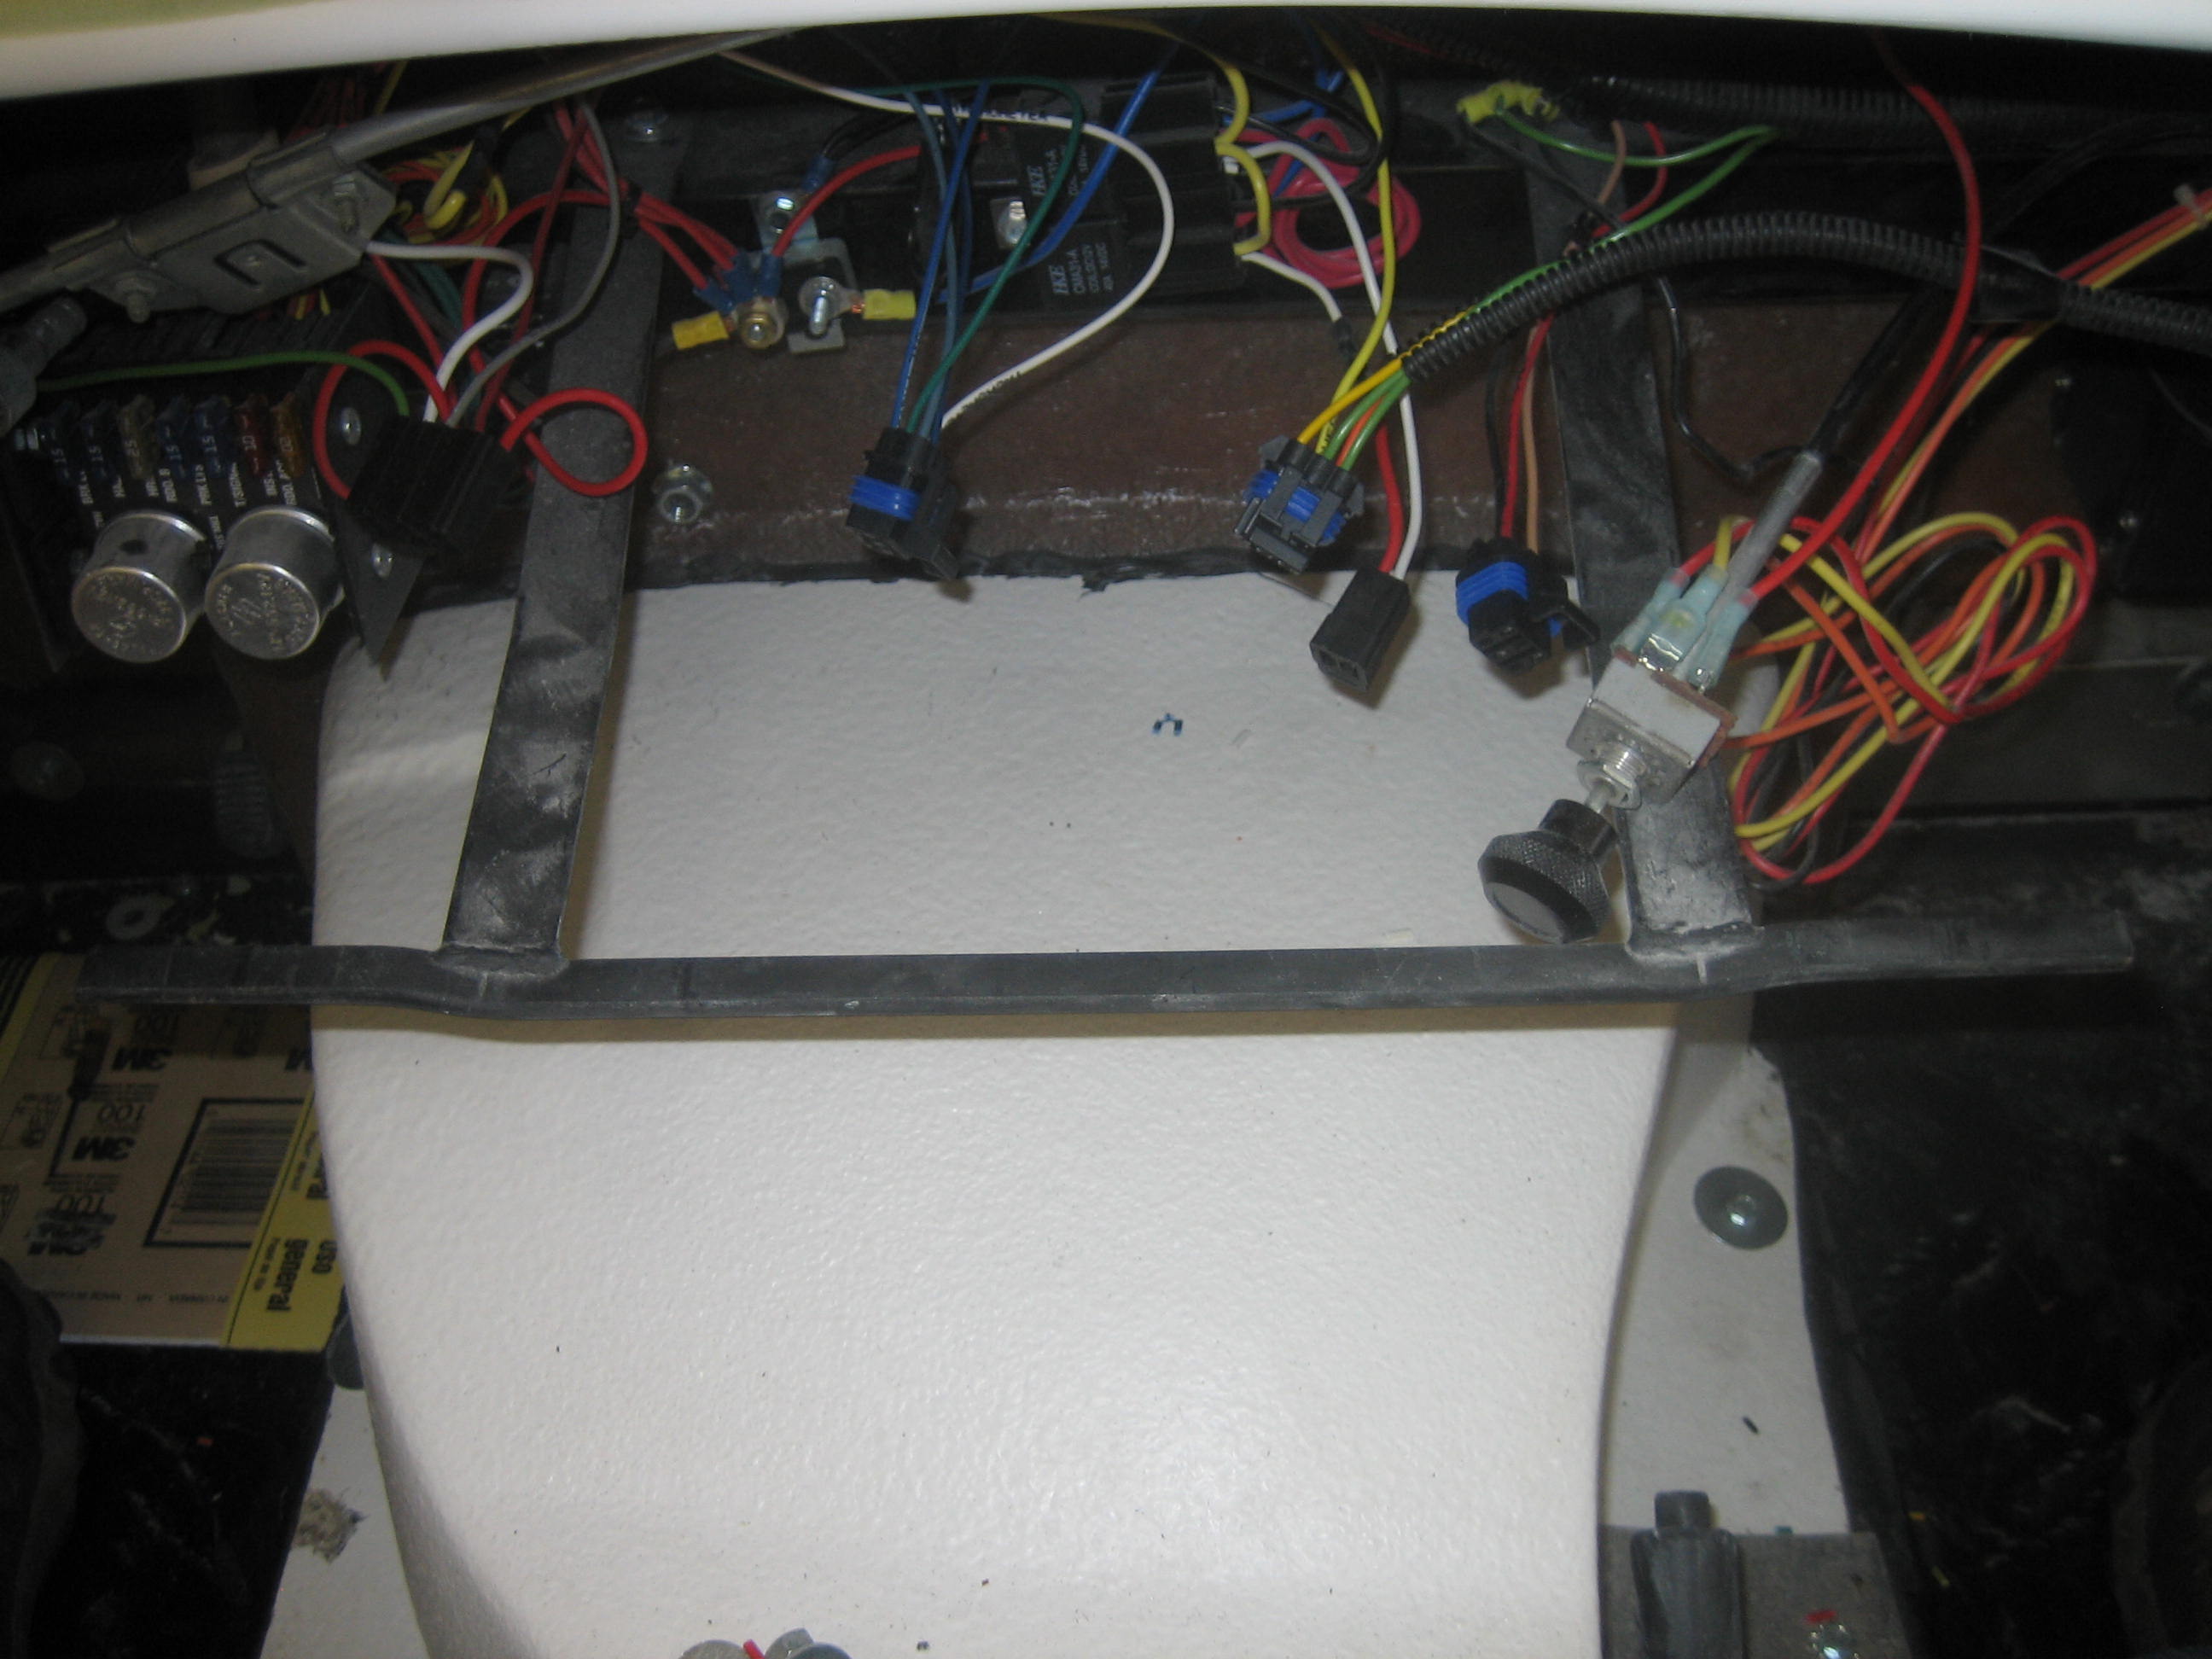
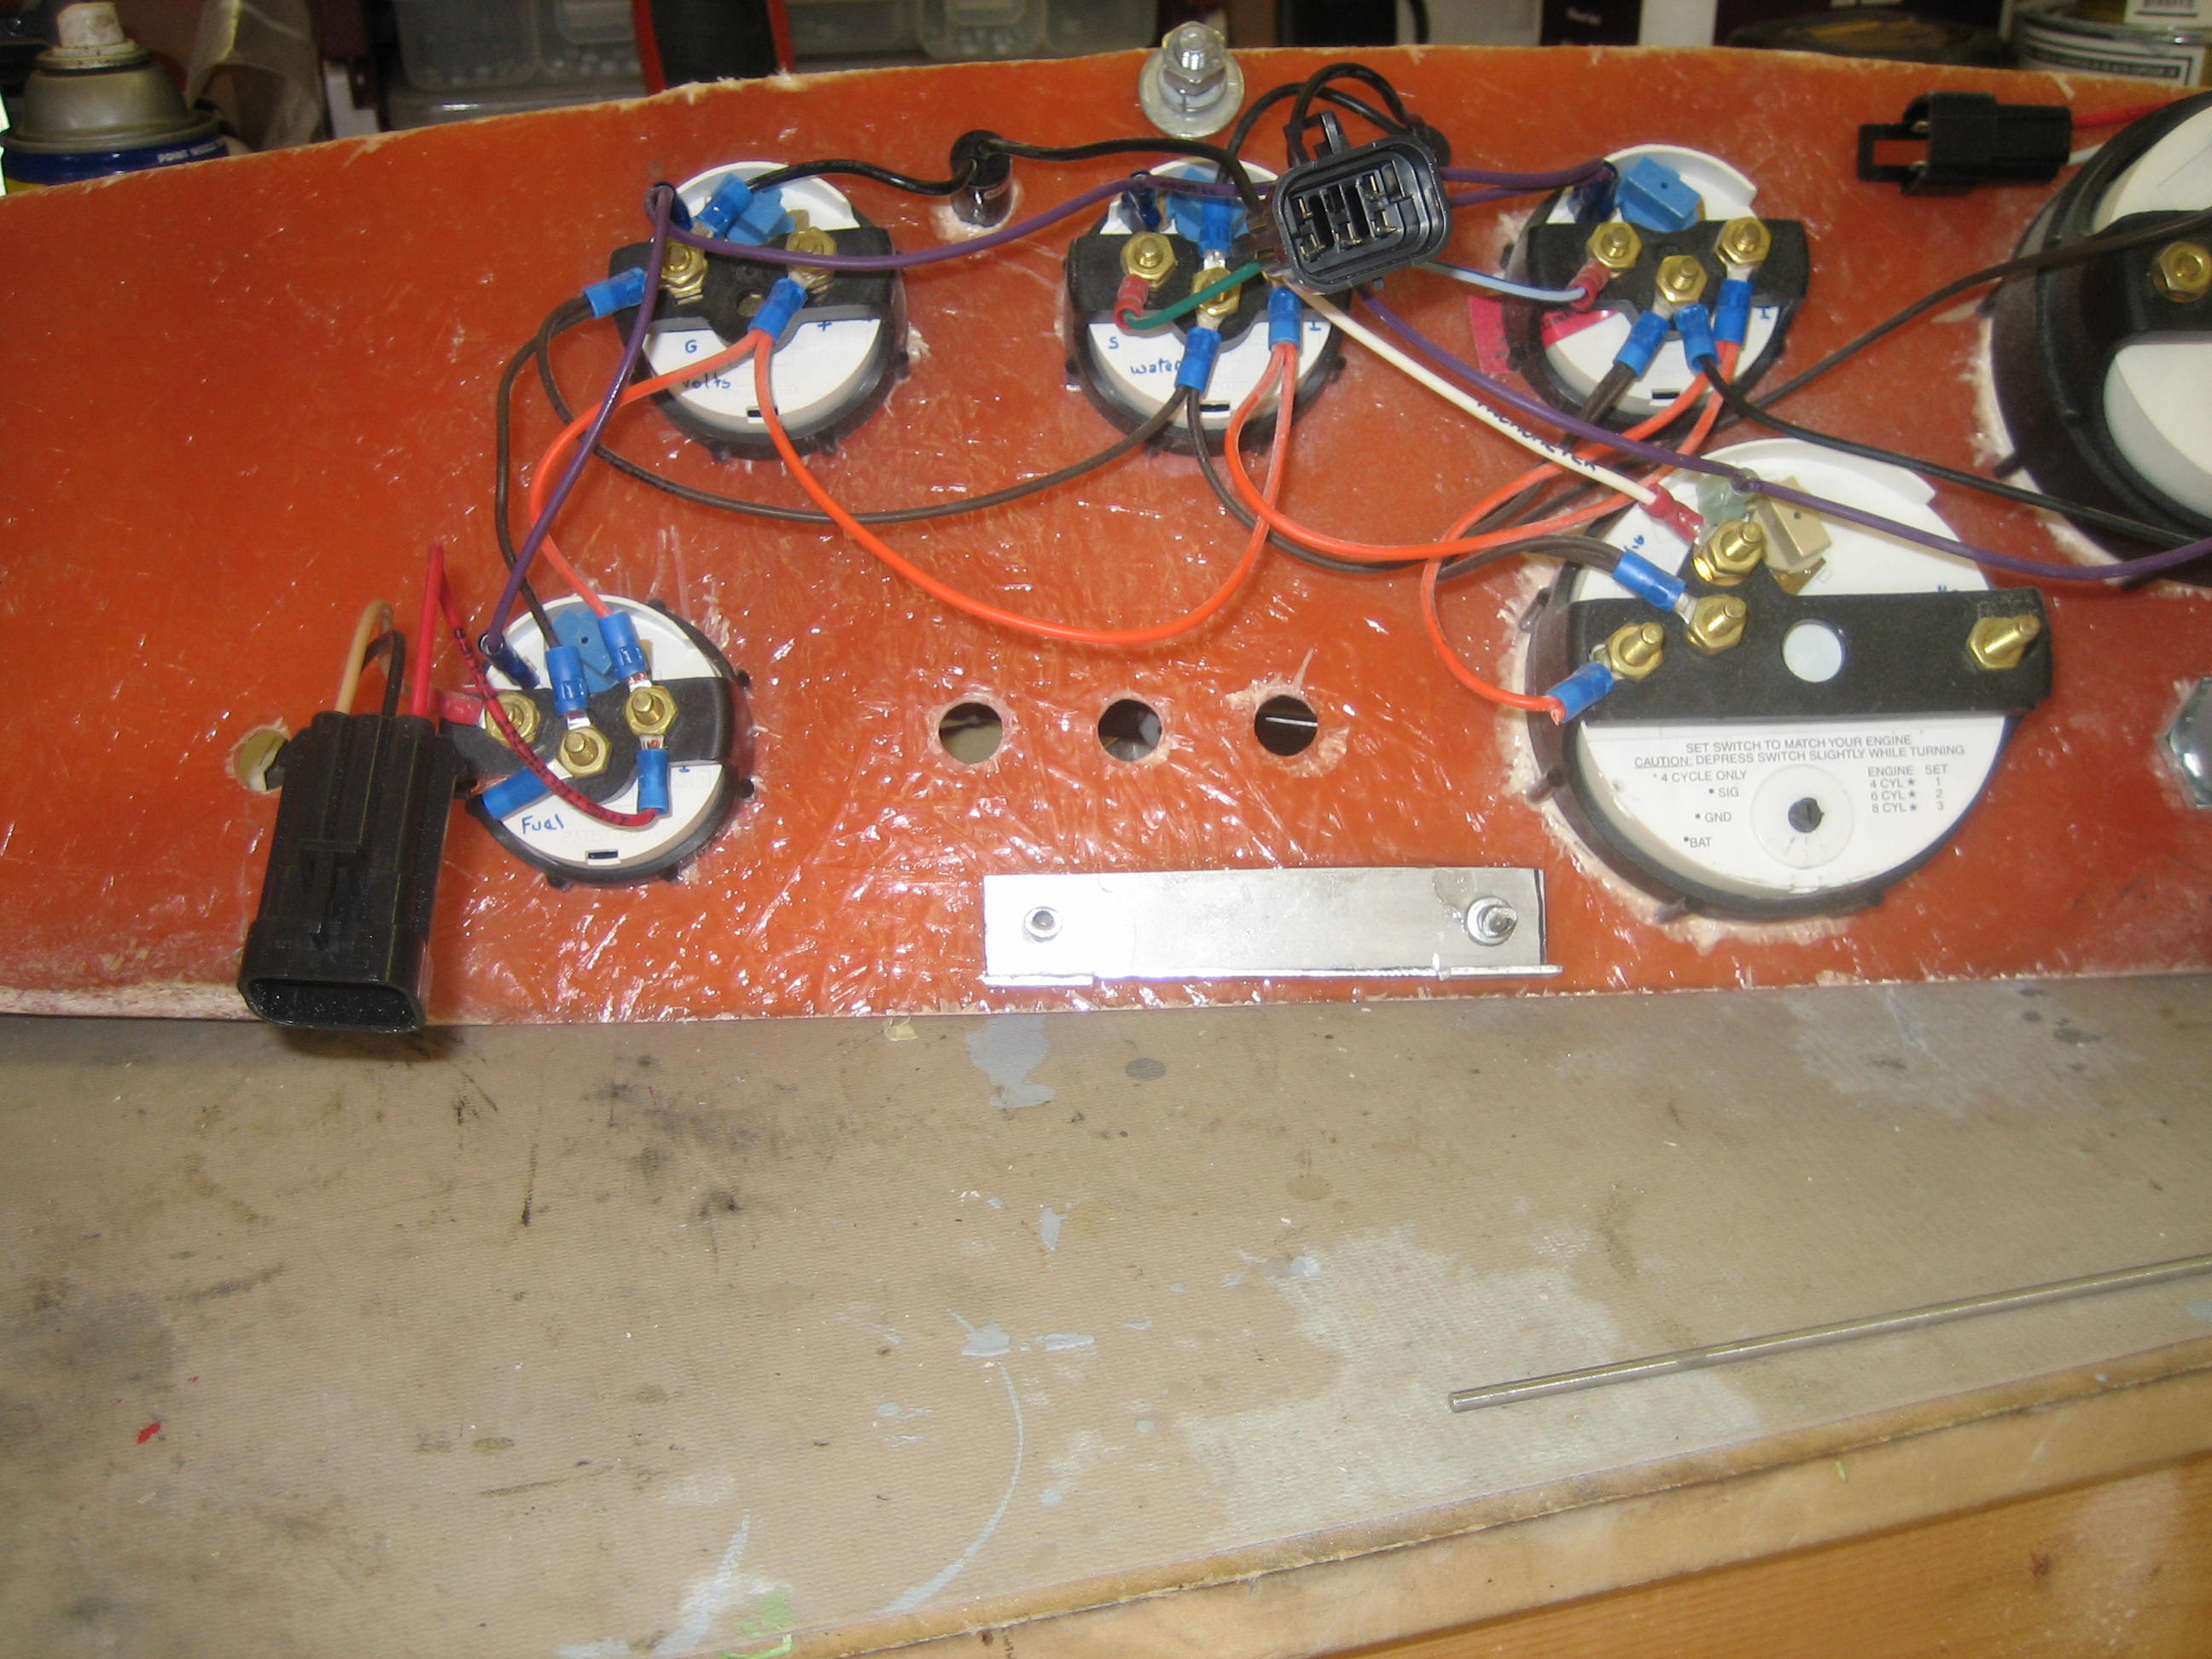
At this time I also noted that I needed to do something about
securing the bottom of the dash to the brace. I made a bracket to mount to the
back of the dash that would allow me to screw it to the brace from underneath
which would hide the screws. I used some of my fiberglass resin as epoxy and
riveted it to the dash. I then tapped the brace with a 10-24 tap which allows
me to use machine screws to secure it.

I then turned my attention to the bodywork. This is a time
consuming task if your not good at it.
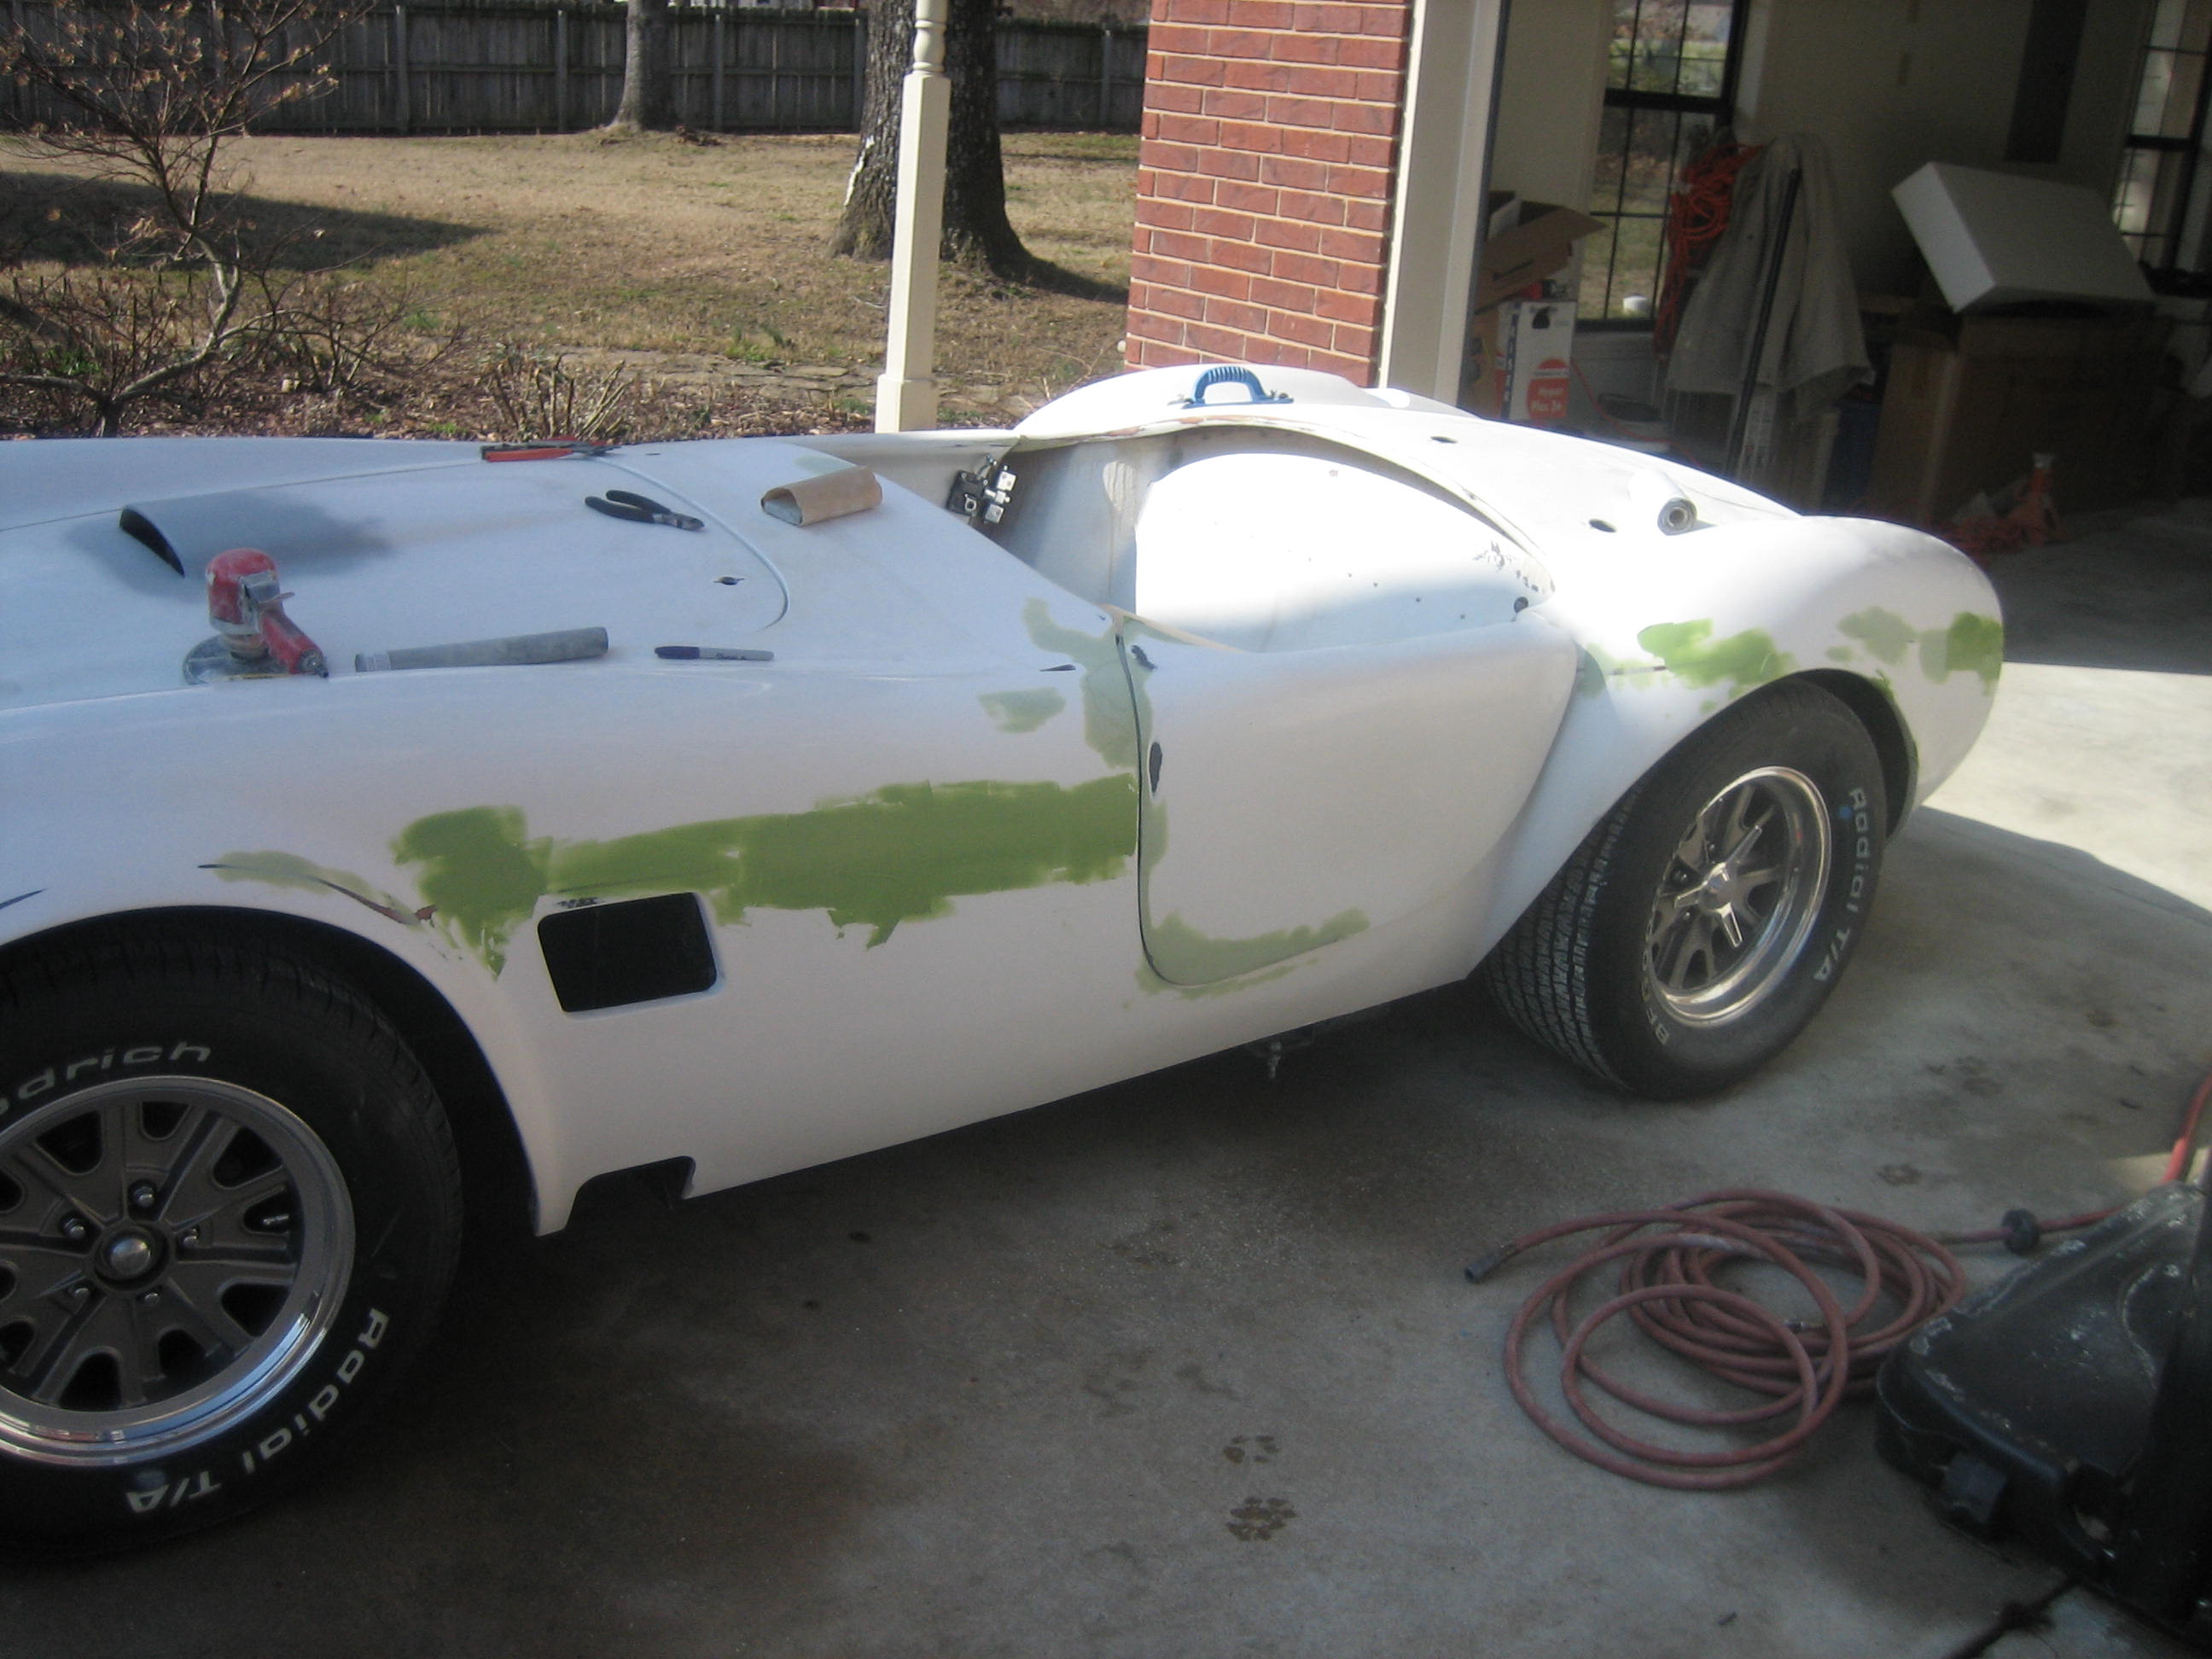
I used an angle drill with 60 grit on a rubber pad to grind
the seams.
![]()