Body Work.
This is not my best game!
As of 8-7-2006
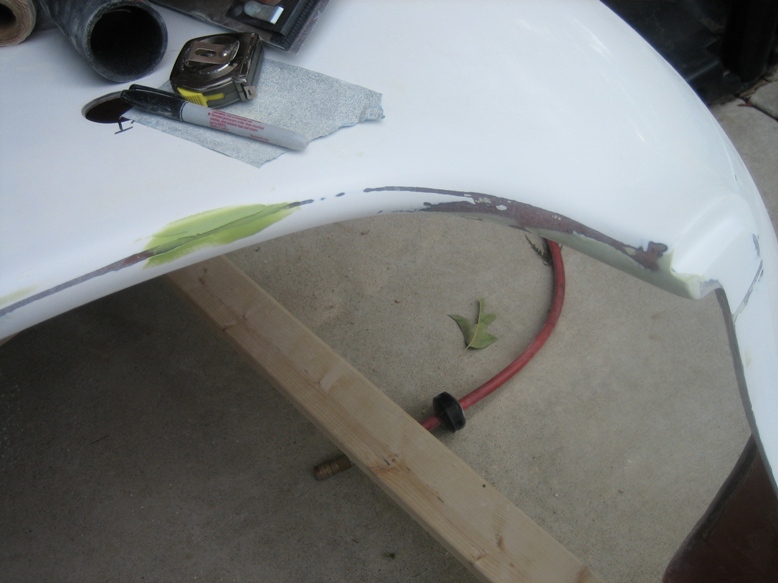
I have done a little body work in the past on other projects and some has turned out good and some not so good. Being in a relatively rough stage when starting, there is a lot of body work to be done. After researching various sites and opinions on what products to use and how to apply them, I have decided on certain base products. This being fiberglass instead of metal, changes some of the choices. For the main filler I will be using Evercoat Rage Gold. I had a pneumatic straight line sander already and purchased a long-board hand sander also. I began working on the dash lip that fits against the dash and the lip behind the seats that mates with the panel behind the passengers. I’m doing these with the body removed to allow for access to the lower edge. I will reinstall the body and bolt it down properly before starting on the rest of the body to make sure all is lined up. I sanded around the rear tail light to get an idea of the mold lines and what types of fill I would need to get started. One site that was suggested on this subject is http://www.ffcobra.com/FAQ/body2.html.
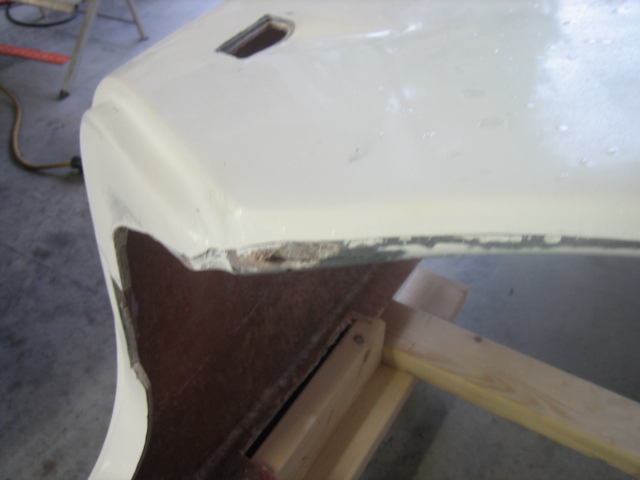

They
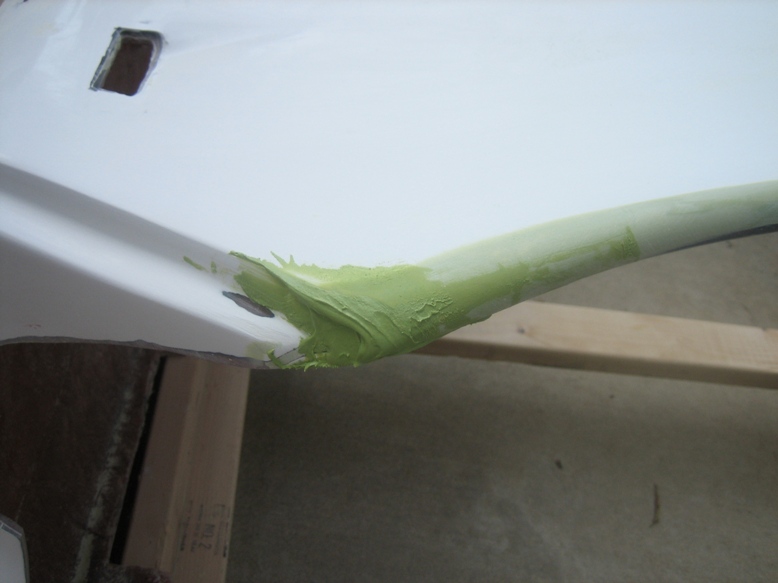
should call it Evercoat Rage Green after mixing the blue hardener
in it. It was not as stiff as the bondo that I had used in the past but it
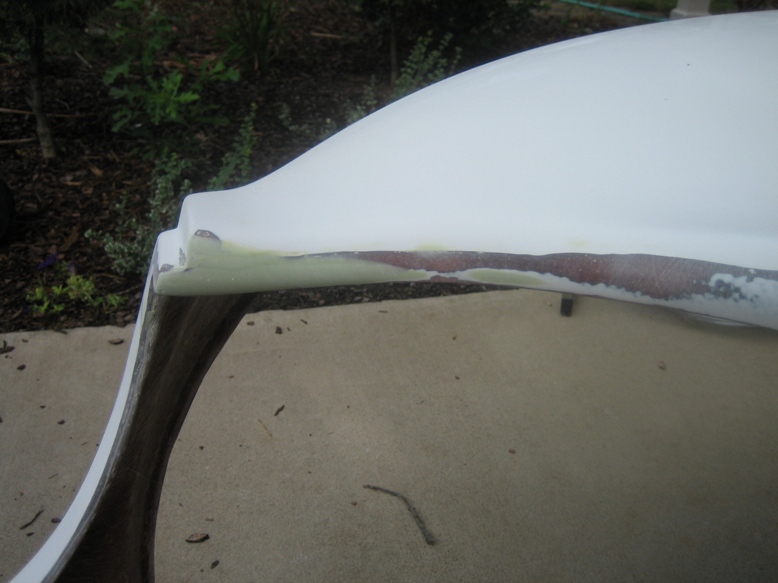
worked much better. I began shaping the driver’s front edge where the mold
didn’t meet correctly and the edge didn’t match the passenger side. The hardest
part was trying to get it on before it began hardening. This was because I was
trying to mix very small amounts and it was over 100 deg outside. (Ahh those
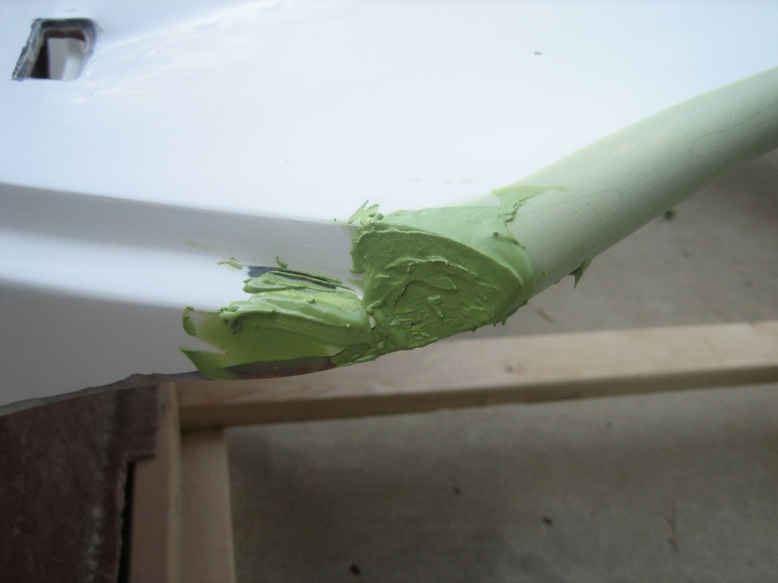
As
I had the mud mixed up, I spread it on the other areas needing work on the front
and rear edges of the passenger compartment. It dried in only about 10 minutes
(remember the heat factor) and then I could begin shaping and sanding. I used
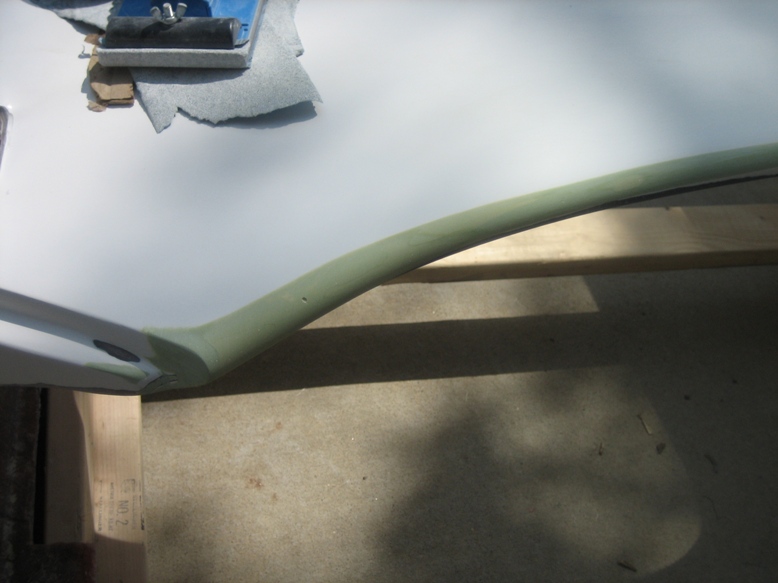
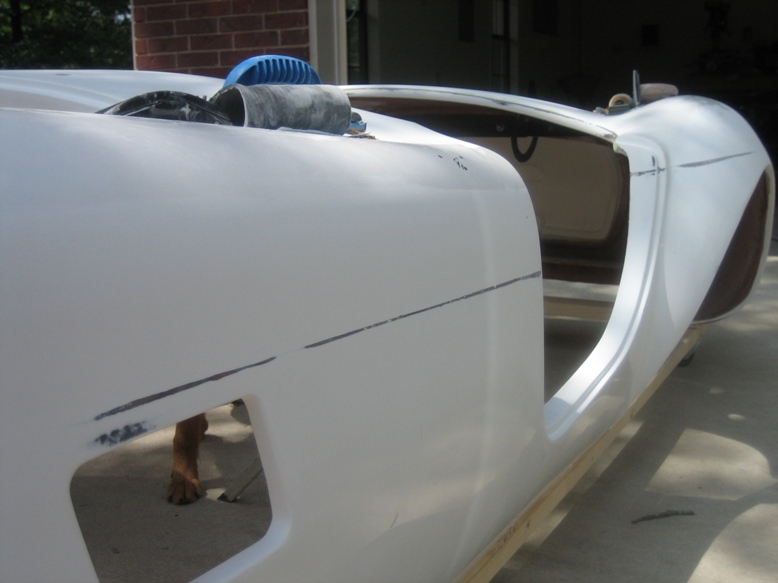
entirely 80 grit so far it worked very well. After only about 4 hours, I was
satisfied with the edges to the point that I now need to recruit help to set
the body back on the frame before working on the other body panels. This is
because it needs to be secured as much as possible to prevent movement when
straightening the different sections. This would not occur today so I turned my
attention to other areas.


I
played a little with sanding the seams along the driver’s edge while I waited
on the mud to dry.
I
know that now I really need to get a set of Dura Block sanding blocks for all
of these curves!
More
to come on this subject!
![]()