

Updates
I have made a few changes!
10-02-14
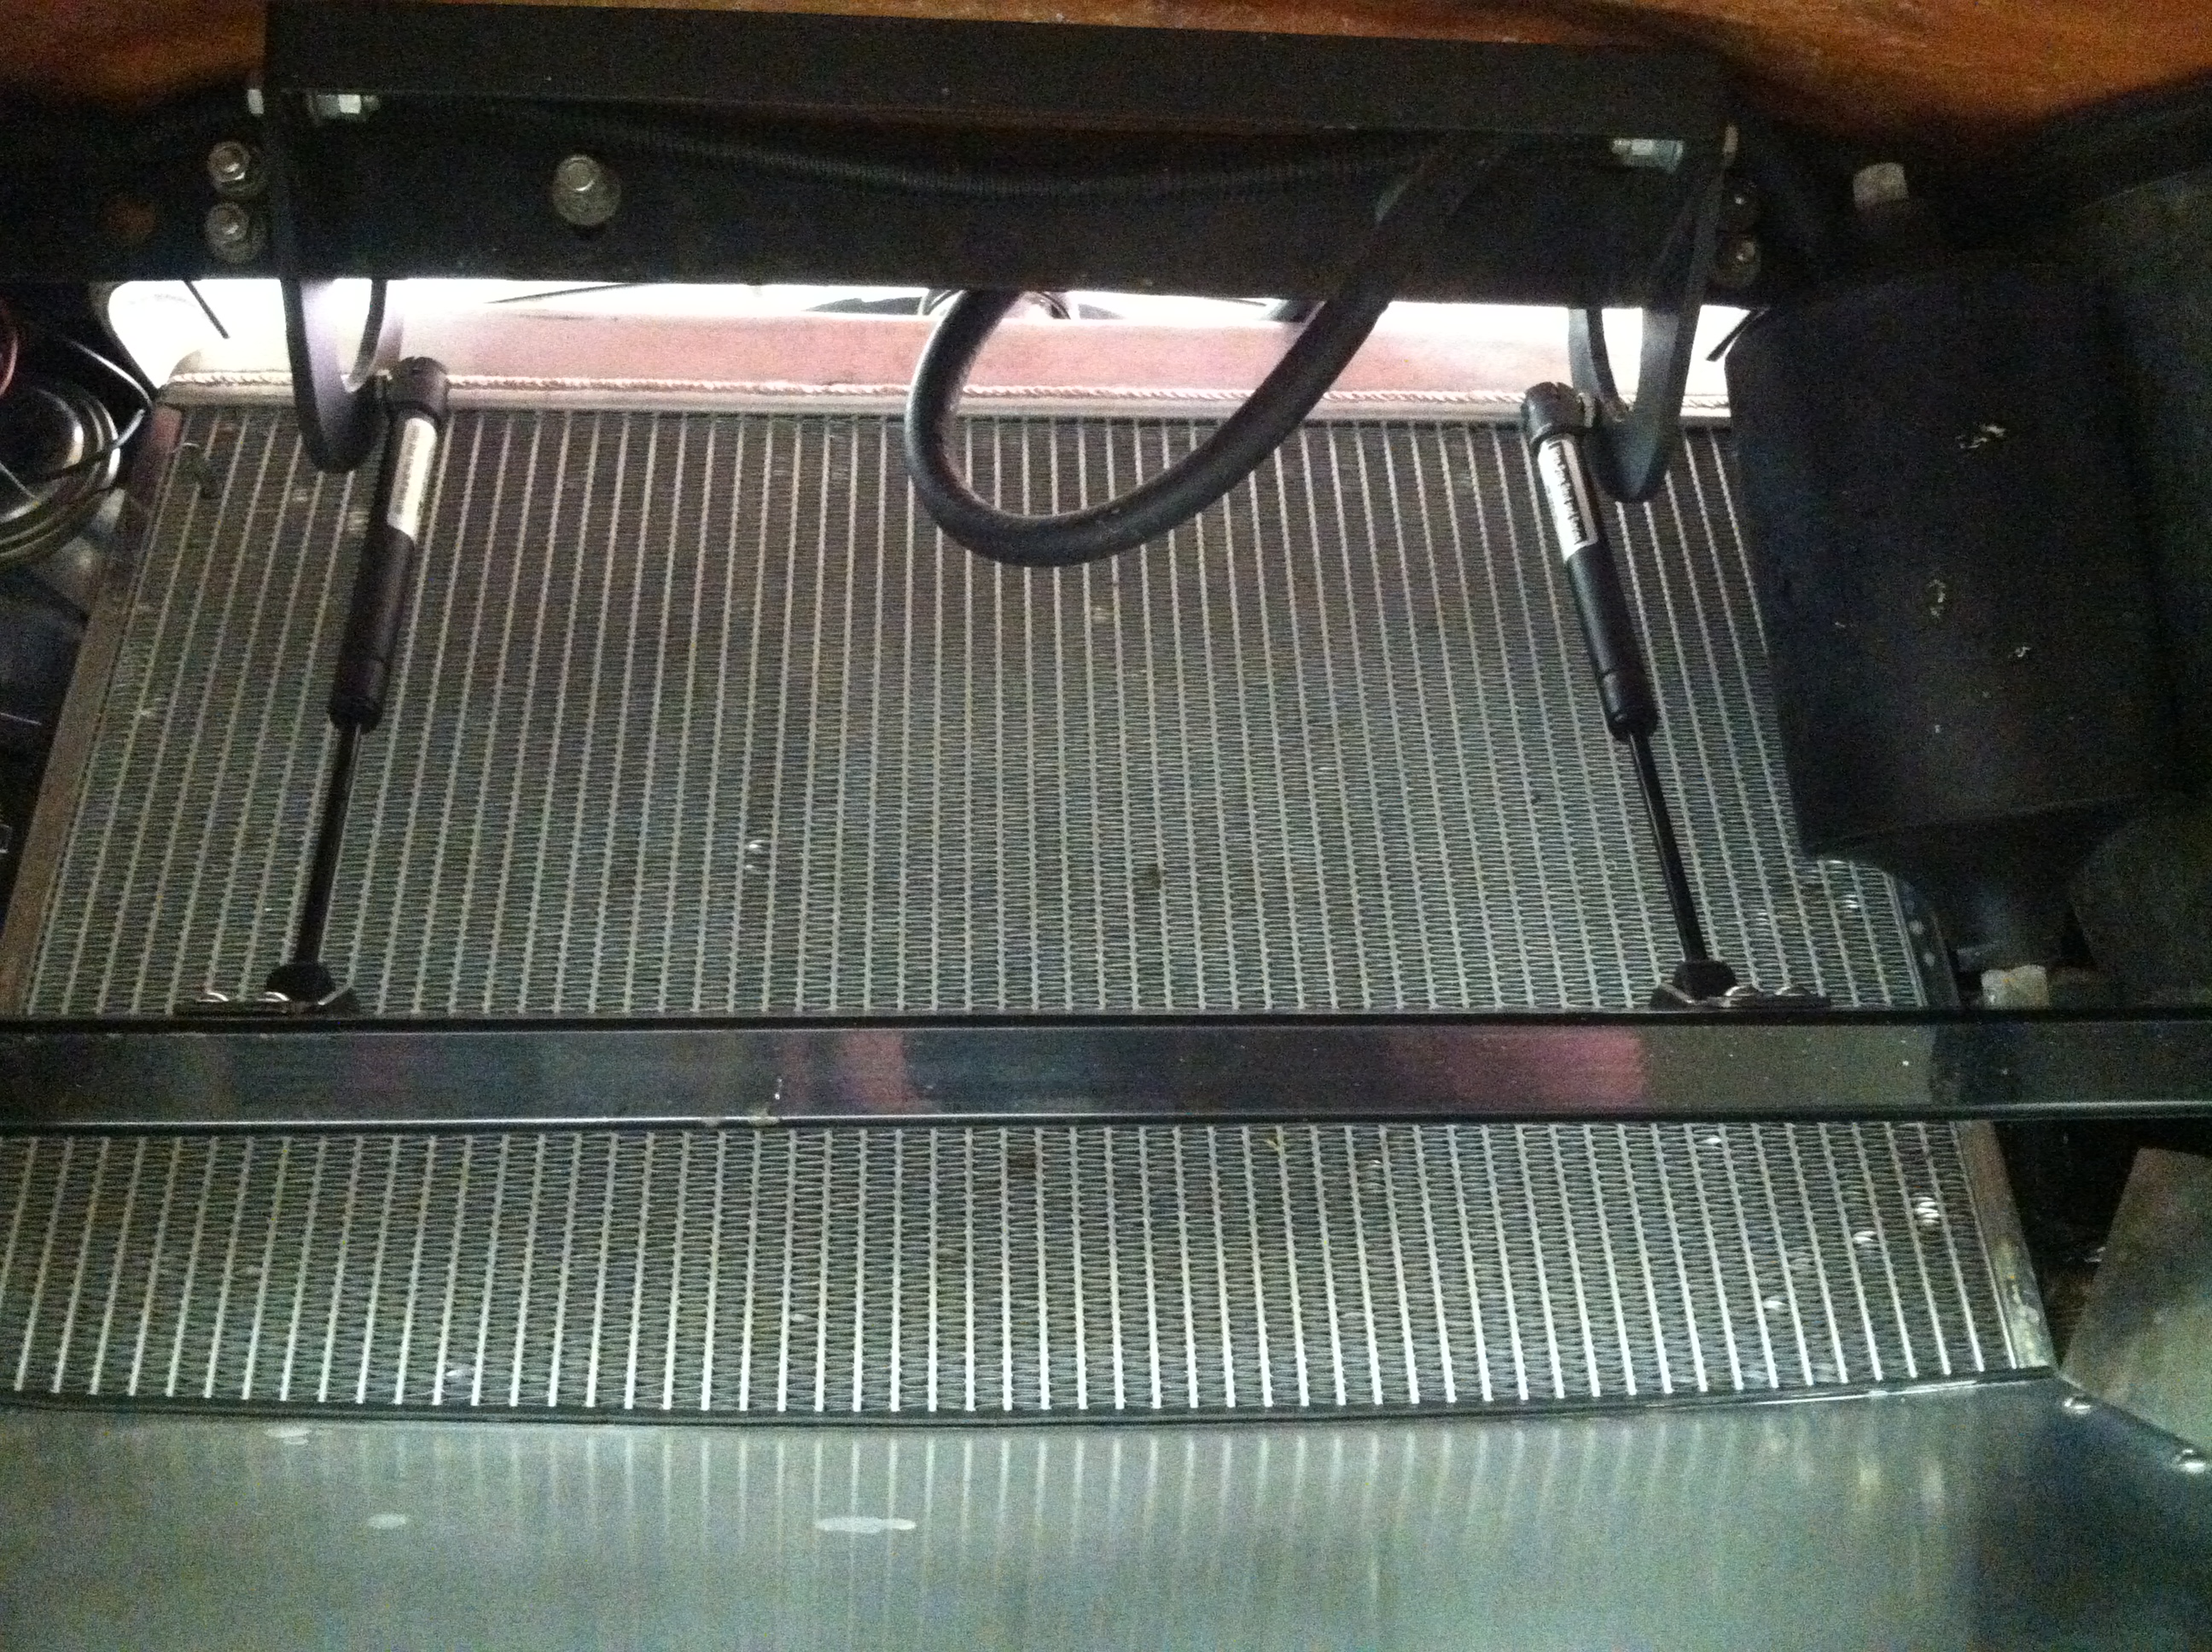
I have made a few changes over the past year (or 3) and wanted to share some of them here. First major change was removing the prop from the hood which I didn’t ever get comfortable with. I originally put a pressurized spring on the hood during the original build but found that the way I tried it caused the hood to push to one side while closed. I didn’t want 2 struts to get in the way so I abandoned the idea for a while.
Well now I have tried a different method and am well pleased. I wanted to hide the struts as much as possible and designed a number of complicated ways of mounting the struts vertical next to the frame and using a torque rod to work the hinges but I tried a much simpler method in the end. The trick was to find the correct struts with the appropriate lift and lengths both extended and compressed. I used 20lbs 10” extended/ 7” compressed RV struts. ($23 a pair for part #: REP SPD-5000-20 on ebay!) Ball mounts are from www.mscdirect.com .
The top mounts are item#: 59942912 0.39" BLL STUD SS GS MOUNTING BALL STUD and the lower that I modified is item#: 80760523 0.98 HIGH 90DEG BLK ZN BRACKET F/ 90LBS OR BELOW, $27 with shipping and handling. So all together it was a $50 modification!
I ordered 2 ball mounts with a flat mount which I slightly modified to put the load on the corner of the cross member in the nose area. I also ordered 2 threaded ball mounts that I used on the hinges themselves. I marked and tapped the hinges to mount the threaded balls for the correct length when closed. This was to keep them from binding and allow the hood to close completely.

This works great and not very noticeable from the front without lying down on the ground. Not for everyone, but I like it!
Next modification was adding spray on fender splats!
I have been reading and watching YouTubes on Plastidiping cars (www.dipyourcar.com) and applying stripes with Plastidip and decided to try it. I trucked on down to Lowes and picked up a couple of cans of black, clear and gloss. I pulled out a fender from another car I’m working on and went to spraying. Man this stuff is cool! Spray it on and it peels off completely and cleanly when you want. Has a cool flat texture and flows out smooth from a spray can! After thoroughly testing on my scrap fender I decided to apply it to the Cobra!
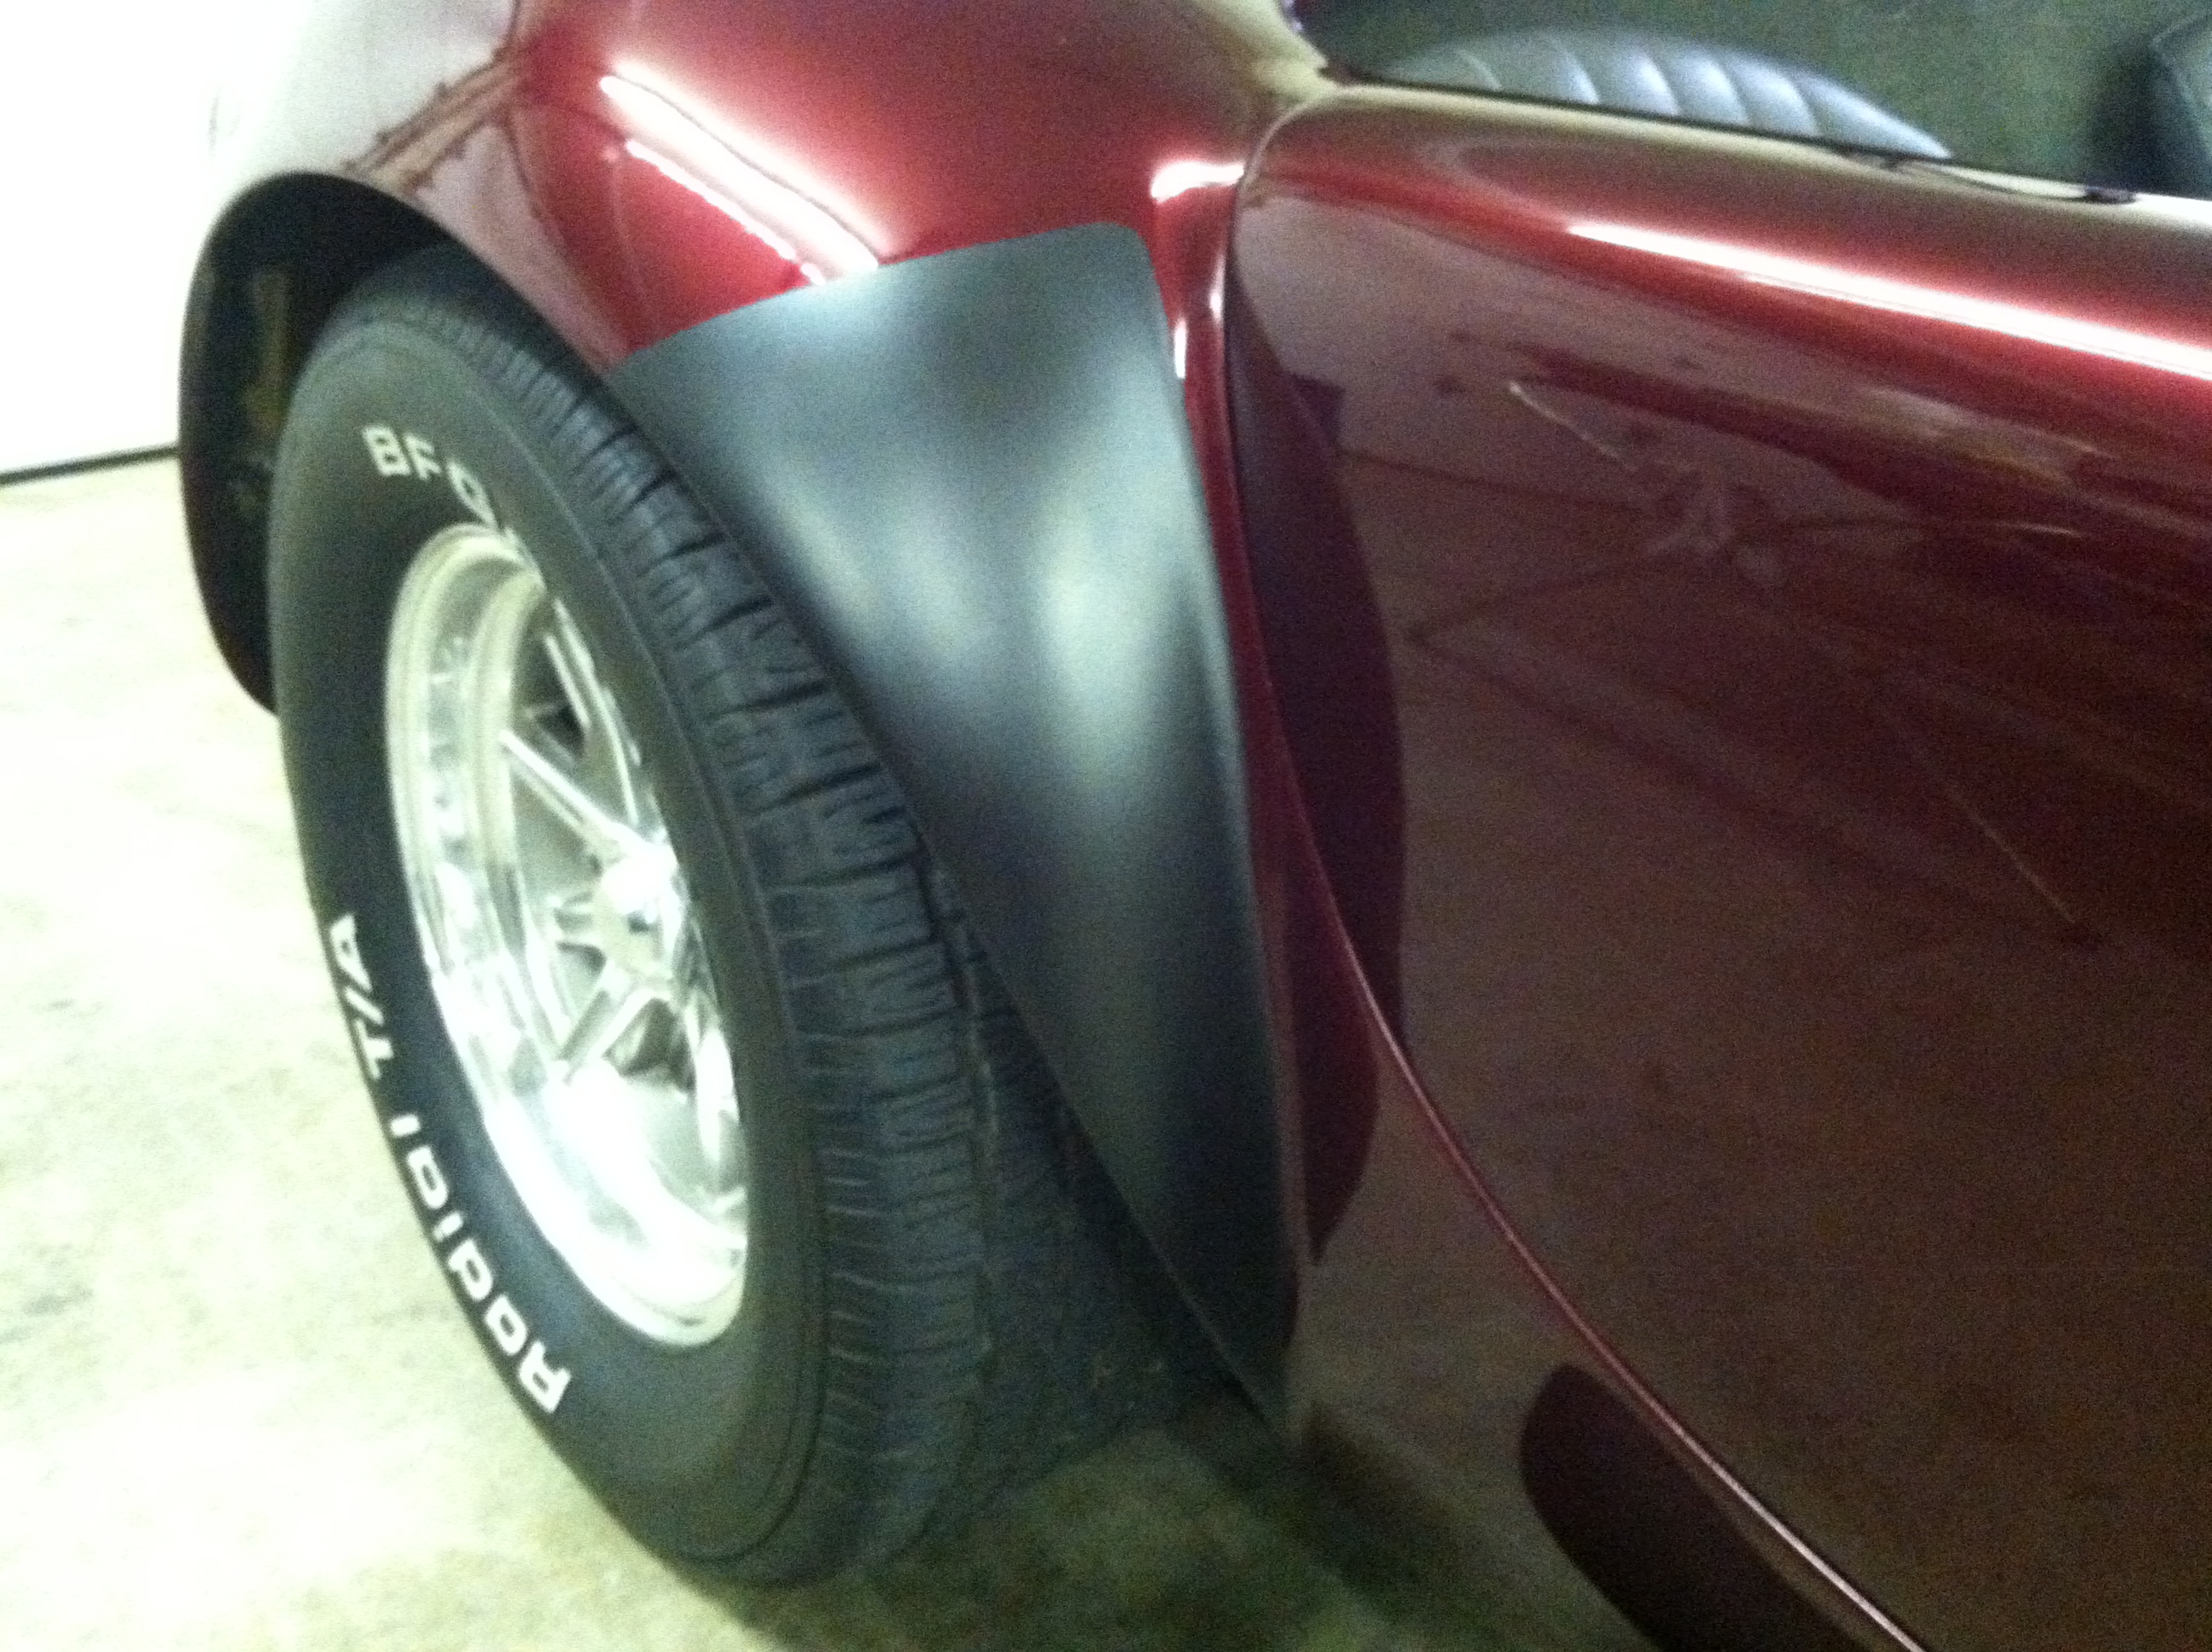
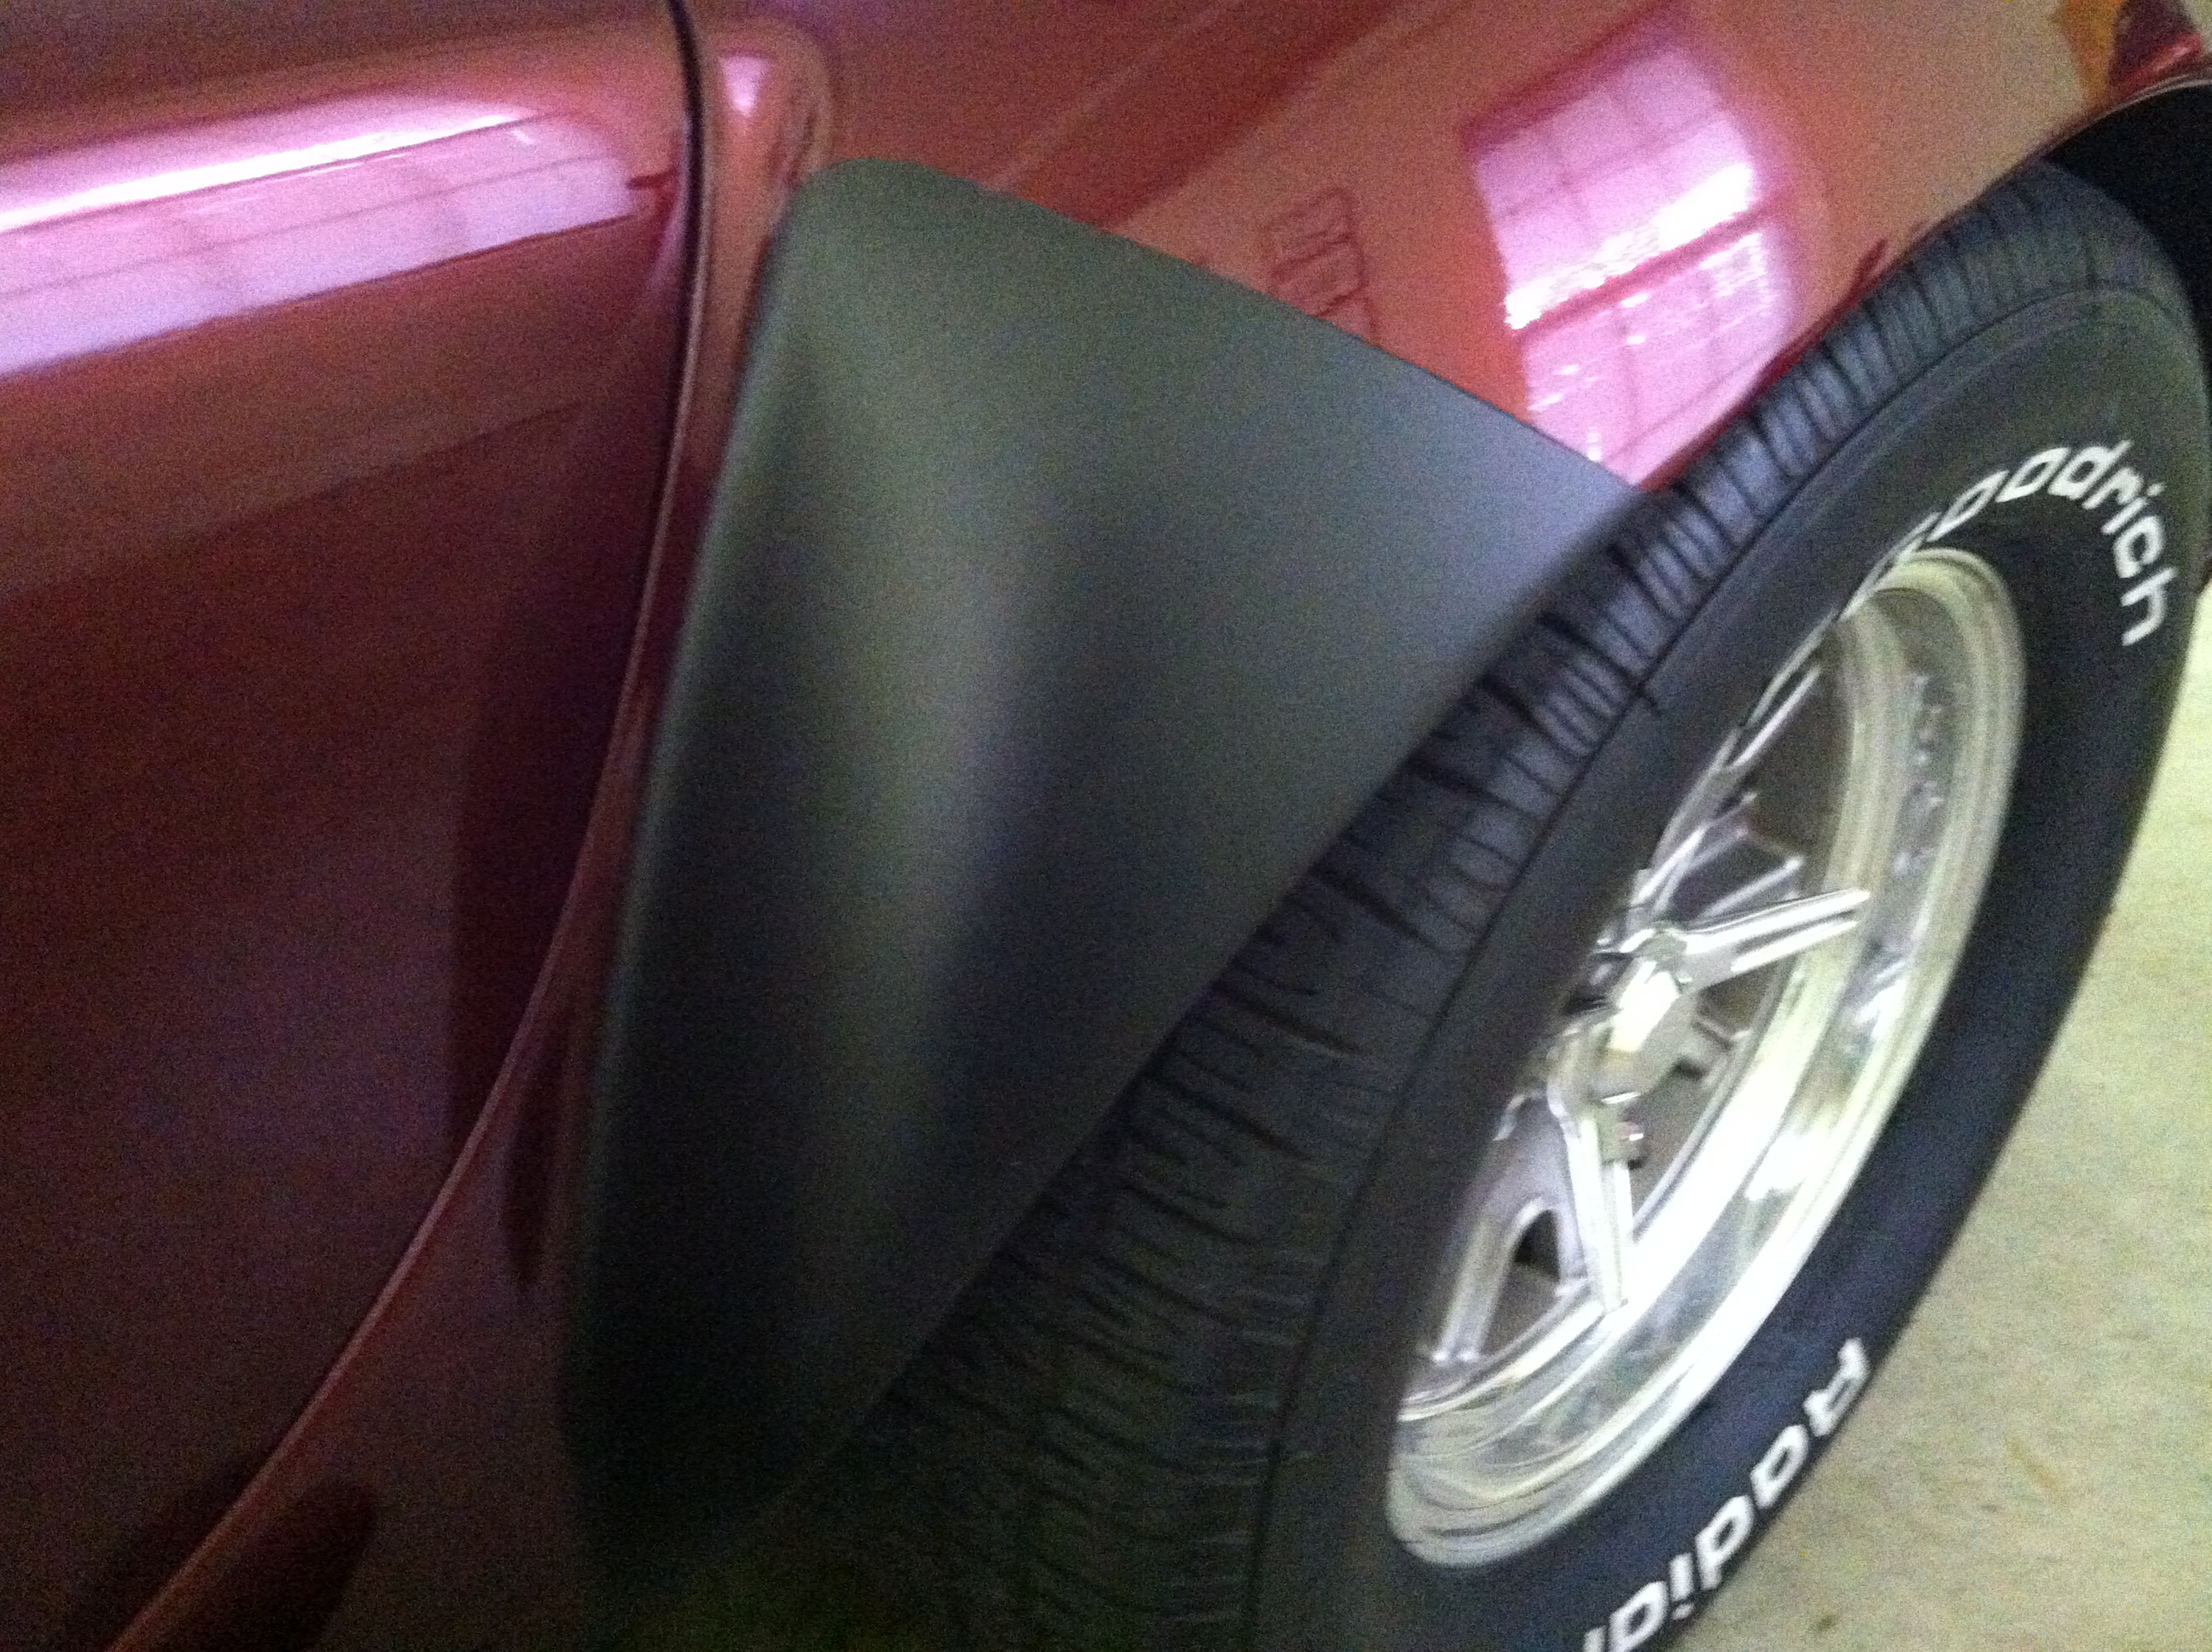
Masked off the area and covered everything with cheap plastic drop cloth and went to spraying. After four heavy coats I immediately removed the masking after the last coat to keep the edges from pulling away and to make clean lines. I’m curious as to how well it protects the paint from chips. I hit the test fender with screw drivers and various small parts to try to simulate rocks and debris while driving. As you can imagine, the screw driver did some damage but not what I expected. My paint is past protecting after 7 years of no protection from applied films or my driving! One reason I wanted to try it is that I’m getting close to a repaint and wanted a way to protect the paint on some of my more spirited trips with others in which I follow way too close to keep from collecting some of their shrapnel! (Mark from Texas and his billboard tires! He warned me!) Next is the clear on the front. I have so much road rash that it will look strange but I may try it anyway as a test. With the black, it covers all of that up. The clear tests that I have done are not completely glossy, even with the “glossifier” but it may look fine. I can always just peel it off anytime which is the coolest part of this stuff!
Ok, now here comes what some may call the wimpy modification.
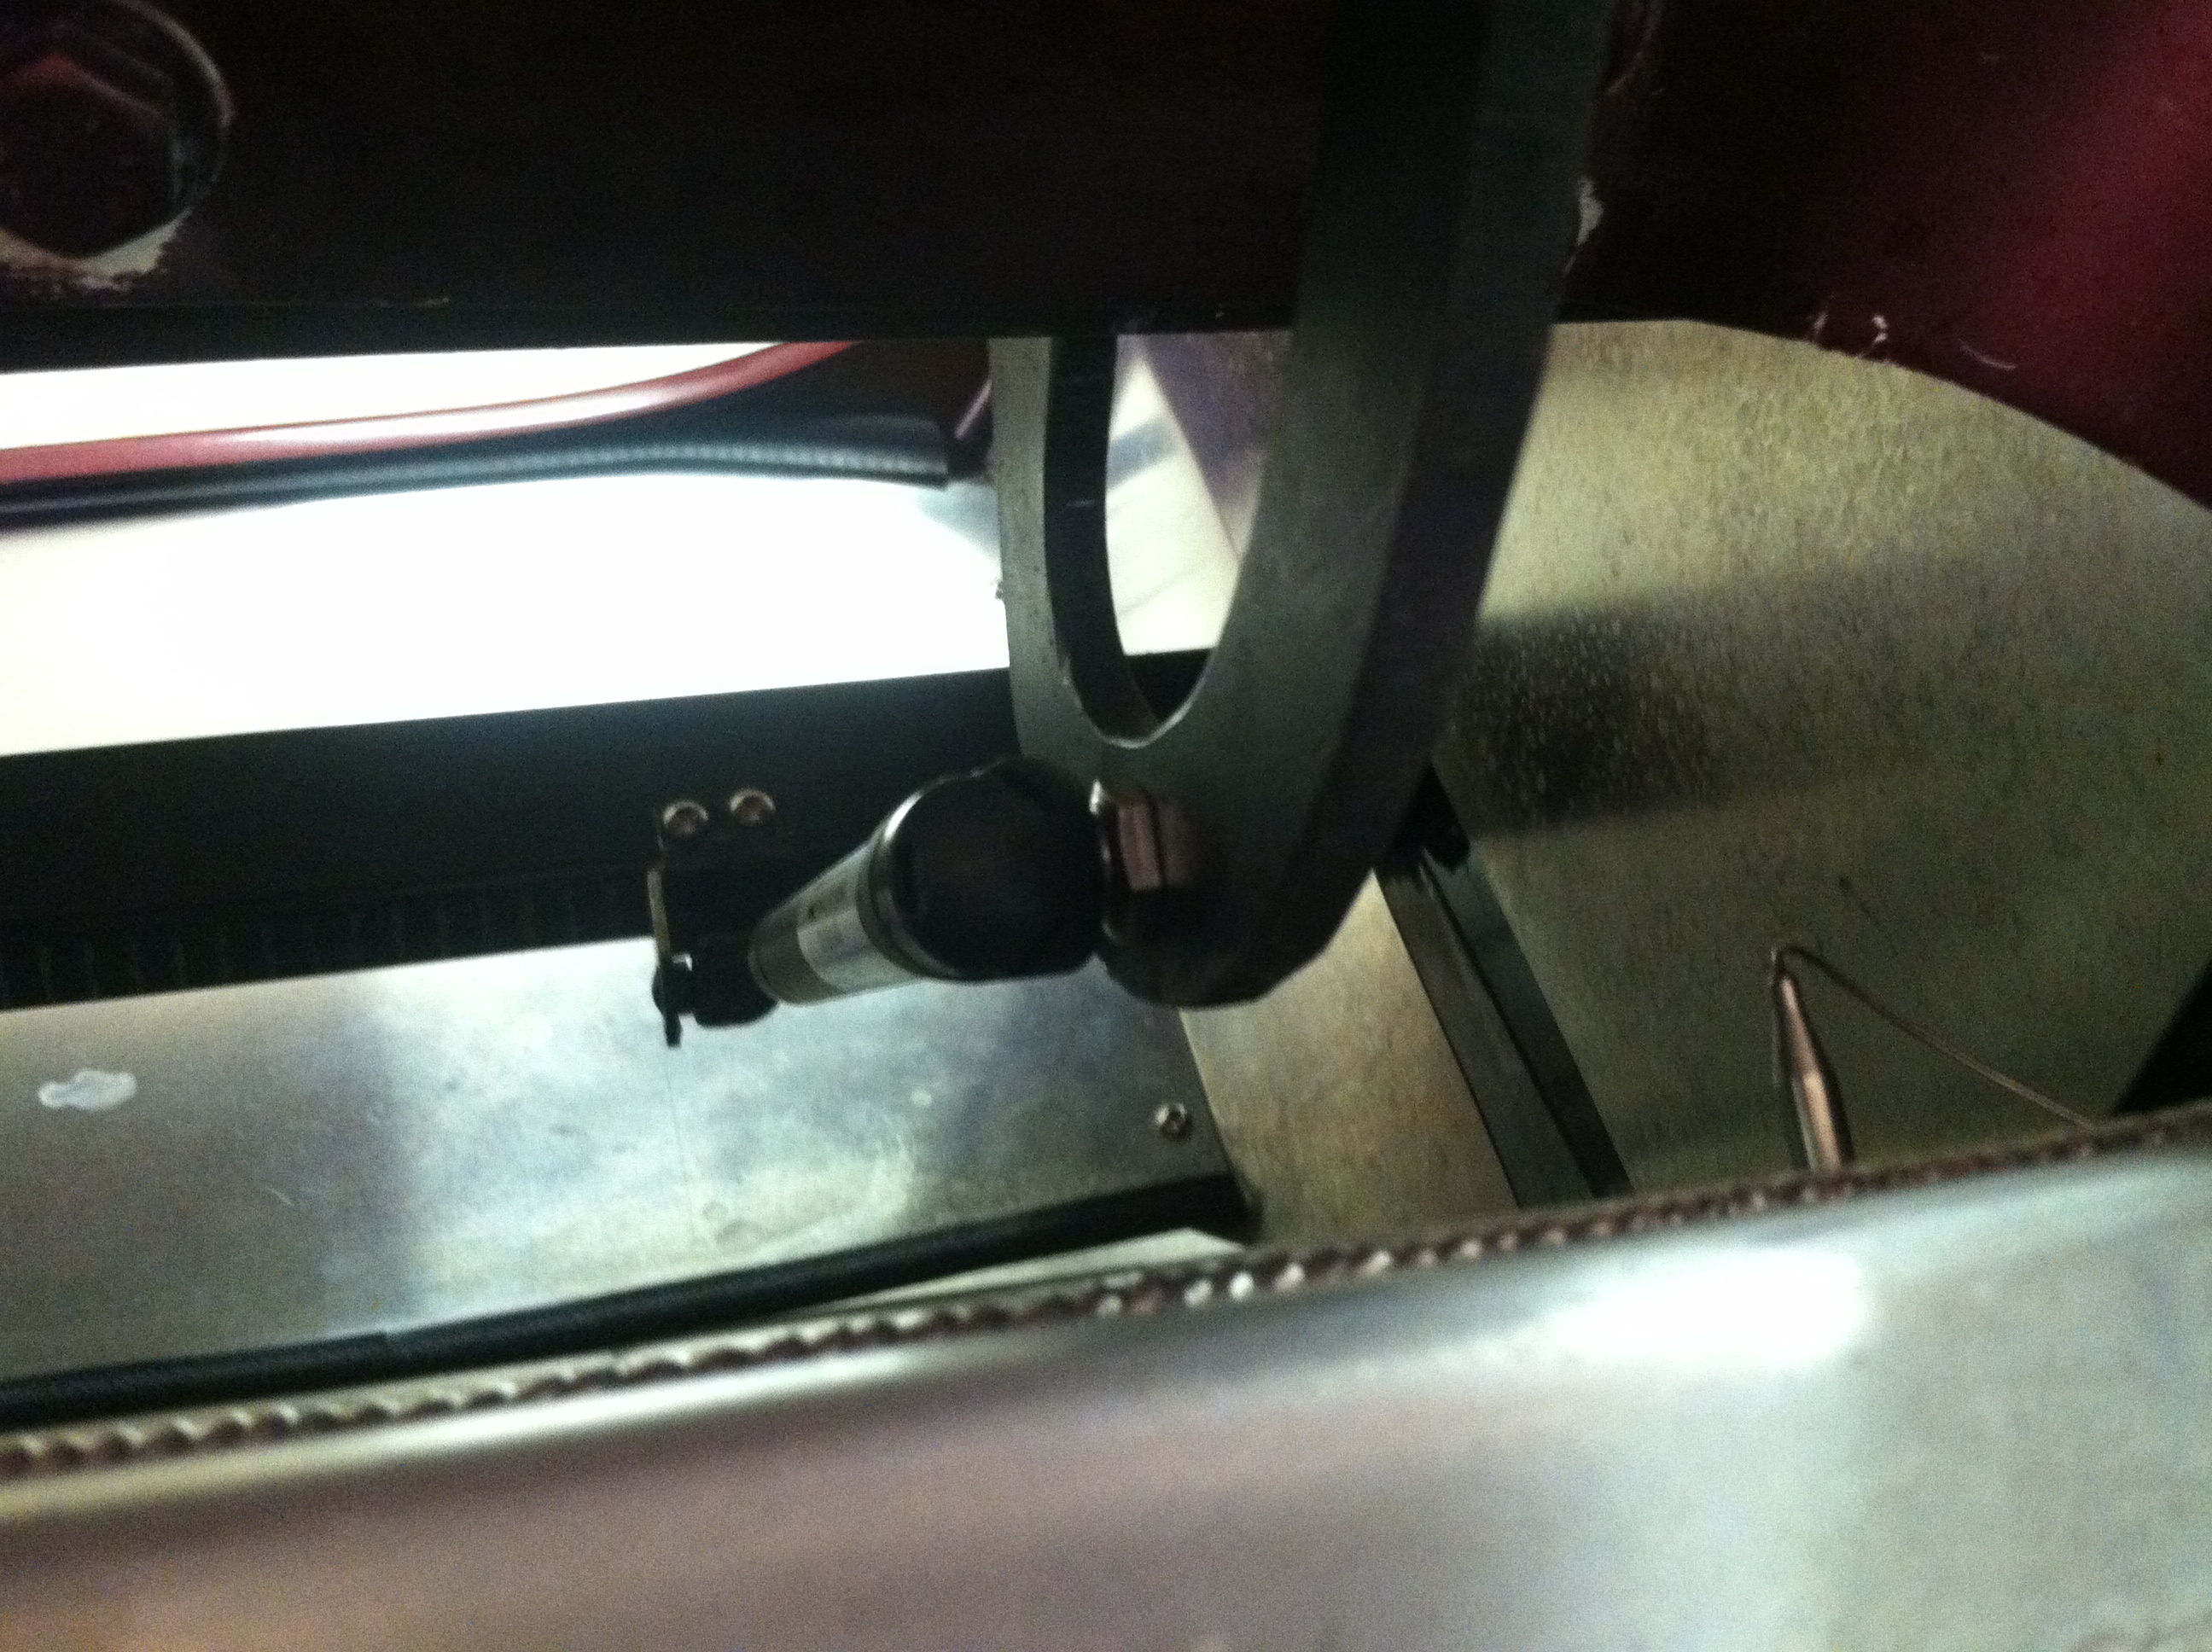
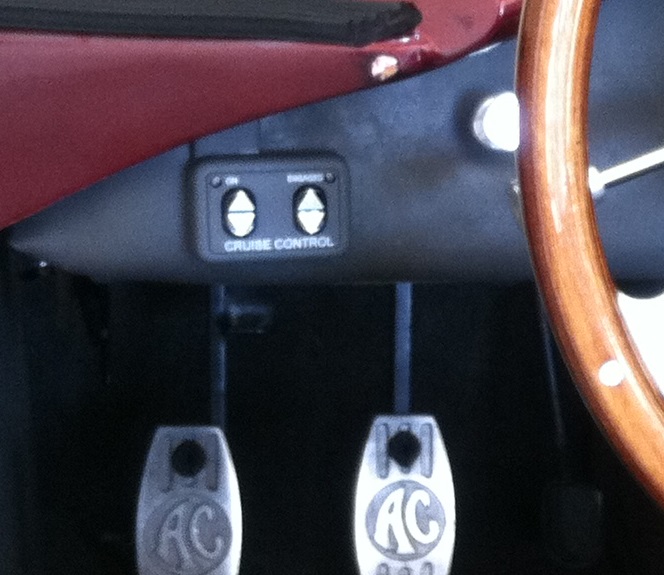
Cruise Control on a Cobra!? I know what 90% are going to say, but I have wished I had cruise a number of times on those long trips down the highway by myself on the long straight stretches. After installing it, I’m glad I did! I don’t use it on the back roads or anything slower than about 65, but it sure makes interstate driving much more enjoyable. I tried to hide the control as much as possible and have it still be accessible. You can see with the door closed you almost have to look for it unless you’re standing directly behind the car.
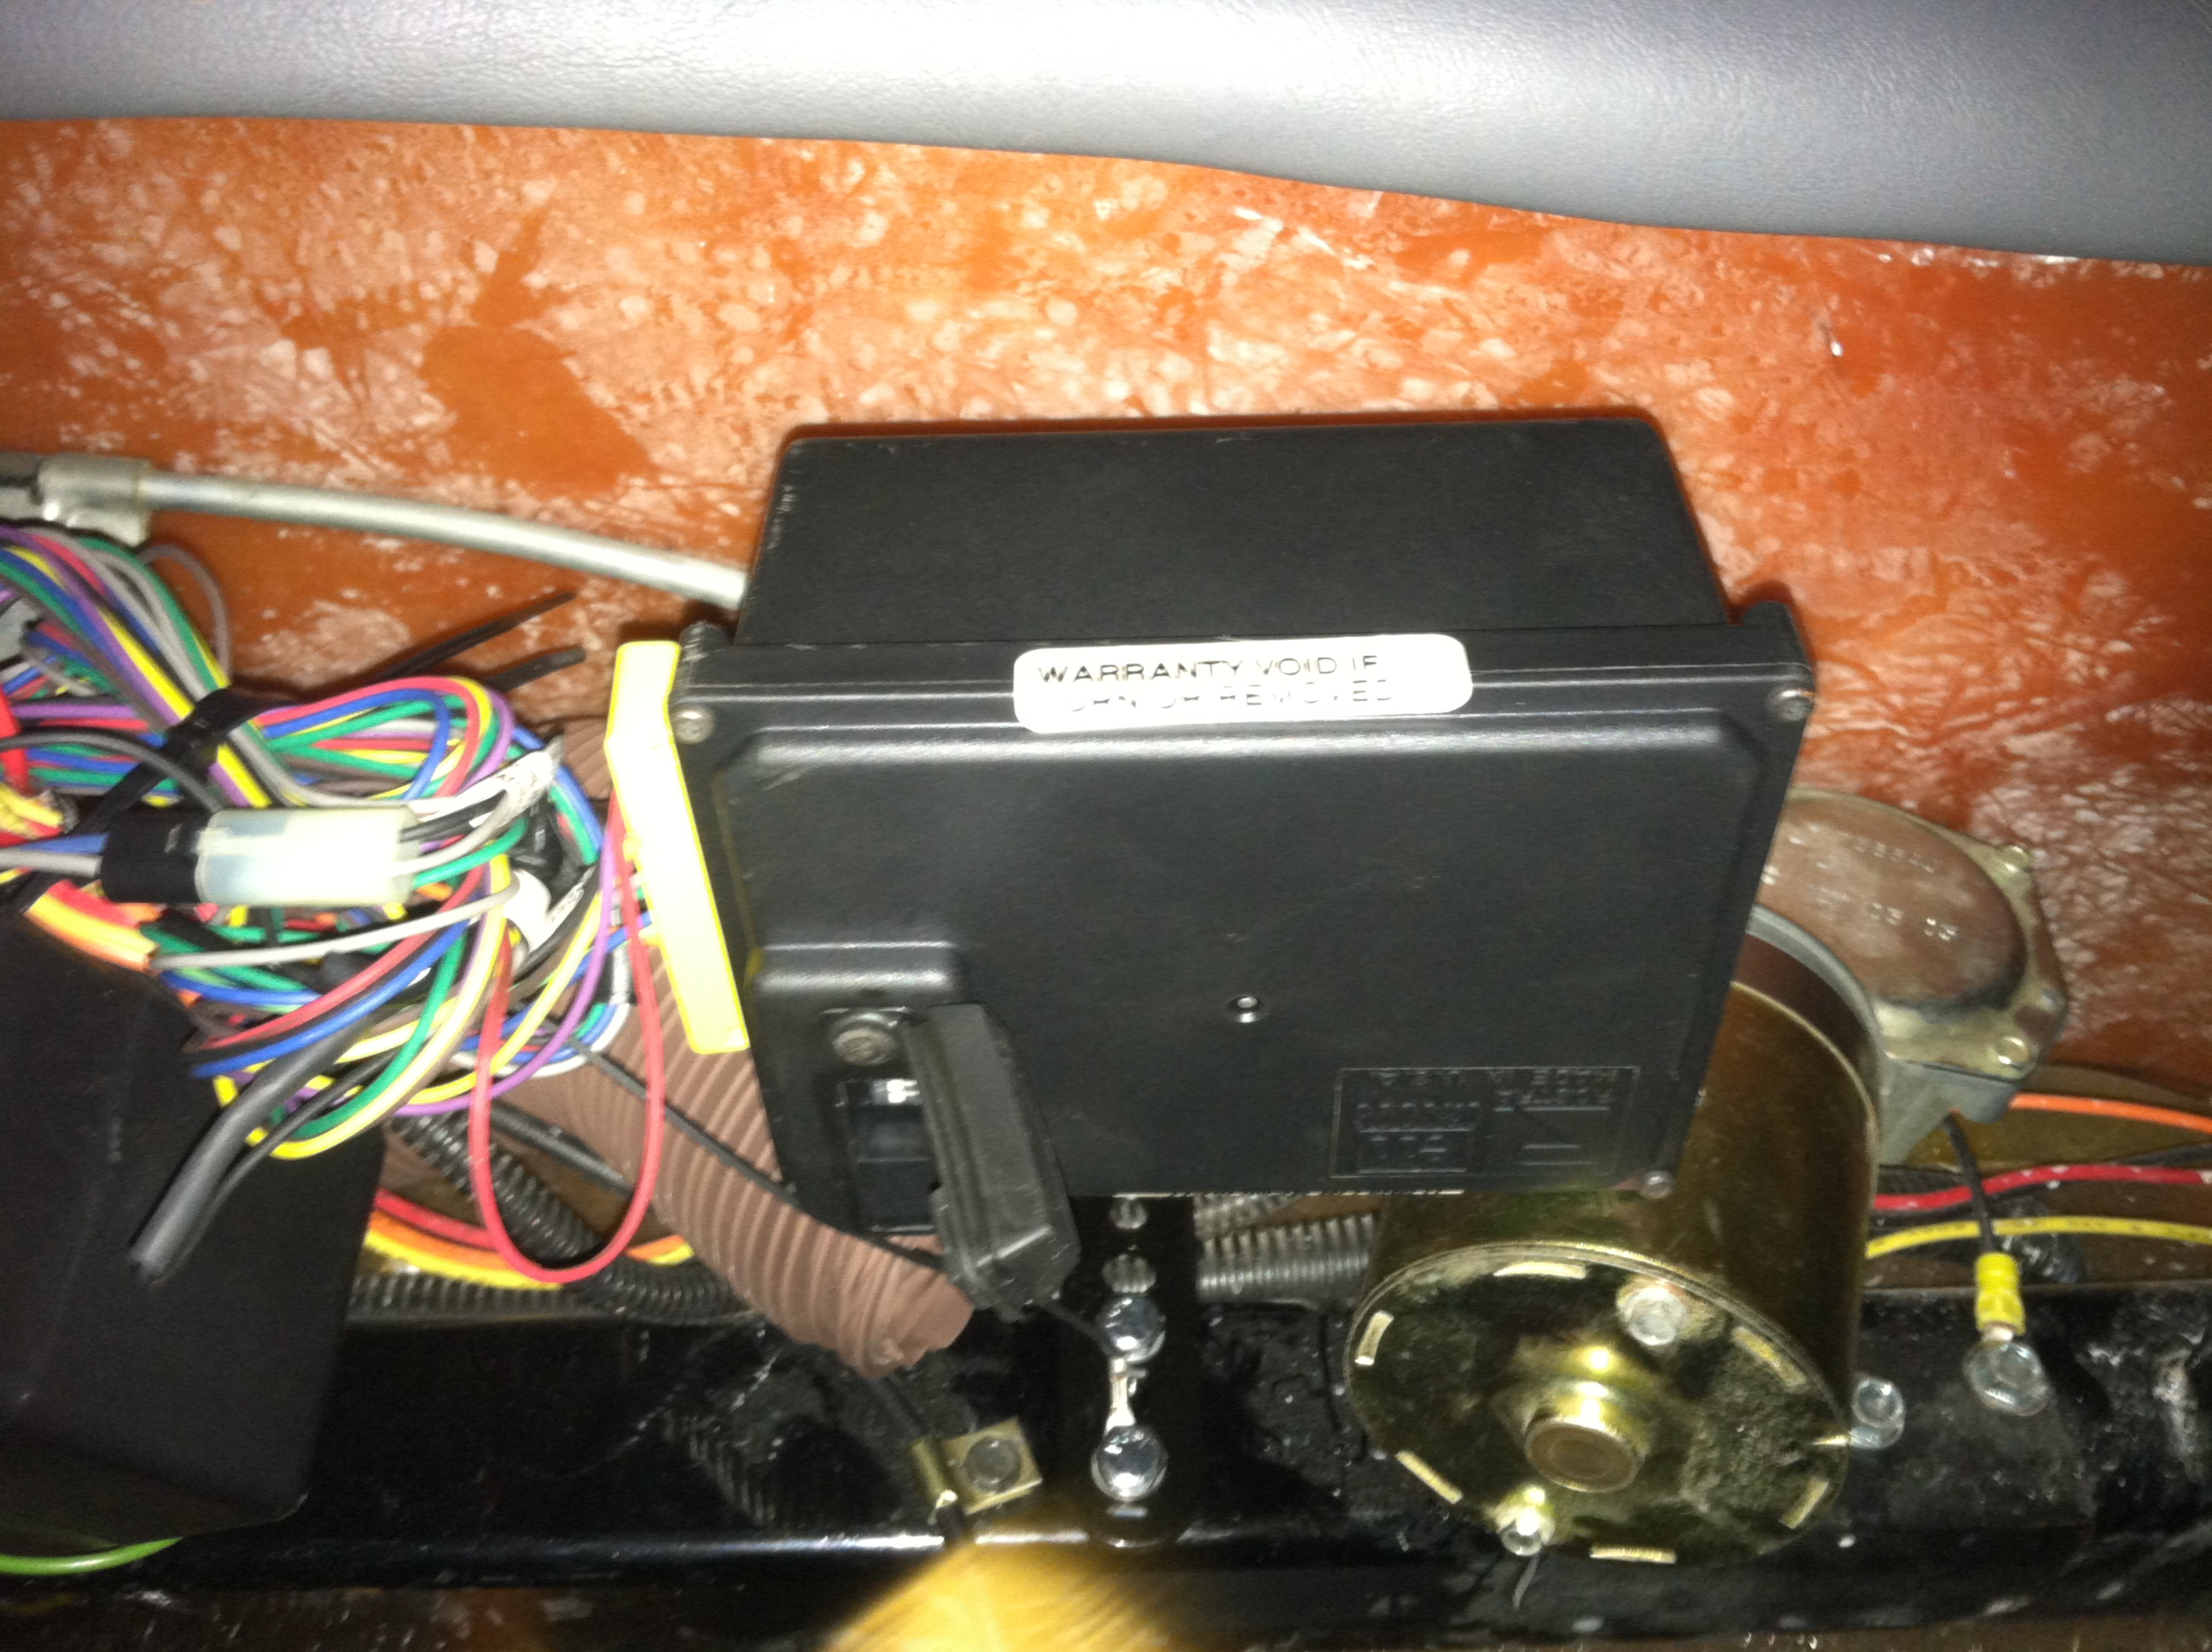
The control box mounted under the passenger dash next to the wiper motor and it fits very nicely. This is the Rostra 250-1223 Universal Cruise Control Kit with 250-3593 Dash Mount Control. Cost me about $250 when all was done. It has an electric servo instead of using vacuum so parts fit under the dash. I connected the cable directly to the top of my gas pedal and it works pretty smooth.


The only other modification that I did during the year that I can think of was to the gas pedal linkage. What I have found in the past is that if I get excited and stomp the pedal to the floor pretty hard, it puts the linkage in a bind and either slips the arm on the shaft or slightly bends the shaft. The down side of this is that the idle would be a little high until I re-adjusted. I threaded the pedal to arm rod further and put a spring to take the pressure off when fully in “stomp” mode. I have noticed that Wayne put a stop on his pedal which would also work. I used the special washers from drum break springs to keep the spring centered on the shaft and bought a small spring from Lowes. I also used nylon nuts to keep them from moving. Now I can stomp away and not worry about the damage I may do!
