Off Again.
I’m using up all of my favors from the neighbors!
As of 3-13-2006
Well, a lot is left that needs to be done without the body on. I am hoping that this will be the last time that it needs to be taken off so I’m planning on getting it running and all the various wires run and plumbing done before it goes on again. This may be wishful thinking but it’s my plan. I left the door hinges on when removing it and this caused it to be more difficult. My advise is to at least remove the passenger side hinge and lift the body up on that side first.
Before removing the body, I worked on plumbing the fuel tank to the gas cap. The manual is vague on this and shows modifying a supplied pipe and connecting with hose on each end. The location of the hole in the tank is toward the rear and this would put the hose directly across the rear trunk area. I looked at this and thought it to be a waste of space, (which there is not a lot of) and decided a different route. I cut a new hole in the area closer to the front of the tank and bought a longer hose from a local boat supply house near by. I also ordered another blank plate from Tanks.com to cover another hole that is now left in the tank. This opened up almost all of the passenger side fender area for future storage. This of course will require modifying the supplied trunk trim pieces, but I think it will be well worth it. It also give the fuel a cleaner path to the tank when filling. There may be some unforeseen problems with this method, and I will have to see what ( if any) there are. I also put the filter at the pickup tube which may change. I’m not sure that I like having it under the trunk’s floor.


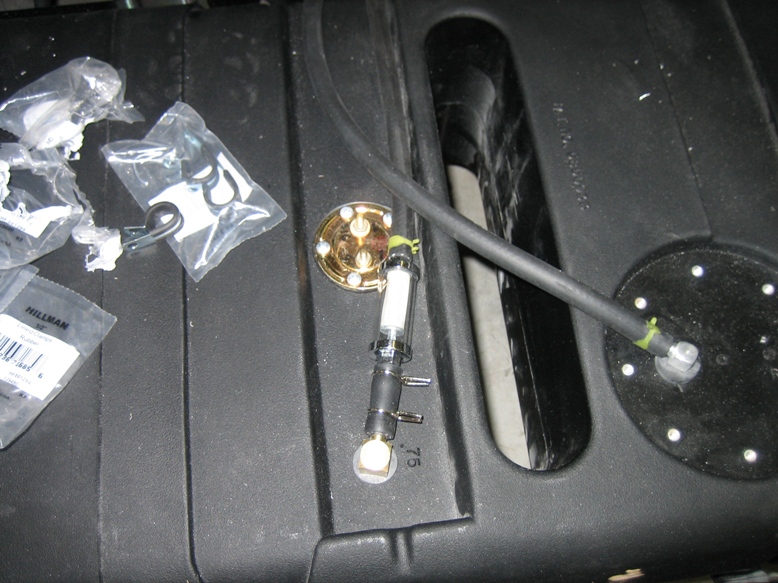
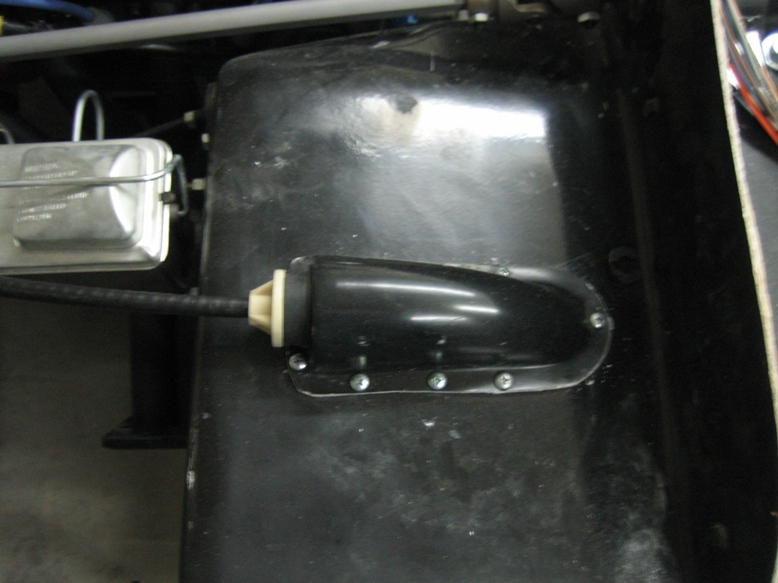
Next is the fuel pump. The suggested mounting location in the instructions was no higher than the top of the tank. This severely limits your choices. I decided to mount it behind the differential on the lower frame rail.
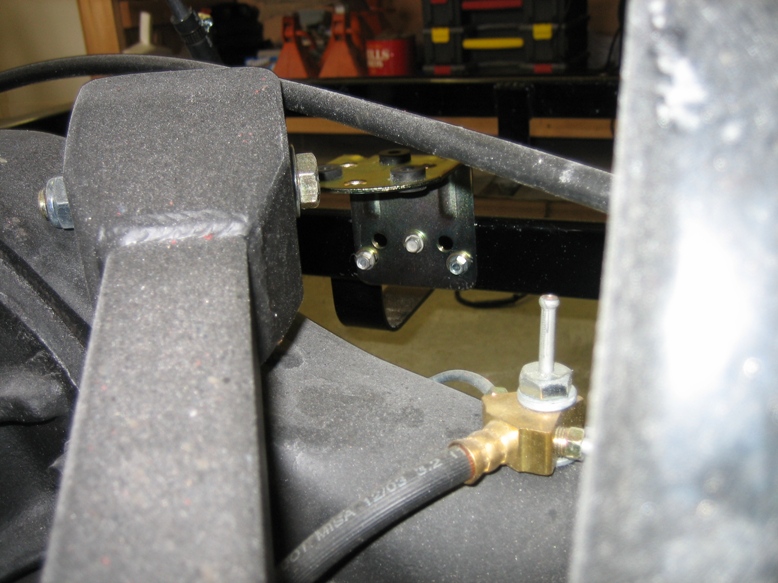

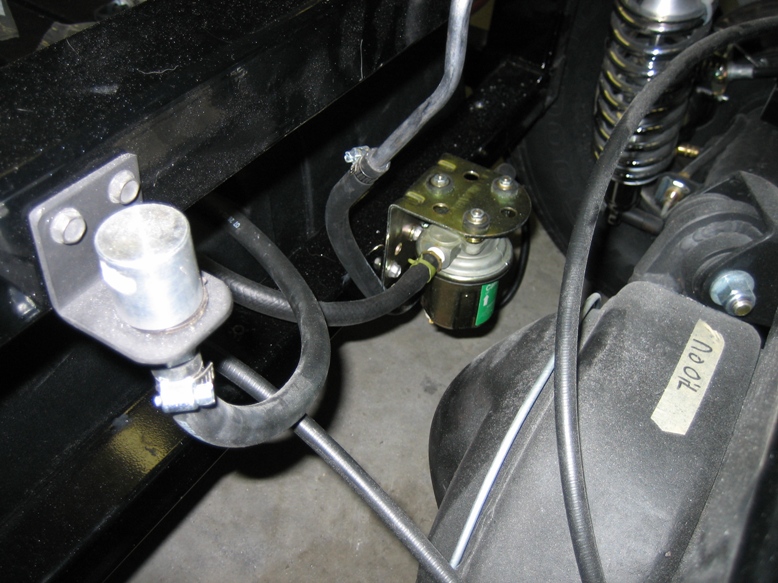
With it installed, it doesn’t look to bad. It should be easy to access from underneath the car.
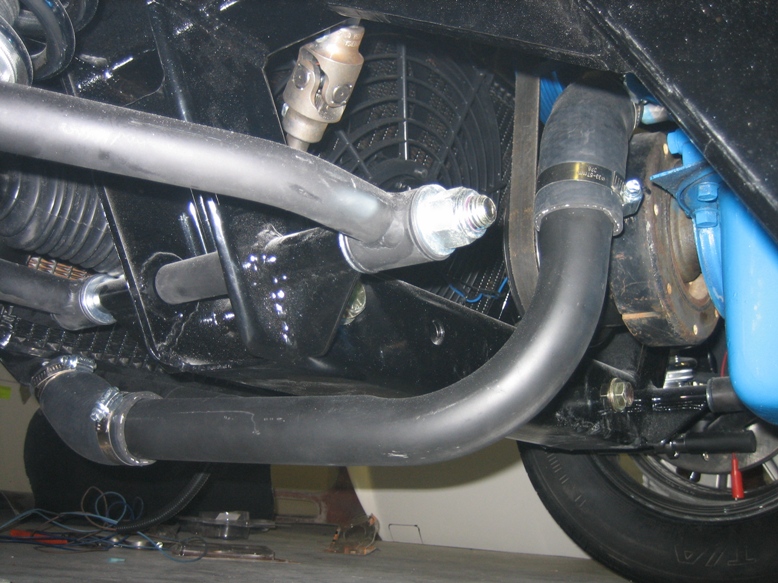
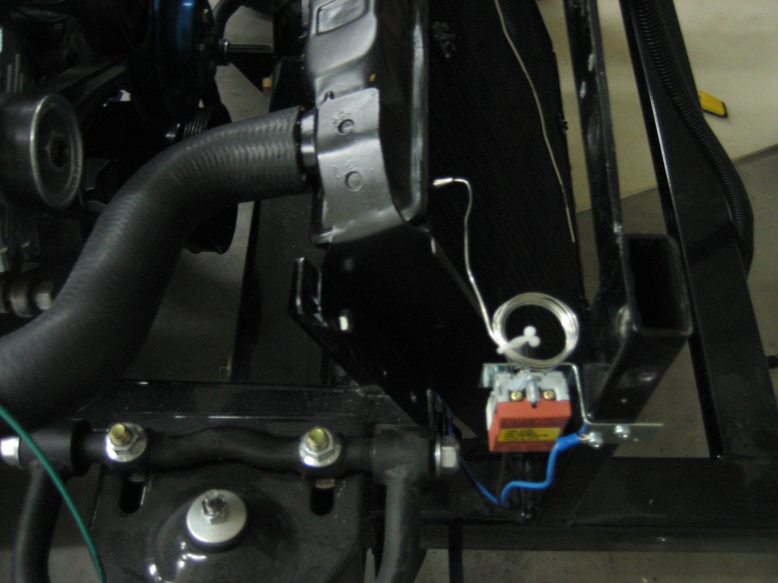
While were talking about various plumbing, I also installed the lower radiator hose. This uses a piece similar to that of the fuel tank. I bought the part listed by B&B in their packet for a lower radiator hose and cut the ends off for each end of the hard tube that was supplied. The fact that the lower radiator hose hangs down below the frame makes it a good idea to have this in the form of a hard tube.
One of the reasons that the body had to be removed again is finishing the roll bar installation. This involved welding the mounts securely and drilling the last hole in the rear mount. Not too bad with the body off. The rear inner fiberglass piece had to be cut (just a little) below the rear roll bar mount to allow it to be removed. I could have left this on but needed to plumb the fuel pump and route the battery cables. Lesson may be to do this before tacking the roll bar mounts. Oh well!

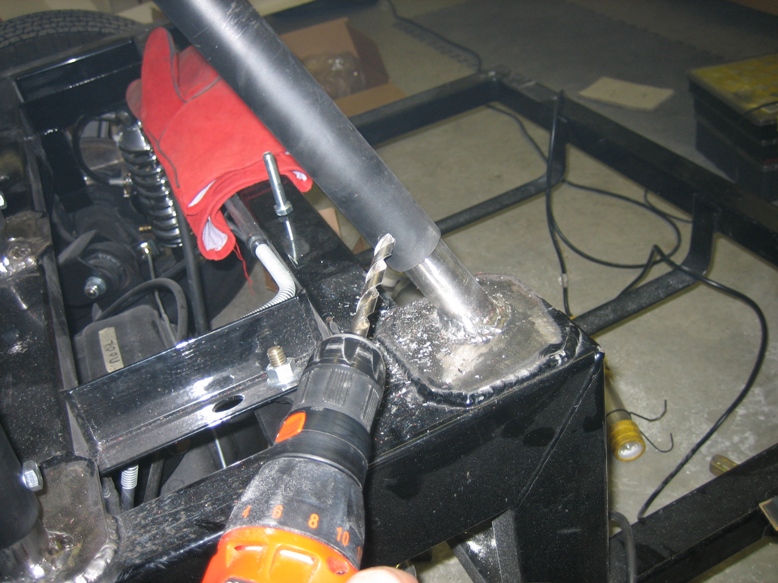
Another reason the body had to come off was the clutch hump on the driver’s footbox. I didn’t have the engine installed the last time the body was off and could not correctly position the hump for proper cable adjustment. This is inaccessible with the body on.
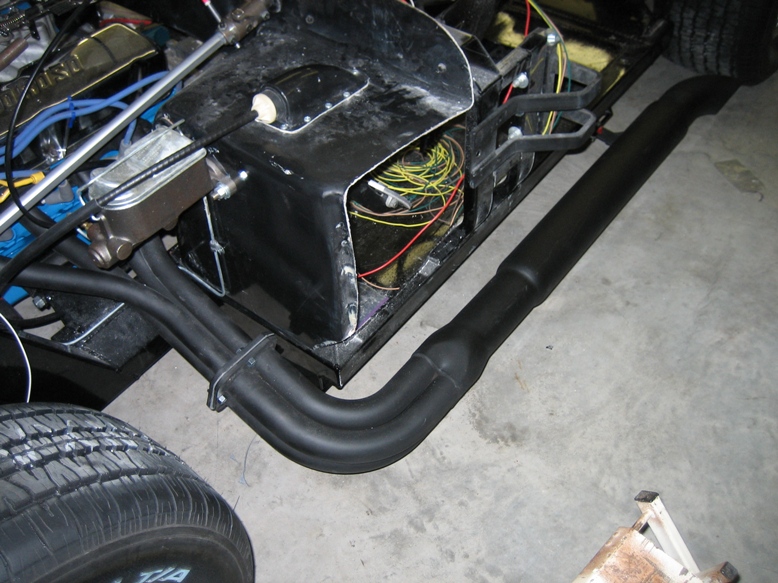
I mounted the battery box and routed the wire to the from on the passenger side. I am thinking of installing a battery disconnect in the trunk, but haven’t done this as of today. I used the rear roll bar mount for a ground location and used rubber lined straps to secure the wire to the frame. I had to fabricate a bracket on the fuel tank side of the frame to give me a location to bolt the inner part of the mount.


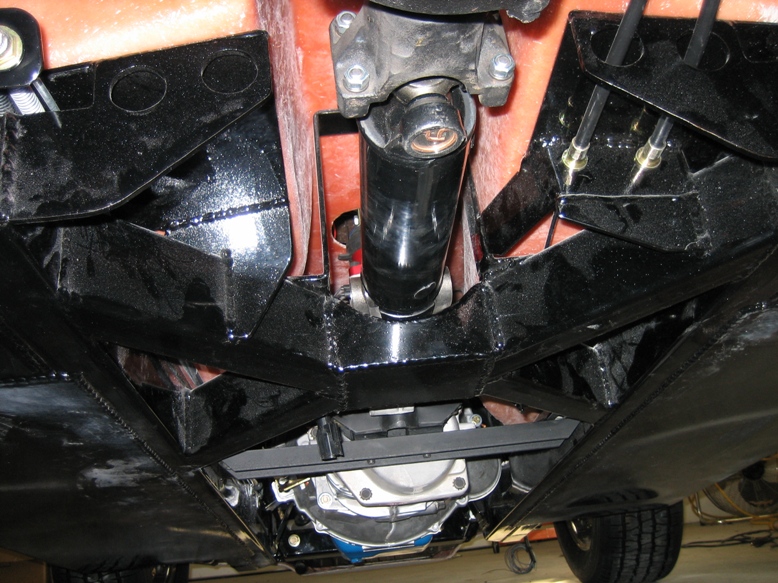
With the body off, you get a better perspective of the drive shaft clearance.

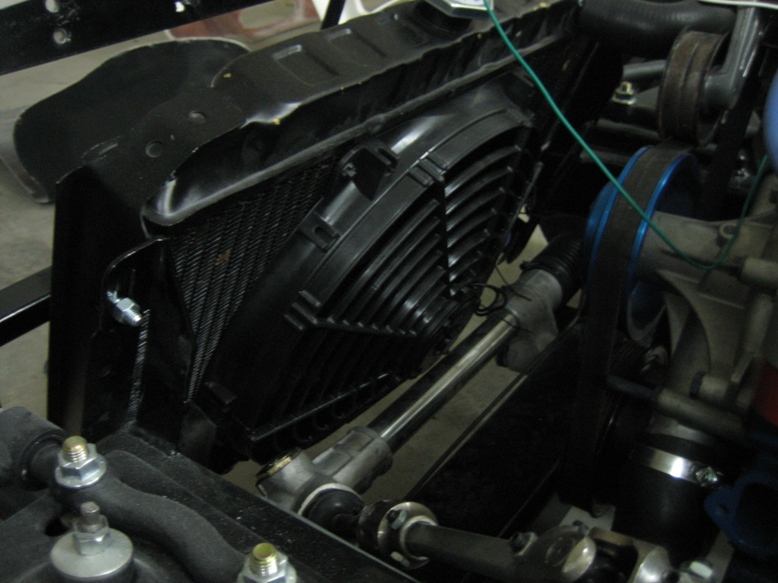
To finish up the weekend, I installed the fan, switch and sidepipes. Almost ready to fire! The fan switch should be hidden from the front view but still accessible through the front for adjustment.

![]()